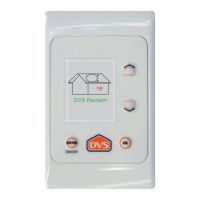
• Turn on your DVS control panel by holding down the on key for
5 seconds
• Reset the replace lter function
• Press Menu
• Use the down arrow to select Utilities, press Ok
• Use the down arrow to select Replace Filter, press Ok
• Press Up to reset and OK
• Press menu repeatedly to return to the main screen.
Utilities
Set Clock
Temp. graphs
Replace lter
Diagnostics
Contact us:
0800 387 387
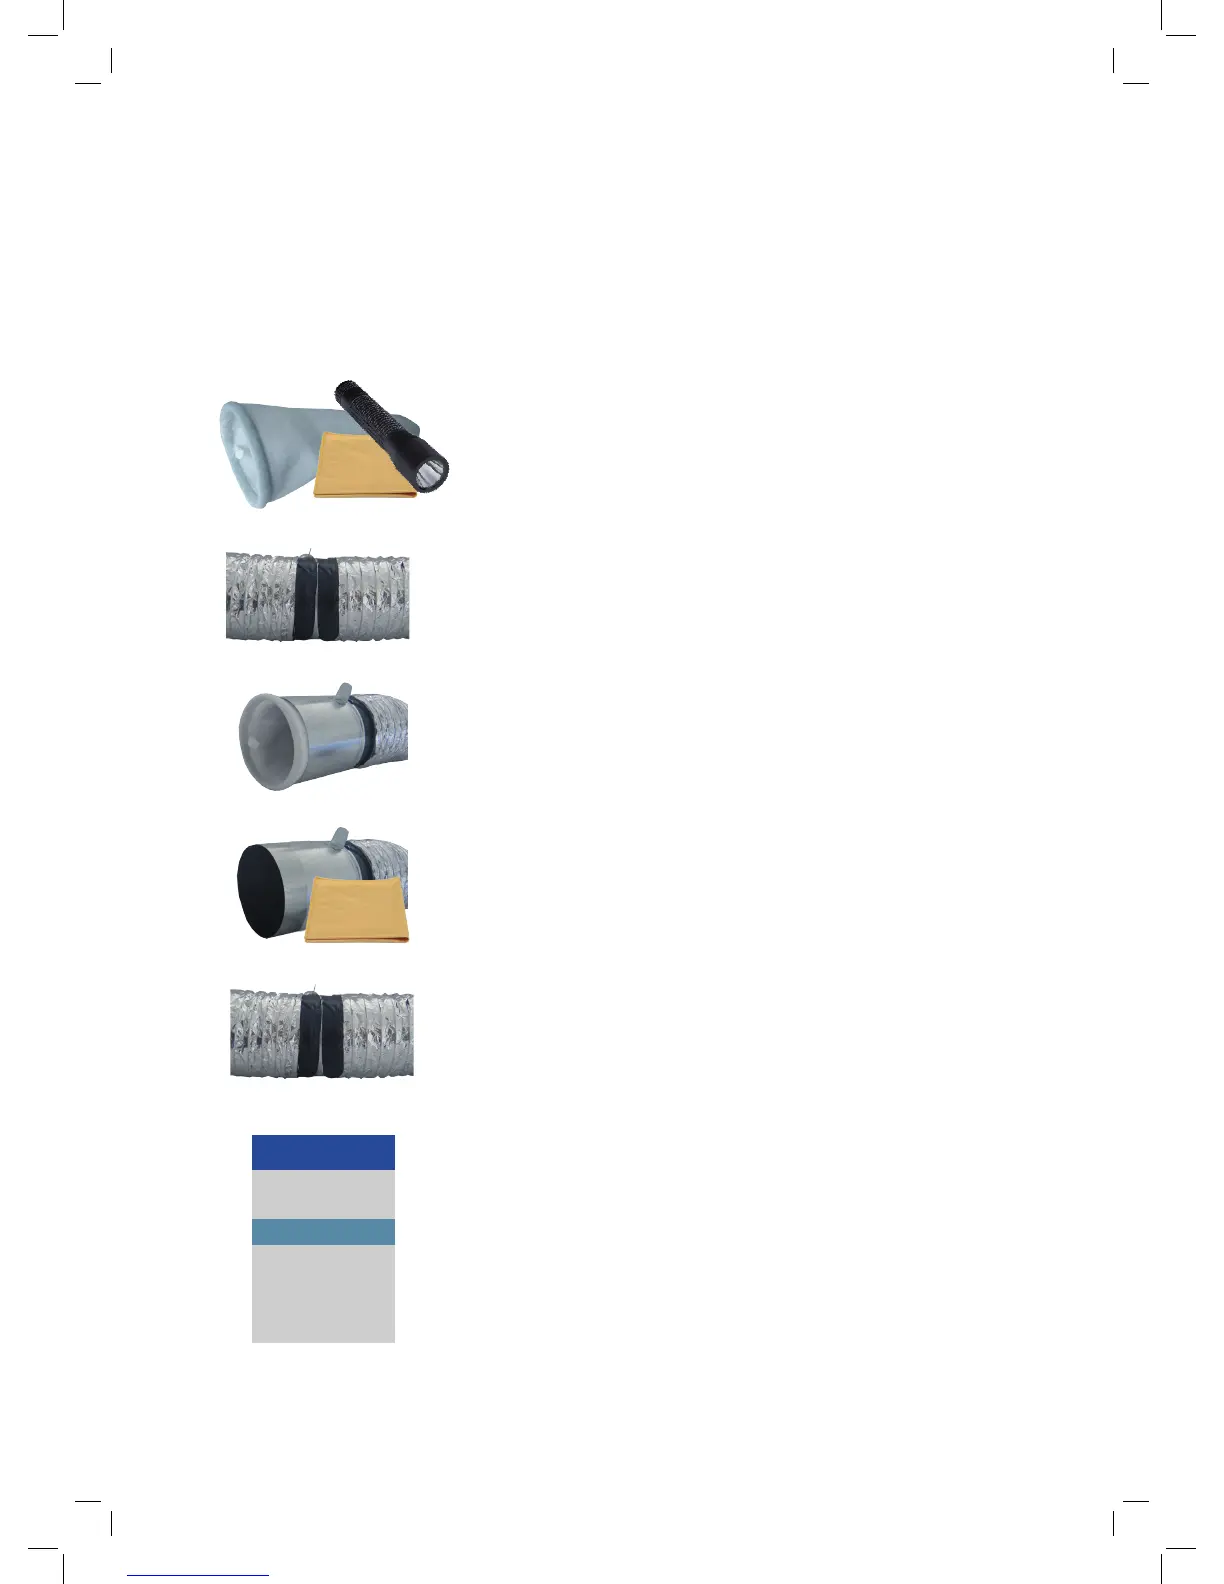
• Before going into the roof space to change your DVS lter
ensure that you have two lters, duct tape, a clean dry cloth,
and a good torch or safety lamp.
• Remove the existing black duct tape from the ducting at the
end closest to the outside air vent (opposite end to the fan).
• Remove the ducting from this end and remove the lter
• Use the dry cloth to wipe any ne dust and debris from the
inside of the lter tube
• Place the new lter inside the lter tube
• Reattach the ducting
• Apply duct tape securely to the ducting and lter tube
ensuring there are no air leaks.
• Repeat for each lter.
Filter Replacement Instructions
Before you start:
Switch your DVS o at the control panel by holding down the o key. This will put the system into
standby.
Page 10