3
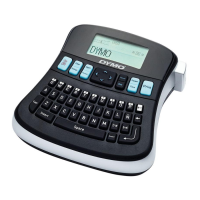
LabelManager
®
210D+
User Guide
Contents
5 About Your New Label Maker
5 Product Registration
5 Getting Started
5 Connecting the Power
5 Inserting the Batteries
6 Connecting the Optional Power Adapter
6 Inserting the Label Cassette
6 Using the Label Maker for the First Time
7 Getting to Know the Label Maker
7 Power
7 LCD Display
8 Navigation Keys
8 CAPS
8 Shift
8 NEW
8 Backspace
8 Menu
8 Cancel
9 Print
9 Formatting Your Label
9 Changing the Font Size
9 Changing the Font Width
9 Adding Font Styles
10 Adding Borders and Underline Styles
10 Creating Two-Line Labels
10 Aligning the Text
10 Using Mirror Text
11 Adding Special Characters
11 Adding Symbols and Punctuation
11 Adding Clip Art
11 Adding International Characters
12 Creating Fixed-Length Labels
12 Using the Label Maker Memory
12 Saving a Label
12 Opening Saved Labels
13 Caring for Your Label Maker
13 Troubleshooting
14 Symbols
15 Clip Art
16 Environmental Information
16 Electrical Ratings