Do you have a question about the Dymo LabelManager 360D and is the answer not in the manual?
Register your label maker online.
Follow instructions to print your first label.
The label maker is powered by a rechargeable battery pack and turns off automatically.
Steps to insert the battery pack into the compartment.
Use the power adapter to recharge the battery pack.
Steps to plug the power adapter into the label maker and power outlet.
Steps to insert the label cassette into the compartment.
Select language and label width upon first power-on.
Steps to enter text, select copies, and print the label.
Details on turning the label maker on/off and auto-off features.
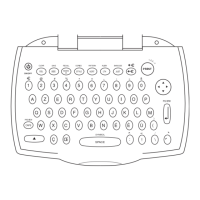
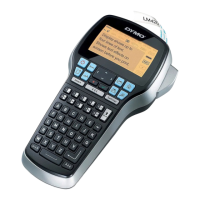
Icons at the top of the LCD indicate selected features.
Explains the numbered elements of the LCD display.
Toggles capitalization on or off.
Removes the character to the left of the cursor.
Exits menus or cancels actions without making selections.
Steps to select and apply formatting options using navigation keys.
Seven font sizes available, dependent on label width.
Options to highlight text with borders or underline styles.
Aligns text to be left or right justified; default is centered.
Steps to select the fixed length option and set the desired length.
Steps to type text for the first and second lines and print.
Inserts pre-defined graphic images into labels.
Quickly adds symbols using shortcut keys for general, punctuation, and currency.
Steps to use the Accent key and navigation keys for character variations.
Previews text and formatting before printing.
Prints up to ten copies of a label at one time.
Saves the current label text and formatting to memory.
Recalls previously saved labels from memory.
Steps to select and insert saved text from memory.
How to clean the cutter blade using alcohol.
How to clean the print head using the provided tool.
Solutions for when the display shows nothing.
Solutions for issues with print quality.
Solution for low battery warnings.
| Print technology | Direct thermal |
|---|---|
| Vertical printing | Yes |
| Maximum resolution | 180 x 180 DPI |
| Display | LCD |
| Keyboard layout | AZERTY |
| PC connected | No |
| Tape size | 6 mm |
| Tape type | D1 |
| Number of styles | 3 |
| Number of box types | 8 |
| Number of printing lines (max) | 2 |
| Depth | 150 mm |
|---|---|
| Width | 197 mm |
| Height | 71 mm |