EasyManuals Logo

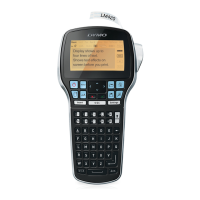
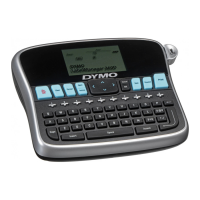
Dymo LabelManager 360D User Manual

Dymo LabelManager 360D
30 pages
To Next Page IconTo Next Page
To Previous Page IconTo Previous Page
Page #8 background imageLoading...
Page #8 background image
8
Using the Label Maker for the First Time
The first time you turn on the power, you are asked to select the language and
label width. These selections remain set until you change them.
You can change these selections using the key.
To set up the label maker
1 Press to turn on the power.
2 Select the language and press .
3 Select the width of the label cassette currently in the label maker and
press .
You are now ready to print your first label.
To print a label
1 Enter text to create a simple label.
2 Press .
3 Select the number of copies.
4 Press or to print.
5 Press the cutter button to cut the label.
Congratulations! You printed your first label. Continue reading to learn
more about the options available for creating labels.
Settings
OK
OK
OK

Other manuals for Dymo LabelManager 360D

Questions and Answers:

Question and Answer IconNeed help?

Do you have a question about the Dymo LabelManager 360D and is the answer not in the manual?

Dymo LabelManager 360D Specifications

General IconGeneral
Print technologyDirect thermal
Vertical printingYes
Maximum resolution180 x 180 DPI
DisplayLCD
Keyboard layoutAZERTY
PC connectedNo
Tape size6 mm
Tape typeD1
Number of styles3
Number of box types8
Number of printing lines (max)2
Weight and Dimensions IconWeight and Dimensions
Depth150 mm
Width197 mm
Height71 mm

Related product manuals