7
LabelManager
®
210D+
User Guide
To print a label
1 Enter text to create a simple label.
2 Press .
3 Select the number of copies.
4 Press to print.
5 Press the cutter button to cut the label.
Congratulations! You printed your first label. Continue reading to learn more
about the options available for creating labels.
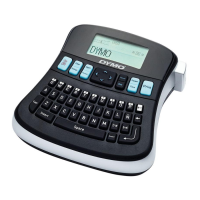
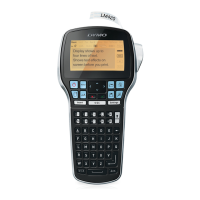
Getting to Know the Label Maker
Become familiar with the location of the feature and function keys on your label
maker. Refer to Figure 1. The following sections describe each feature in detail.
Power
The button turns the power on and off. After two minutes of no activity, the
power is switched off automatically. The last label created is remembered and
displayed when the power is turned back on. The previously selected style
settings are also restored.
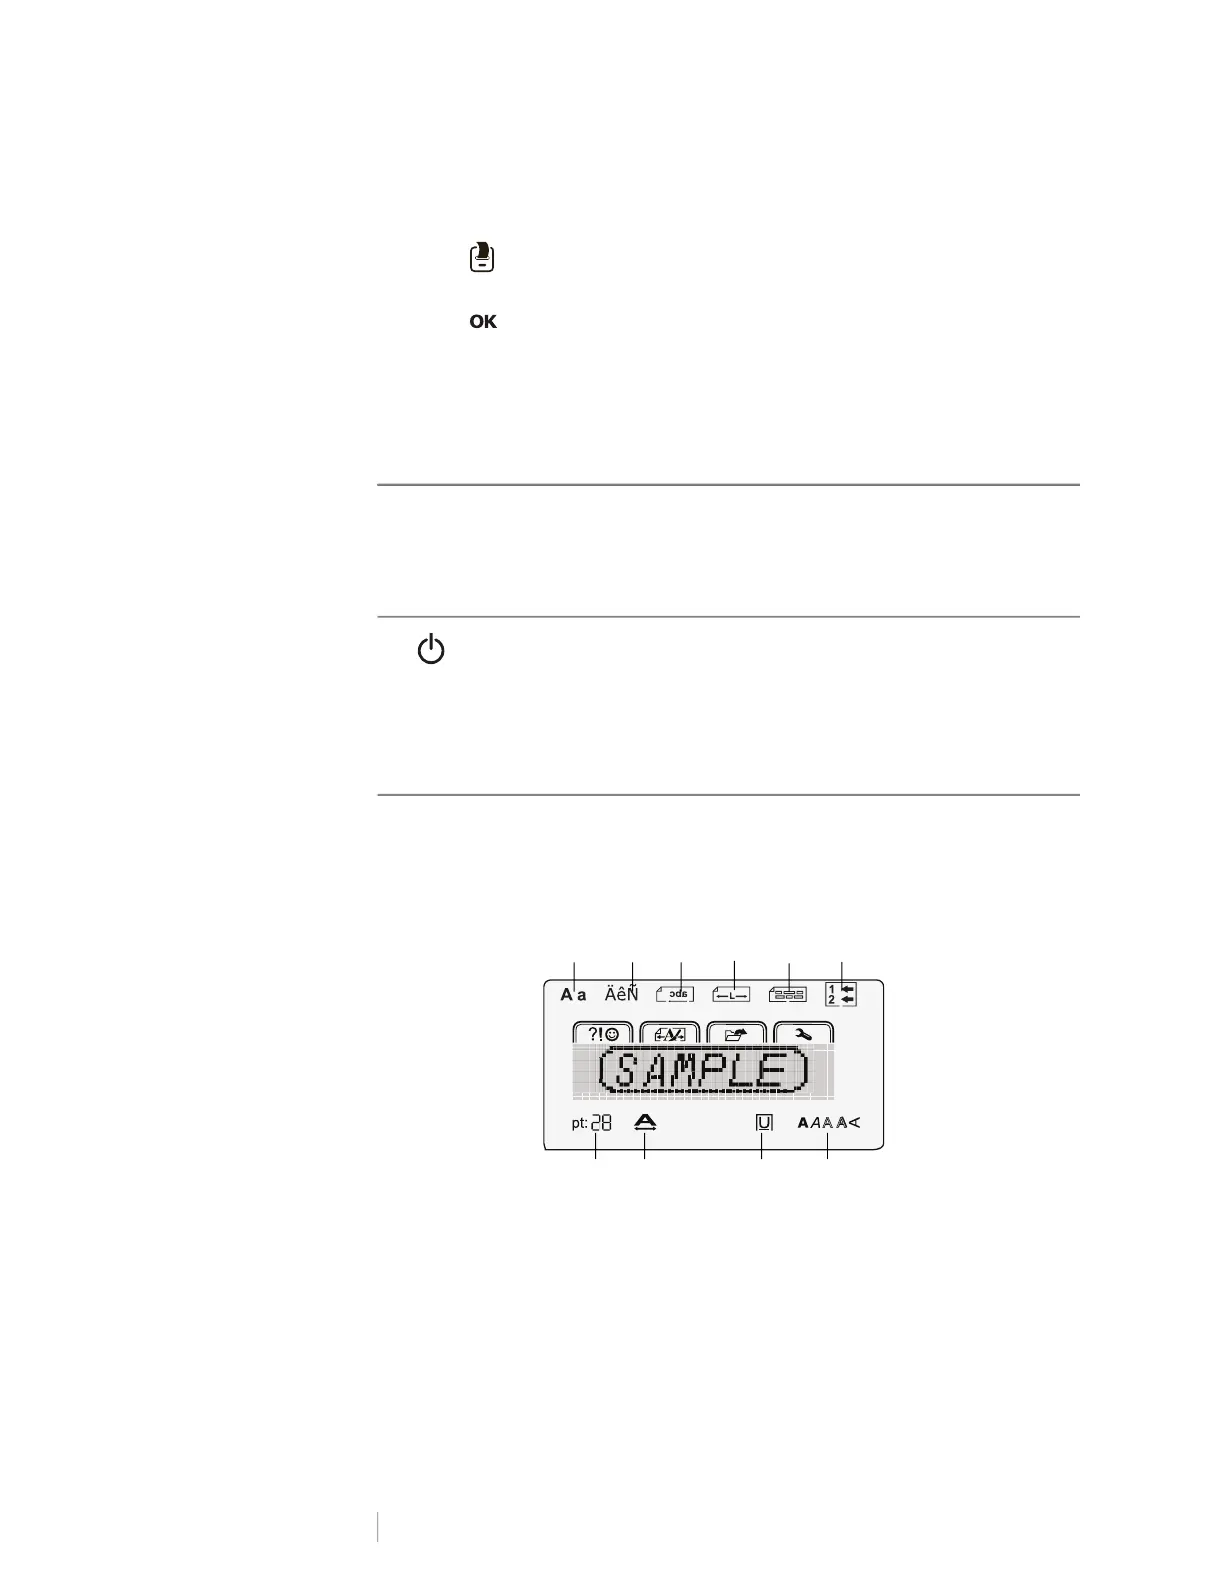
LCD Display
You can enter up to 99 characters and spaces. The display shows about 13
characters at a time. The number of characters displayed will vary due to
proportional spacing.
Feature indicators along the top and bottom of the LCD display appear black
when a feature or setting is selected.
1 Uppercase/lowercase 6 Current line
2 Accented characters 7 Font style
3 Mirror 8 Boxes/Underline
4 Fixed length 9 Font width
5 Alignment 10 Font size
10 9 7
2 3
1 4 65
8