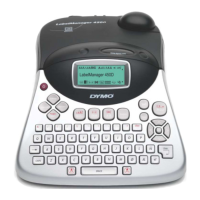
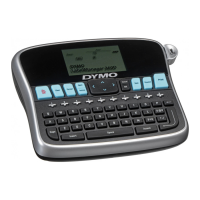
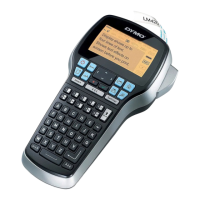
Follow these steps to install your LabelManager 450D label maker and print your first label.
1. Unpacking your Label Maker
x Do not connect the label maker into your computer until asked to do so during the software installation.
1 Unpack your label maker and save the packing materials.
2 Make sure you have all the items shown in Figure 1.
2. Connecting the Power
The label maker can operate on AC or battery power.
To connect the power adapter
1 Plug the power adapter into the power connector on the top, left side
of the label maker.
2 Plug the other end of the power adapter into a power outlet.
To insert the batteries
1 Remove the battery compartment cover. See Figure 2.
2 Insert the batteries following the polarity markings (+ and –).
3 Replace the battery compartment cover.

 Loading...