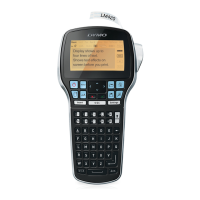
Making Labels
6
2 Select 1/2” (12 mm) from the Tape Width pull-down menu.
The text area of the main window changes in size based on the tape width you select.
3 Select Fixed At and enter 3.50 (8.5 cm) in the Label Length Fixed At text box.
Notice that the size of the input area changes on the ruler.
4 Type 2002 Annual Budget Projections in the main window.
As the line of text becomes too long for a fixed width label at the current font size, the font size
will automatically decrease to fit the text on one line.
5 To center the text, click .
6 Click or select Save from the File menu.
The Save File dialog box appears.
7 Type a name for the label and click Save.
The label is saved to your hard disk with a .dlm extension automatically added to the file name.
Now let’s print the label.
8 Click or select Print from the File menu.