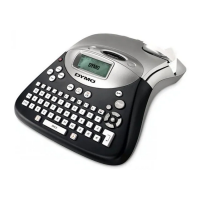
Introduction
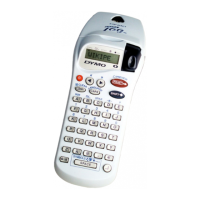
The DYMO LP200-Hebrew enables you to instantly
create quality polyester self-adhesive labels of up
to 90 characters. It uses standard DYMO D1 tape
cassettes in widths of 6mm (1/4"), 9mm (3/8") or
12mm (1/2") in a number of popular label colors.
Labels are back-slit for easy removal from the
backing tape. Text can be printed horizontally or
vertically in a variety of sizes and styles and can be
left-justified, right-justified or centered on the
label. One or two lines can be printed in a combi-
nation of Hebrew + English characters, figures and
useful symbols – all on the same label.
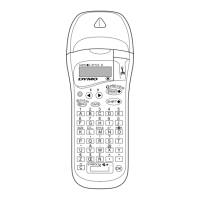
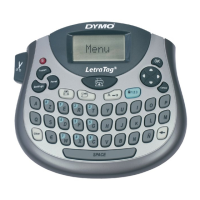
Ergonomic Features
The Dymo LP200 has been designed with many
ergonomic features. Among them:
• Contoured shape for comfortable grip.
Lightweight – only 300 grams.
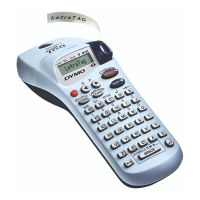
• Only 1 character imprinted on a key: Hebrew on
the keys; Latin above the keys.
Eliminates confusion.
• Alphabetical sequence – for easy 1-finger keying.
• Different key colors for characters, figures,
functions, etc.
• Large 15 character display. Selected functions
clearly indicated.
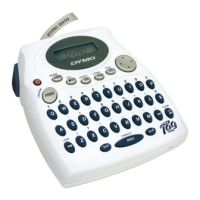
• Green function keys for clarity.
• Large PRINT key and CUTTER lever.
• Large 4-directional cursor key for rapid scrolling
and cursor positioning.
• LANG key to rapidly toggle between Hebrew and
English with a single keystroke.
• Unique SPACE bar for rapid 2-handed keying!
Right-handed users (hold LP200 with left hand)
can press SPACE with their left thumb.
Left-handed users (hold LP200 with right hand)
can press SPACE with their right 3rd finger.
• Hinged cassette compartment lid with large
window to view tape content.
• Adaptor socket at top of machine to avoid
interference from adaptor wire.
• Patented back-slit Dymo labels for fast easy
peeling of backing tape.
Warranty Registration
Please complete the warranty registration card and
return to the relevant address within 7 days of
purchase.
Power Supply
BATTERIES
• Apply pressure to thumb catch then open and lift
away battery compartment cover.
see p. 2 - fig. A (1).
• Insert six AA alkaline or re-chargeable Nickel-
cadmium batteries, observing the polarity
markings fig. A (2).
Note: Remove batteries if the LP200 is to be
unused for more than 10 days.
AC ADAPTOR (optional)
WARNING: USE ONLY AC ADAPTORS MANUFAC-
TURED SPECIFICALLY FOR THE REQUIREMENTS
OF DYMO LP200 AND APPROVED BY DYMO OR
ITS LOCAL REPRESENTATIVE – Technomark, Ltd.
Use of any other adaptor may result in electrical
damage and will nullify the warranty.
• Connect the AC adaptor to socket - fig. A (3).
Note: Inserting the adaptor plug disconnects the
power supply from the batteries.
• Always unplug the AC adaptor from the LP200
first before disconnecting the mains power to the
adaptor, otherwise last label memory settings
may be lost. (Also see ON/OFF).
Changing the cassette
(See illustrations page 2)
CAUTION!! – Before inserting cassette ensure that
tape and ribbon are taut and that tape passes
under the guideposts B (3).
If necessary, turn spool B (4) clockwise with a
pencil etc. to rewind any ribbon slack.
• Press catch B (1) and open hinged access lid.
• Hold cassette as shown in B (2). Avoid touching
the tape to ensure that it remains taut.
• Check that cassette switch B (5) is set for the
correct cassette width. A notch in the cassette
fits over the switch when set correctly.
• Insert cassette with tape and ribbon positioned
as shown between print head C (1) and pinch
roller C (2).
• Push firmly C (3) until cassette clicks into place.
• Close hinged lid B (1) until it clicks shut.
3
 Loading...