13
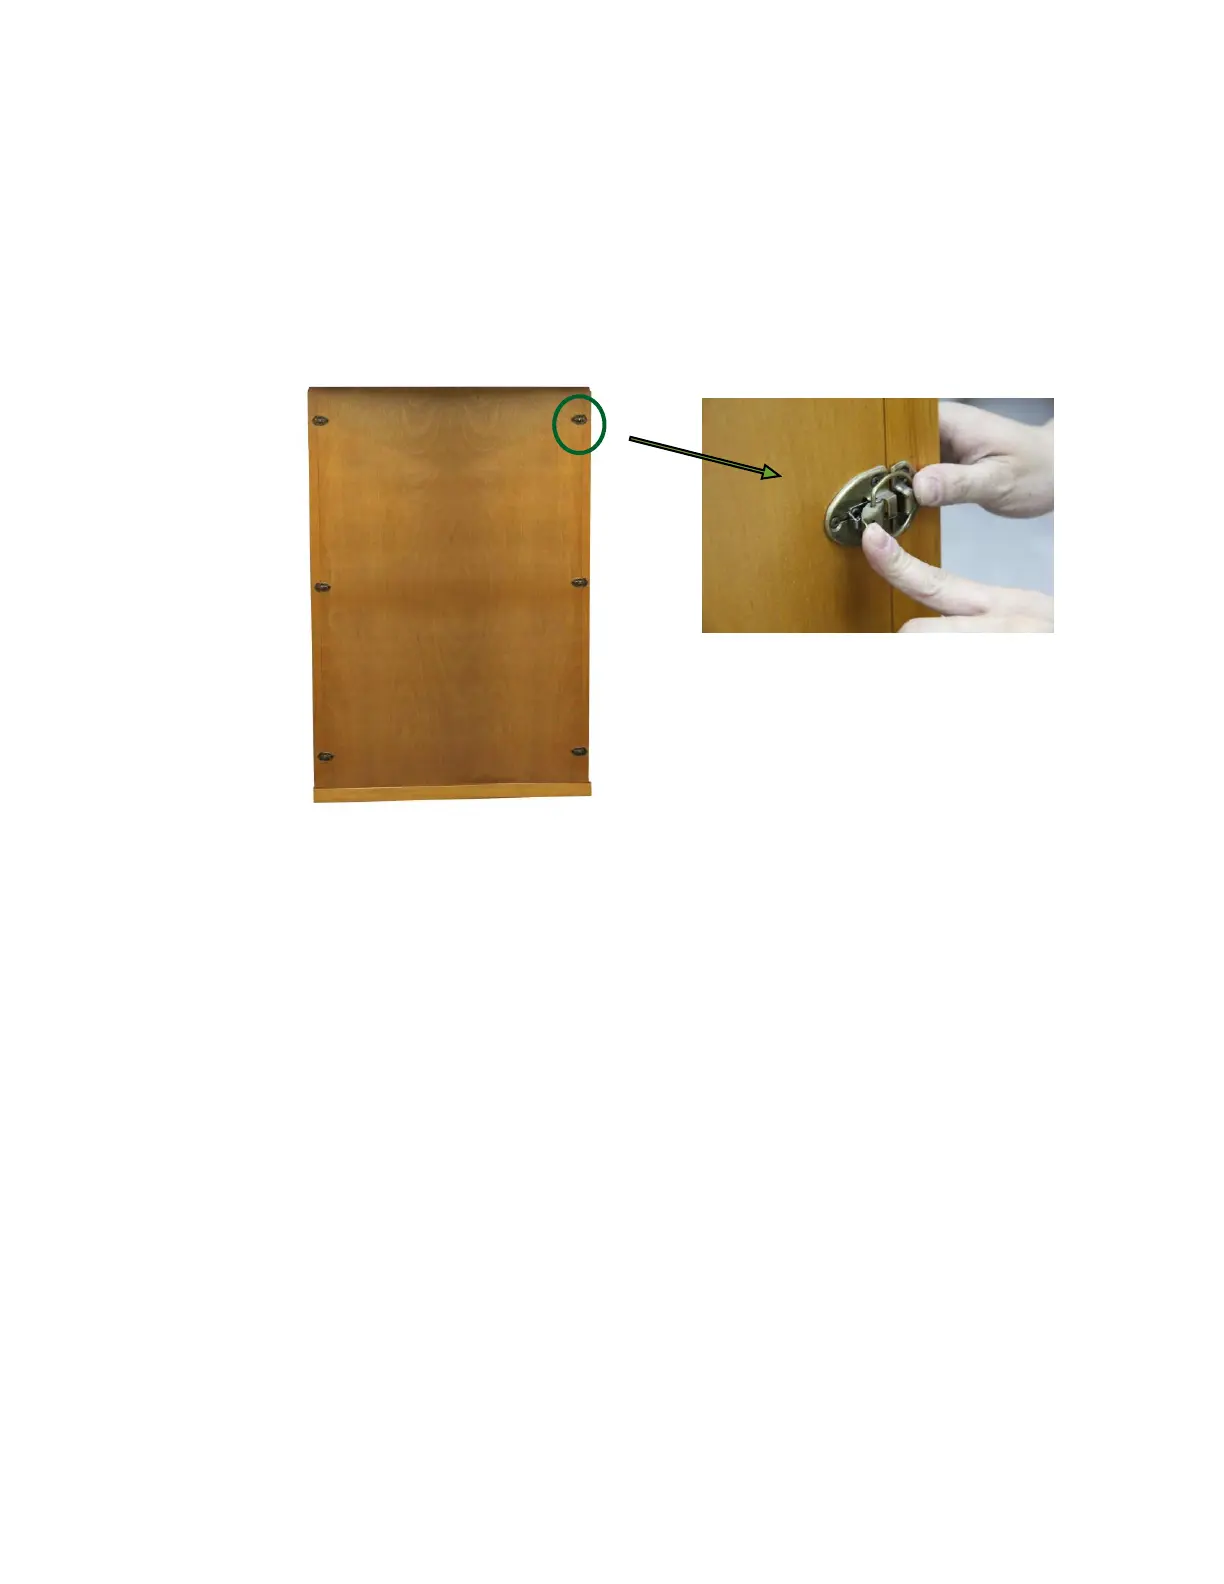
D. Installing the REAR PANEL
1. Remove the protection paper from the buckles on the REAR WALL
PANEL. Place the REAR WALL PANEL up onto the FLOOR PANEL.
Next, attach the REAR WALL PANEL to the LEFT SIDE WALL PANEL
and use the buckles to latch together. Do the same for the RIGHT
SIDE WALL PANEL. (see Figure 9)
Figure 9
E. Installing the ROOF PANEL
1. The side of the ROOF PANEL with the power supply (control box) is the
top side of the ROOF PANEL.
2. The edge nearest the power supply is the front of the ROOF PANEL. Be
careful of the wires coming from the SIDE and REAR PANELS when you
set the ROOF PANEL down onto the panels. Feed the wires through the
holes in the ROOF PANEL. Feed the CTRL Harness up through the
ROOF PANEL.
3. Be careful not to force the ROOF PANEL into place. Make sure that the
wires are properly fed through the holes. Furthermore, make sure the
ROOF PANEL sits snugly into the RIGHT SIDE WALL PANEL and RIGHT
FRONT WALL PANEL. Pull down on the ROOF PANEL slightly to make
sure it is secured in place. (see Figure 10)