14
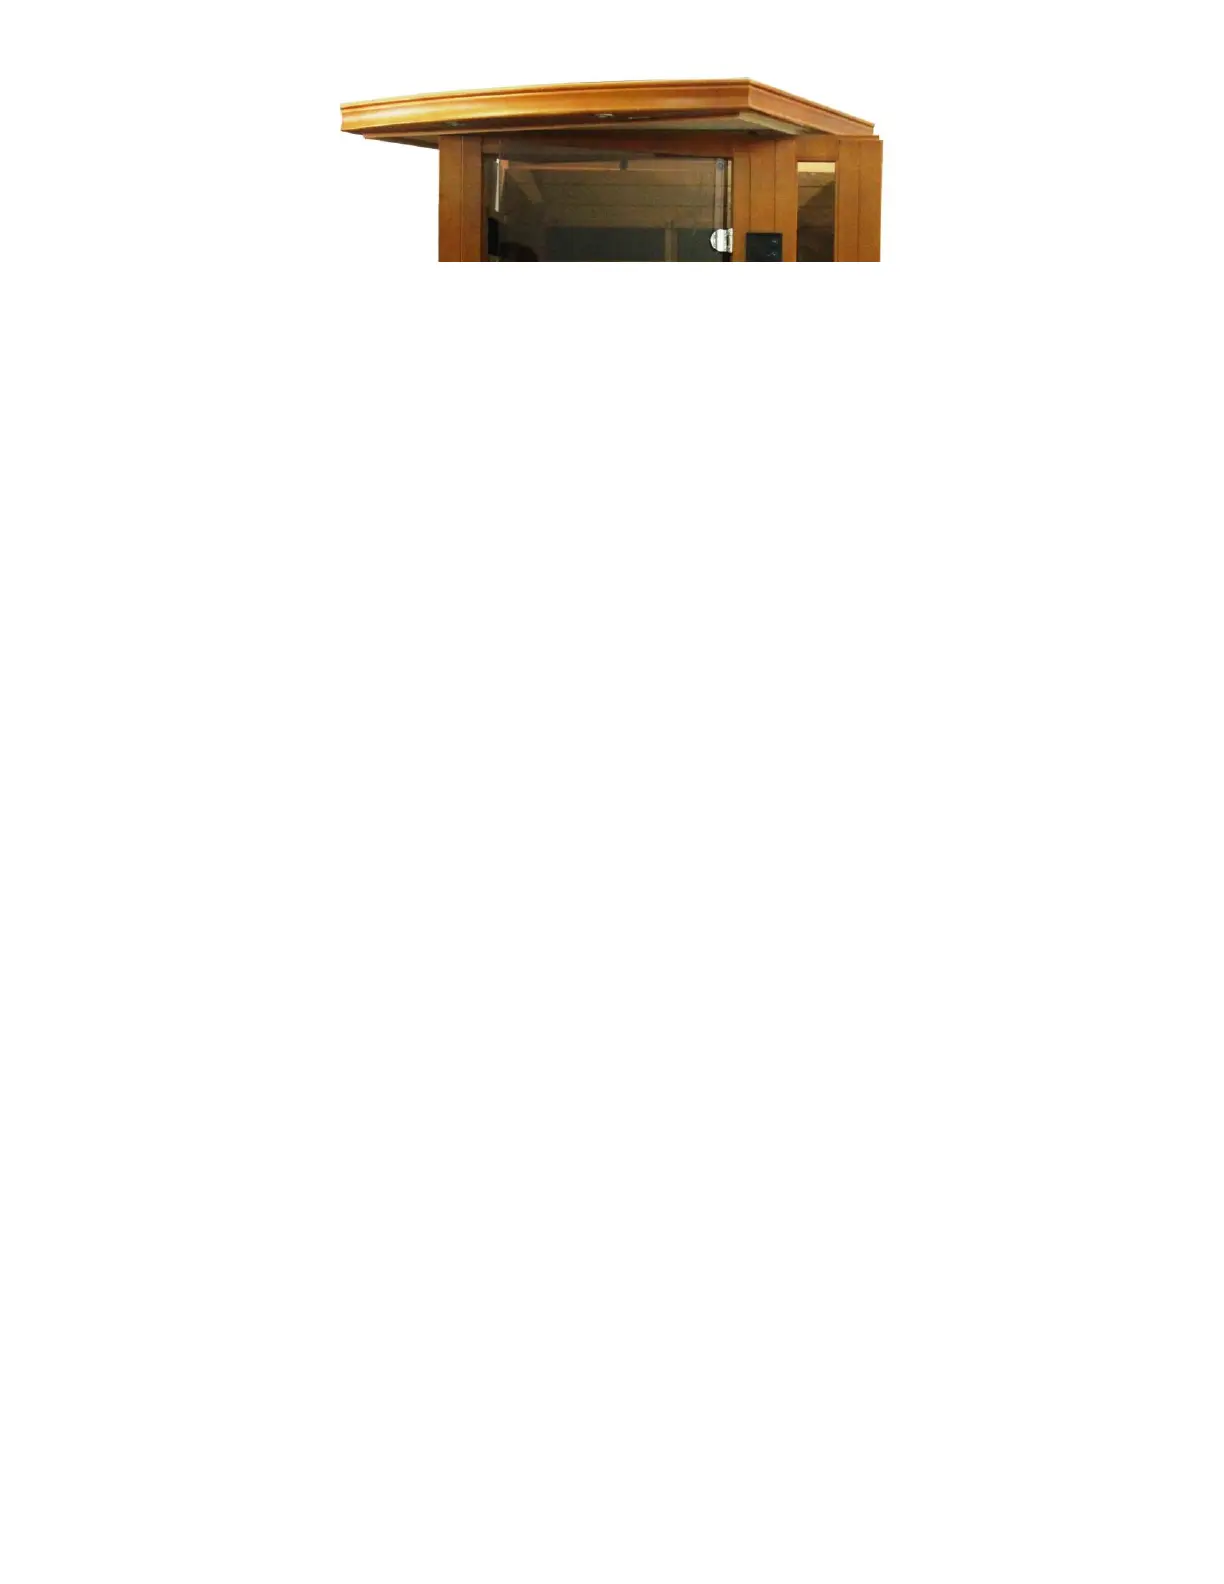
Figure 10
E. Installing the BENCH HEAT EMITTER PANEL and BENCH
1. Installing the BENCH HEAT EMITTER PANEL requires sliding it
downward into the guides on the side wall panels. (see Figure 11)
2. Plug in the BENCH HEAT EMITTER connector to the corresponding inlet
located on the right side of the REAR WALL PANEL for sauna model
DYN-6220-01 and to the corresponding inlet located on the RIGHT SIDE
WALL PANEL for sauna models DYN-6306-01/DYN-6330-01/DYN-6440-
01. Also plug the FLOOR HEAT EMITTER PANEL into the left side of the
REAR WALL PANEL for sauna model DYN-6220-01 and into the LEFT
SIDE WALL PANEL on sauna models DYN-6306-01/DYN-6330-01/DYN-
6440-01.
3. Install the BENCH at an angle as seen in Figure 11. Then slide it over the
horizontal bench guides on the side panels. If your model comes with the
optional LED accent lighting on the underside of the BENCH, you will
need to connect the harness (black and white wires) coming from the right
side of the REAR WALL PANEL to the connection on the underside of the
BENCH. Next, slide the BENCH all the way in and against the REAR
WALL PANEL. Make sure to install the BENCH with the smooth and
finished side facing upward. It is optional to screw the BENCH down to
the REAR WALL PANEL.