Do you have a question about the Dynamic Dynatrap 3 and is the answer not in the manual?
Step-by-step instructions for unpacking and assembling the Dynatrap unit, including connecting the pole stand and tubes.
Critical safety precautions for operating the electric insect trap, covering electrical safety, placement, and handling.
Detailed guidance on setting up the Dynatrap, including connecting to power and optimal placement for effectiveness.
Instructions for regular cleaning to maintain the trap's performance and prevent fire hazards.
Solutions for common issues such as the bulb not illuminating or the fan not spinning.
Details on the product warranty, including coverage, duration, and exclusions.
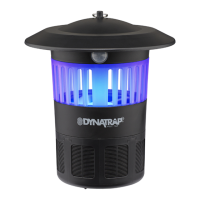
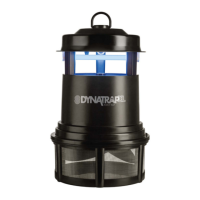
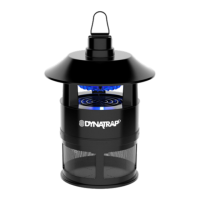
Explanation of the UV light, CO2 generation, and fan mechanism used to attract and trap insects.
List of replacement parts like bulbs and fans, and optional accessories for the Dynatrap.
| Brand | Dynamic |
|---|---|
| Model | Dynatrap 3 |
| Category | Insect Control Equipment |
| Language | English |