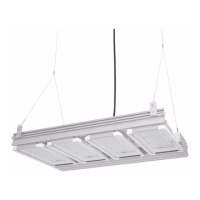
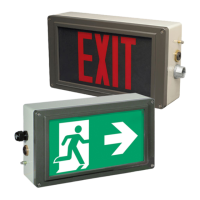
With Visor and Guard
With Visor Only
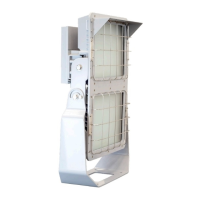
With Guard Only
VISOR INSTALLATION INSTRUCTIONS
(catalog number DSV2)
1. Remove power from floodlight.
2. Place floodlight face up.
3. Carefully align visor with four (4) screw holes at the top of the fixture shown in
Figure 9.
4. Install screws provided with visor, taking care to not scratch the finish of the
floodlight. Torque to 19 in.-lbs. (2.2 N-m).
5. Install floodlight per above instructions.
NOTE: Visor can be installed before or after floodlight has been in operation.
GUARD INSTALLATION INSTRUCTIONS
(catalog number P62)
1. Remove power from floodlight.
2. Place floodlight face up.
3. Carefully align guard with four (4) screw holes on each side of the luminaire
shown in the image above.
4. Install screws provided with guard, taking care to not scratch the finish of the
floodlight. Torque to 19 in.-lbs. (2.2 N-m).
5. Install floodlight per above instructions.
NOTE: Guard can be installed before or after floodlight has been in operation.
Figure 7
Figure 8
Figure 9
Figure 6
Eaton’s Crouse-Hinds Division IF 1883
1201 Wolf Street, Syracuse, New York 13208 • U.S.A. Revision 2
Copyright
©
2019 Revised 09/19
Supercedes 08/19
All statements, technical information and recommendations contained herein are based on information and tests we believe to be reliable. The accuracy or completeness thereof are not guaranteed. In accordance with Crouse-
Hinds “Terms and Conditions of Sale,” and since conditions of use are outside our control, the purchaser should determine the suitability of the product for his intended use and assumes all risk and liability whatsoever in
connection therewith.
DIMENSIONS
 Loading...