4
EATON CORPORATION www.eaton.com
Instructions for Undervoltage Release, Shunt Trip, and Overcurrent
Trip Switch
Instructional Leaflet IL0131087EN
Effective January 2019
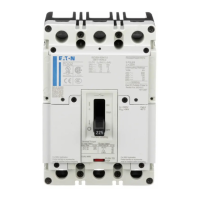
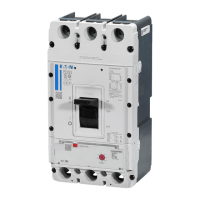
Step 3: Locate the left accessory tray behind the trip unit. For the NF
Frame, place a finger on each end of the tray and slide the tray to the
left for removal. For the RF Frame, press the thumb tab down and
slide the tray to the left for removal.
ote:N A minimum of 2 inches (50.8 mm) for NF Frame and 3 inches (77 mm)
for RF Frame of side clearance is required on an installed fixed breaker for tray
removal.
Figure 6. Step 3 (NF Frame Shown).
Figure 7. Step 3 (RF Frame Shown).
Step 4: With the left accessory tray positioned as shown, tilt the UVR
or ST back to properly position it in the tray.
Figure 8. Step 4 (NF Frame shown).
Figure 9. Step 4 (RF Frame Shown).
Step 5: Carefully push the other end of the UVR or ST down into
the tray until a snapping sound is heard. This sound indicates the
accessory is locked in position.
Figure 10. Step 5 (NF Frame Shown).
Thumb Tab
ST
ST
ST
Accessory
Locking Tab

 Loading...


