9
Sh r e d 'N' Va c
®
o
p e r a T o r 's ma n u a l
A
as s e m b l y
Required Tools: Screwdriver
WARNING
Never perform maintenance or assembly procedures with engine
running, or serious personal injury may result.
b l o w e r a p p l I C a T I o n
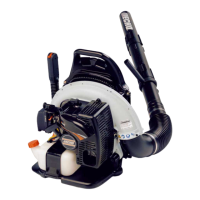
Install Blower Pipes
1. Align grooves in straight pipe with pegs on blower housing and
slide pipe onto housing.
2. Turn straight pipe clockwise to lock into place.
3. Align grooves in fan head nozzle with pegs on straight pipe and
slide fan head nozzle onto straight pipe.
4. Turn fan head nozzle clockwise to lock into place.
v a C u u m /s h r e d d I n g a p p l I C a T I o n
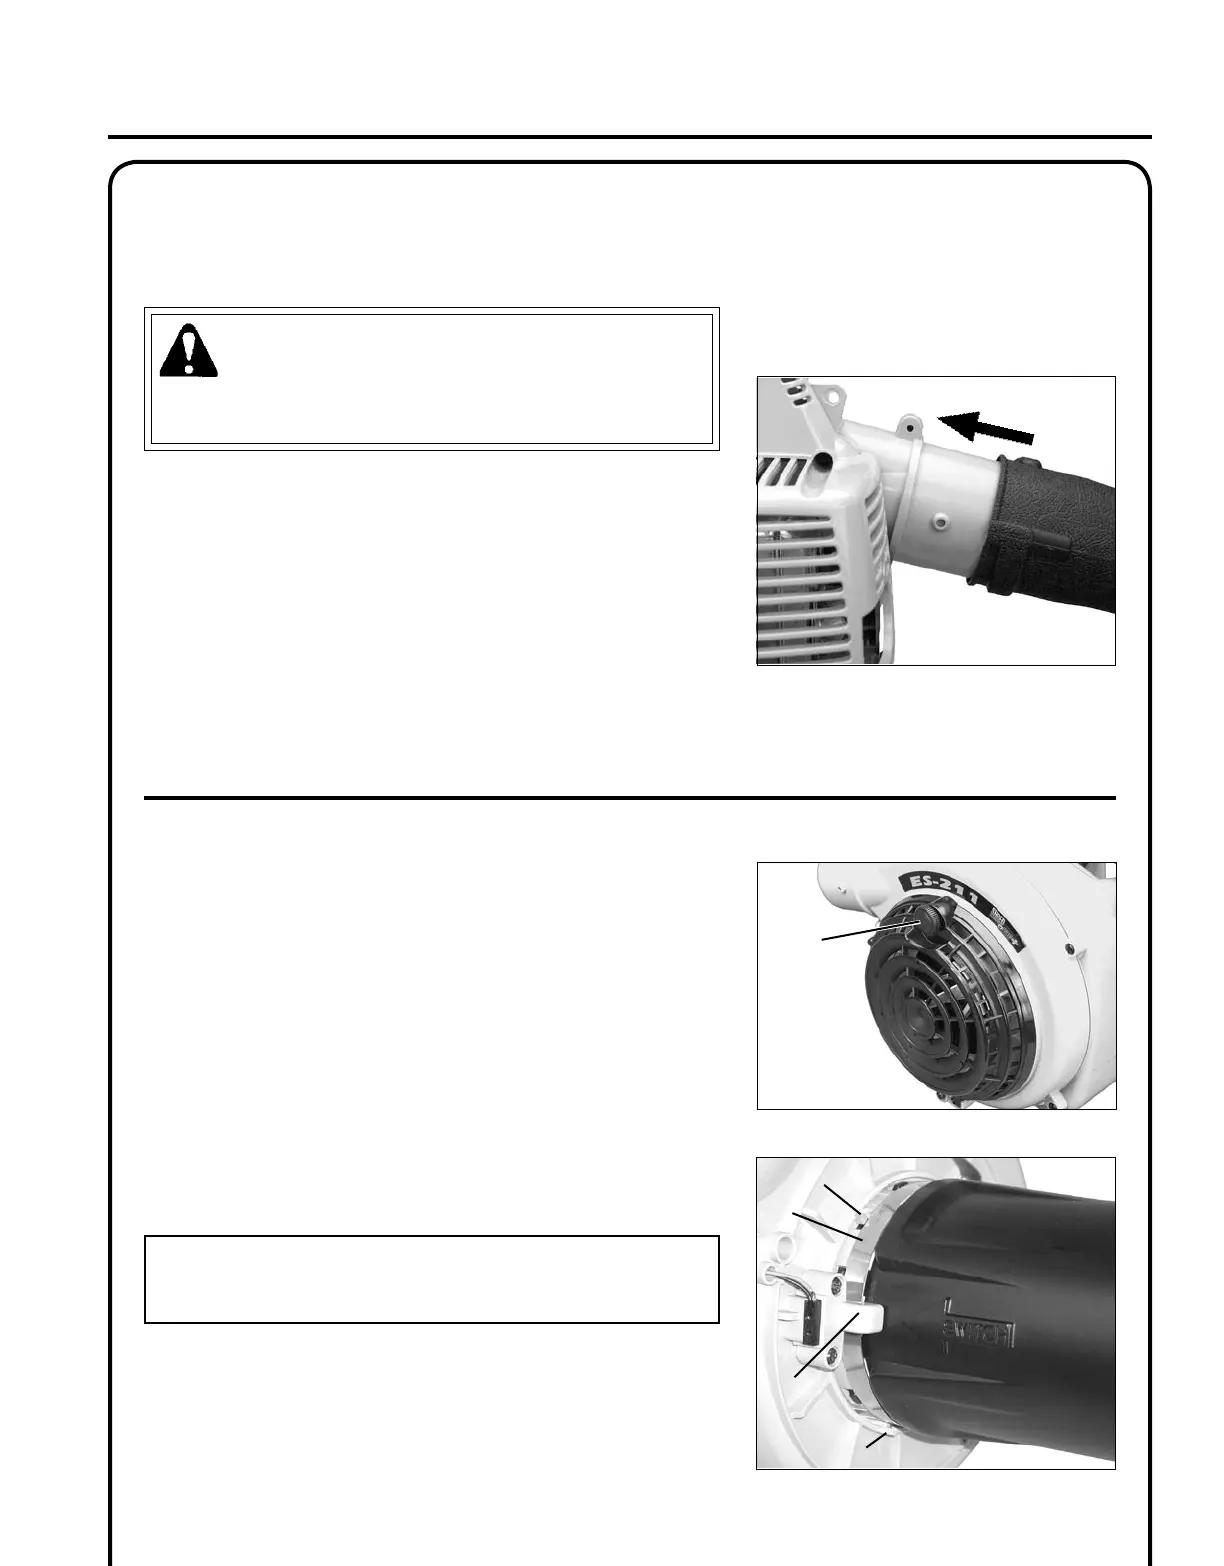
Install Vacuum Tube and Bag Assembly
1. Turn knob (A) counter clockwise until hinged housing cover is
free to open for vacuum tube installation.
2. Loosen screw (B). Do not remove clamp from blower housing.
3. While holding housing cover open, align arrow on vacuum tube
with interlock switch (D), and install vacuum tube into blower
housing. Secure vacuum tube with clamp (B). Clamp ts under
slotted guides (C).
NOTE
Engine will not start/operate unless safety interlock switch (D) is
activated by the vacuum tube.
4. Remove blower pipe assembly from unit.
B
C
D
C