**MANDATORY**
Read the battery charging instructions in this manual and in the manual supplied with the
battery charger before charging the batteries.
Batteries and Charging
Your scooter is equipped with maintenance free, sealed lead acid batteries. The batteries require
no maintenance other than ensuring that they are properly charged. If other batteries are
used, check with your battery supplier for proper battery care and maintenance instruction.
Your scooter batteries are sealed, so they are most likely to be accepted for transport on all
commercial aircrafts. Please consult your carrier prior to departure, as they will need advanced
notice asking them to carry your scooter and batteries on the flight.
Your scooter comes supplied with two batteries. **NOTE: No warranty on batteries**
WARNING
Your batteries may only have a partial charge when you first receive your scooter, you may not
experience full riding time until you fully charge them. Your scooter is equipped with a compatible
battery charger. Charging your batteries as specified below will ensure maximum life, power
and range.
Keep the batteries fully charged to keep your scooter running smoothly.
Using off-board charger
Follow the steps to charge your batteries:
1. Position your scooter close to a standard electrical outlet.
2. Turn off the power to the scooter.
3. Plug the power charger cable into an electrical outlet.
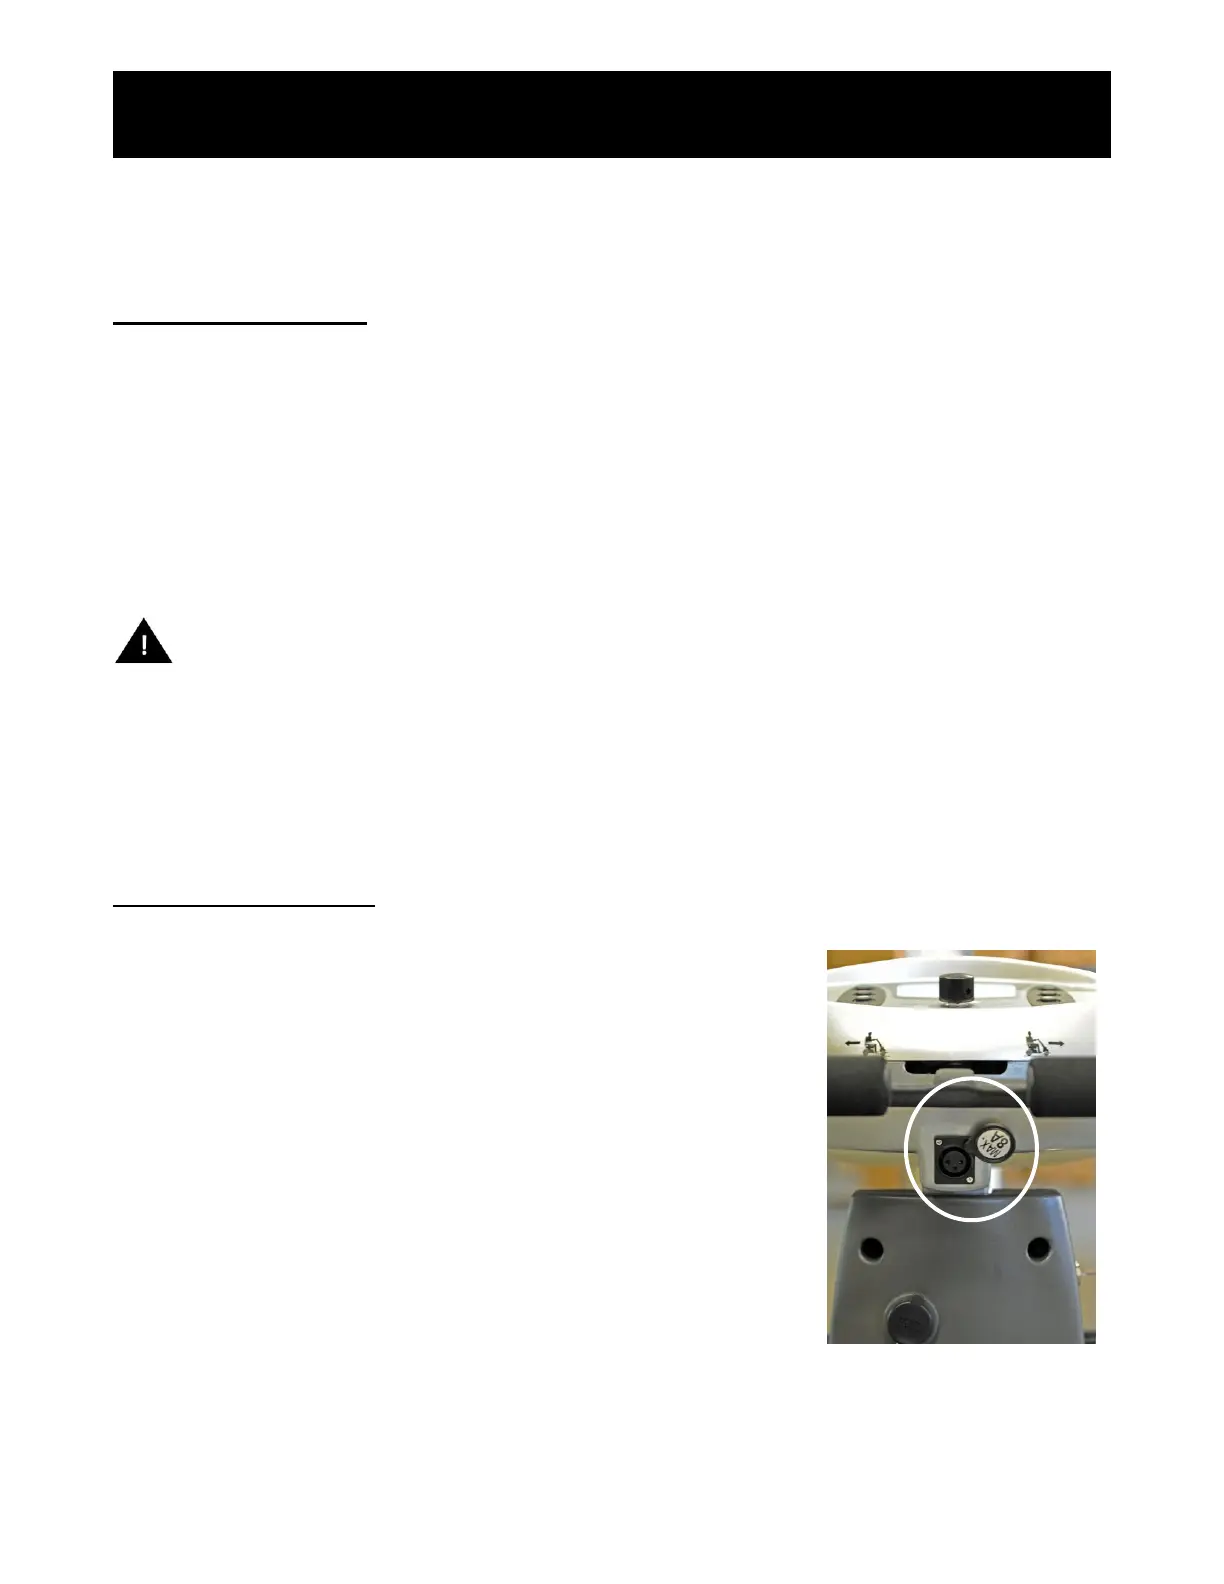
4. Plug the round 3-pin charger cable into the power socket on
the scooter tiller. You will need to flip aside the
plastic safety cover on the scooter charger port.
5. Extend the charger power cord and plug it into the electrical
outlet. We recommend that you charge the batteries for 8 to
14 hours. As it charges, you will see progress lights on
the charger unit. A RED light means the charger is ready to
use. A WHITE light means charging is in progress. A GREEN light means the charger is
finished, and the scooter batteries are fully charged.