Do you have a question about the Edge CS2 and is the answer not in the manual?
Lists all components included in the package for installation.
Guides users to find the vehicle's OBDII port for connection.
Instructions on connecting and routing the main cable through the vehicle interior.
Details on how to position the device and prepare the windshield for mounting.
Instructions on attaching the mount to the device and connecting the HDMI cable.
Guides users on how to attach and securely lock the device onto the windshield.
Advice on optimal placement and adjusting the viewing angle for the device.
Identifies the USB port used for updating the device software and calibration files.
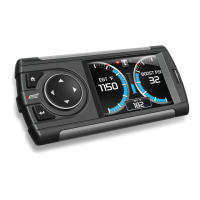
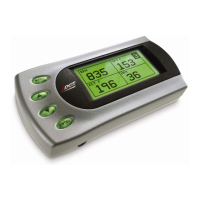
Explains the main elements and their functions on the CS2 device screen.
Details specific gauges and indicators shown on the device's display.
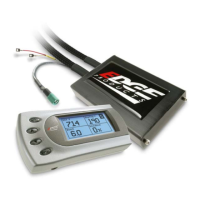
Describes the functions of buttons, menus, and navigation elements on the CTS2.
Overview of compatible backup cameras, EAS system, and custom dash pods.
Details on the EAS for connecting multiple sensors and accessories.
Information on custom dash mounts for integrating the device into vehicle interiors.
The provided manual describes the Edge CS2/CTS2 device, a vehicle performance monitor and accessory system designed to provide drivers with real-time data, performance tuning, and diagnostic capabilities. It comes in two main variants: the CS2 (button-operated) and the CTS2 (touchscreen).
The Edge CS2/CTS2 device serves as a comprehensive vehicle monitoring and enhancement tool. Its primary functions include:
Installation Process:
Device Operation (CS2):
Device Operation (CTS2):
| Brand | Edge |
|---|---|
| Model | CS2 |
| Category | Automobile Accessories |
| Language | English |