EDIMAX AC-M3000 / M1000
Quick Installation Guide
10
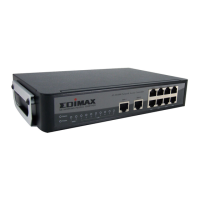
After completing configuration, the user account generated by configuration wizard can be used
to login to the system to verify whether the configuration is done properly. First, connect to one of
the LAN1~LAN4 Ports with a client’s device such as a PC. The device will get an IP address
automatically via DHCP. Then open the web browser and access any URL, the default User
Login Page will appear.
Enter the User Name and Password created
in the local user account database by
configuration wizard, then click Submit to
connect to the network (e.g. test@Local for
the username and test for the password).
Attention: While using the local user account, please input “username@postfix” created
previously in the User Name field.
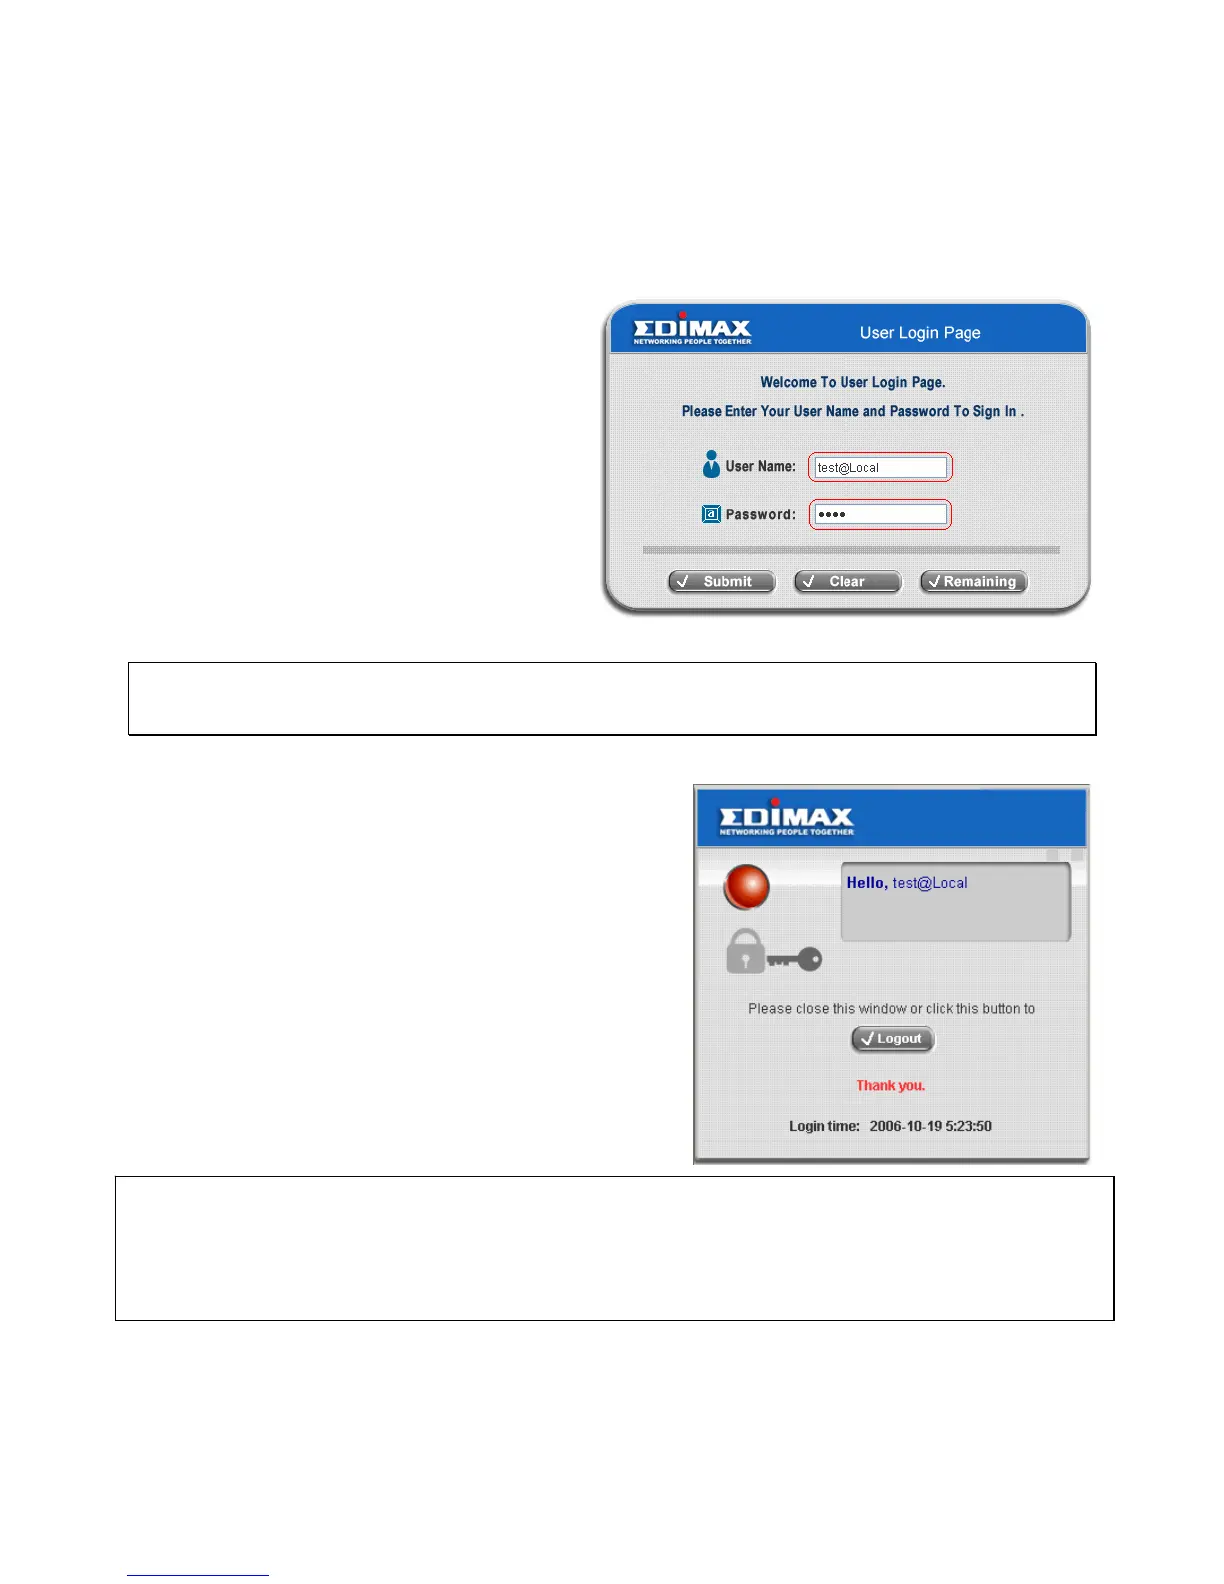
Congratulations!
Login page appearing means Edimax AC-M3000 has
been installed and configured successfully. Now, you
can access to the network.
Attention: For how to setup the “AP Management” feature, please refer to the “AP
Management” section of on the “Welcome to System Administration” page. The AP management
function of Edimax AC-M3000 supports Edimax 7206APg only. For other types of APs,
monitoring function is supported.
 Loading...
