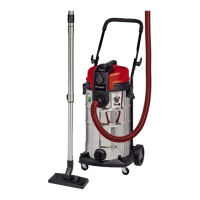
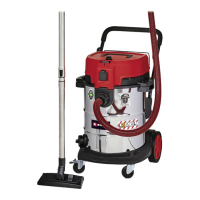
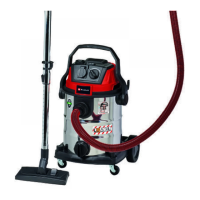
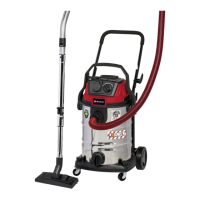
3. Intended use
The wet and dry vacuum cleaner is designed for wet
and dry vacuuming using the appropriate filter. The
appliance is not suitable for the vacuuming of
combustible, explosive or harmful substances.
The machine is to be used only for its prescribed
purpose. Any other use is deemed to be a case of
misuse. The user / operator and not the manufacturer
will be liable for any damage or injuries of any kind
caused as a result of this.
Please note that our equipment has not been
designed for use in commercial, trade or industrial
applications. Our warranty will be voided if the
machine is used in commercial, trade or industrial
businesses or for equivalent purposes.
4. Technical data
Mains voltage: 230 V ~ 50 Hz
Power input: 800 watts
Max. power consumption of the automatic socket-
outlet: 2600 watts
Max. total power consumption: 3400 watts
Container volume: 25 l
Weight: 9,7 kg
5. Before starting
Important!
Before you connect the appliance to the mains
supply make sure that the data on the rating plate
are identical to the mains data.
The appliance may only be connected to a shock-
proof socket.
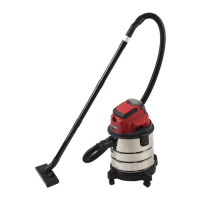
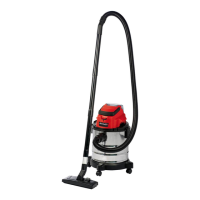
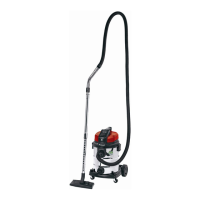
5.1 Assembling the appliance
5.1 Appliance assembly
Fitting the wheels (Fig. 4-11/13)
Place a split pin for fitting the wheels (31) through the
appropriate hole in the axle (28) and fit a washer (30)
and a wheel (13) to the axle (28) (Fig. 5-6). Now
slide the axle (28) through the guides provided for it
on the underside of the tank (10) (Fig. 7).
Fit the second wheel (13) to the empty end of the
axle (28) and secure it with the other washer (30)
and the split pin (31) (Fig. 8-10). Push the covers
(32) on to the outside of the wheels (13) so that the
detents engage on the covers (32) for the wheel (13).
(Fig. 11).
Fitting the castors (Fig. 12/12)
Fit the castors (12) into the appropriate mountings on
the underside of the tank (10). Push the castors (12)
firmly into the mounting until they engage with a
clicking noise (Fig. 12).
Fitting the appliance head (Fig. 5/14-15)
The appliance head (5) is fastened to the container
(10) by the locking hook (18). To remove the
appliance head (5), open the locking hook (18) and
remove the appliance head (5). When fitting the
appliance head (5), make sure that the locking hook
(18) locks into place correctly.
5.2 Fitting the filter
Important!
Never use the wet and dry vacuum cleaner without a
filter.
Check that the filter is securely fitted at all times.
Fitting the foam filter (Fig. 14/25)
For wet vacuuming, slip the supplied foam filter (25)
over the filter basket (Fig. 2/20). The pleated filter (24)
already fitted upon delivery is not suitable for wet
vacuuming.
Fitting the pleated filter (Fig. 15/24)
For dry-vacuuming, slip the pleated filter (Fig. 3/24)
over the filter basket (Fig. 2/20). The pleated filter (24)
is suitable for dry-vacuuming only.
5.3 Fitting the suction hose (Fig. 1-3)
Connect the suction hose (9) to the corresponding
connector on the wet and dry vacuum cleaner,
depending on the application required.
Vacuuming
Connect the suction hose (9) to the suction hose
connector (8).
Blowing
Connect the suction hose (9) to the blow connector
(19).
10
GB