EN
- 6 -
2. Layout and items supplied
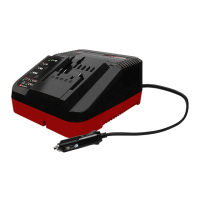
2.1 Layout (Fig. 1)
1. Charger
2. Power cable
3. Push lock button
4. Lithium-Ion battery (not included)
5. Battery capacity indicator
6. Battery capacity indicator button
3. Technical data
Charger
Input .............................120-127 V~60 Hz, 150 W
Output 1 ............................. 20 V
, 3000 mA
Output 2 .............................. 20 V
, 3000 mA
Important!
The charging unit is allowed to be used only for
the lithium-ion batteries of the Power X-Change
series!
Power X-Change
18V 1.5Ah PXC lithium-ion battery
18V 2.0Ah PXC lithium-ion battery
18V 2.5Ah PXC lithium-ion battery
18V 3.0Ah PXC lithium-ion battery
18V 4.0Ah PXC lithium-ion battery
18V 3.0Ah PXC Plus lithium-ion battery
18V 4.0Ah PXC Plus lithium-ion battery
18V 5.2Ah PXC Plus lithium-ion battery
18V 4.0Ah/6.0Ah PXC Plus lithium-ion battery
18V 5.0Ah/8.0Ah PXC Plus lithium-ion battery
4. Operation
The battery charger can be used to charge either
1 or 2 rechargeable batteries. By charging inde-
pendently you can also charge diff erent batteries
(e.g.: 2.0 Ah and 4.0 Ah) simultaneously for the
charging times stated on the charger.
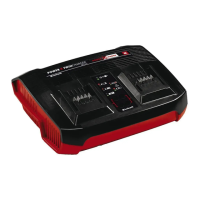
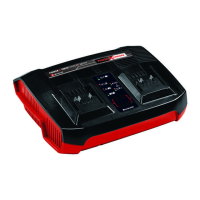
Fig. 2+3
1. Pull the battery pack (4) out of the handle,
pressing the push lock button (3) as you do
so.
2. Check that your mains voltage is the same as
that marked on the rating plate of the battery
charger. Insert the power plug of the charger
(1) into the socket outlet. The green LED will
then begin to fl ash.
3. Insert the battery pack (4) into the battery
charger (1).
4. In section 8 “Charger indicator“ you will fi nd a
table with an explanation of the LED indicator
on the charger.
If the battery fails to charge, please check:
•
Whether there is voltage at the power socket.
•
Ehether there is good contact at the charging
contacts of the charging unit is in place
If the battery still fails to charge, send:
•
The charging unit
•
And the rechargeable battery
to our customer service center.
Customer service:
Please fi nd contact information within the
separate service booklet.
Timely recharging of the battery will help it serve
you well for a long time. You must recharge the
battery pack when you notice that the power of
the cordless equipment drops.
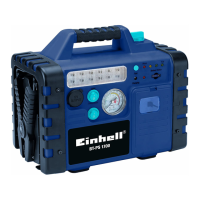
Mounting the charging unit on a wall (Fig. 4)
The charging unit can also be mounted on a wall.
The correct dimensions for drilling holes in the
wall can be found on the back of the charging unit.
Spacing distances
≥ 4'' (10 cm) from the wall (right + left)
≥ 40'' (100 cm) from the ceiling
Important!
When mounting on a wall you must use suitable
screws, e.g. pan-head screws, in order to prevent
damage to the housing and risk of falling.
5. Cleaning, maintenance and
ordering spare parts
Always pull out the power plug before starting any
cleaning work.
The equipment is not allowed to be stored in a
damp location or where there are caustic gases.
Keep it in a dry place out of the reach of children.
5.1 Cleaning
Keep the surface of the equipment clean and
wipe it only with a dry cloth.
Anl_PXC_Twincharger_3A_SPK7_USA.indb 6Anl_PXC_Twincharger_3A_SPK7_USA.indb 6 28.04.2022 09:04:0328.04.2022 09:04:03

 Loading...