1 2
3
4
ON
a b T T L
5
9
AN_ELA-100_EN_110216
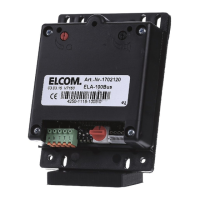
DoorspeakerELA-100
Microphone
Foamrubber
Installation:MailboxSystem
Toimprovetheaccusticproperties,the
microphoneshouldbepushedforward
andattacheddirectlytothesound
openingwiththeenclosedfoamrubber.
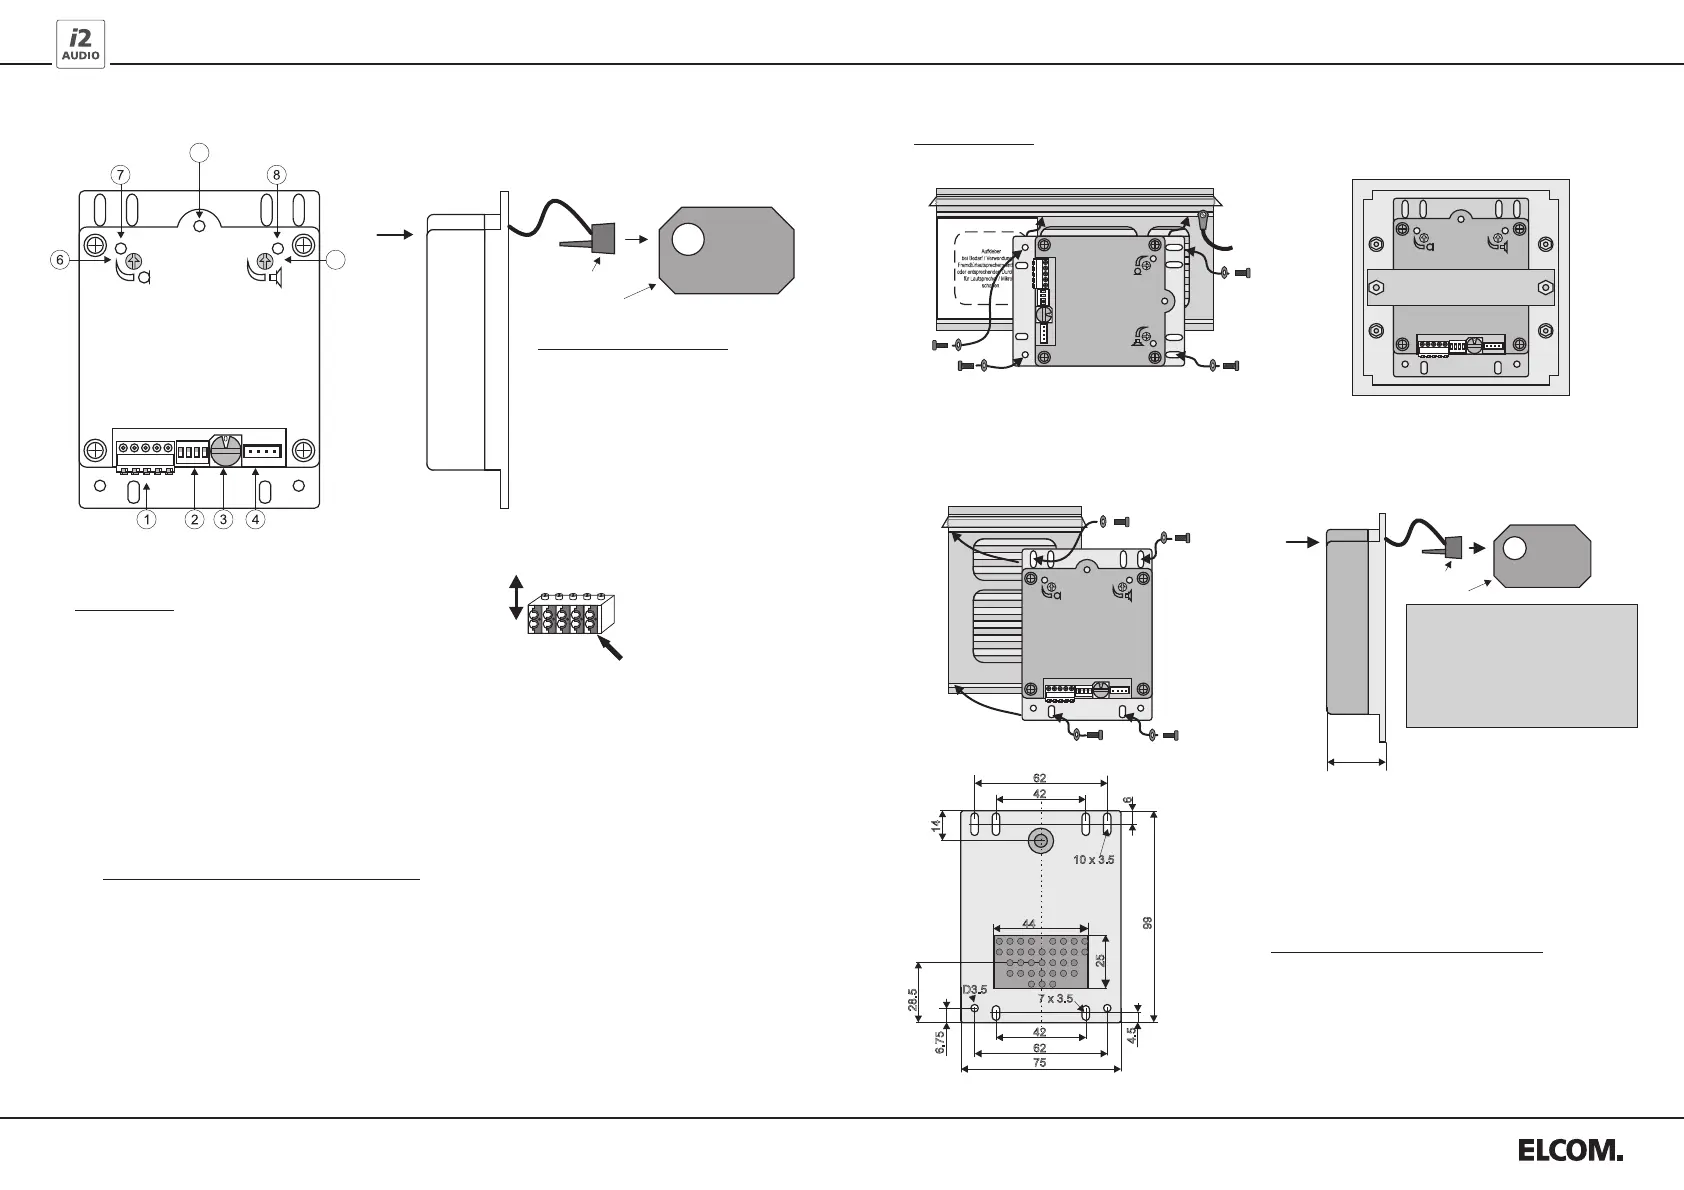
Description:
1. Plug-ableterminalclamps
2. OperatingModeSwitches
3.
4. Connectionfori2-BUSbuttonexpander(BTE-116)
5. Volumecontrol
6. Microphonecontrol
7. GreenLED:
8. RedLED:
9. Openingtopushoutthemicrophone
Terminala/b: ELCOMi2-BUS
Terminal T/T: Doorreleasewithrelaycontact(NO)(max.24V/1A)
TerminalL: Lightbuttonterminal(oppositepoletoterminalaorb)
Switch1:OFF= AudioDoorStation ON=VideoDoorStation
Switch2:OFF=DoorOpeningOnlyDuringConnection ON=DoorOpeningatall Times
Switch3:OFF= Acknowledgement Tones TurnedOff ON= Acknowledgement Tones TurnedOn
Switch4:Nofunction
(red)
Settings0-9: Addressesfordoorspeakerinprimarystrand
Settings A-F: Addressesfordoorspeakerinauxiliarystrand(sideentrance)
SpeechConnection
OutgoingCall
NOTE: Addressesmaynotbegiventwiceinaline.
RotaryCodingSwitch
Connecttheconductor:
Loosentheconductor:
Simplyinserttheconductor.
(Solidconductor0.4-0.8mm)
Presstheorangebutton.
Removetheconductor.
1 2
3
4
ON
a b T T L
Hotline: hotline@elcom.de
1 2
3
4
ON
a b T T L
99
28.5
14
7x3.5
42
75
42
62
62
D3.5
6.75
10x3.5
25
44
4.5
6
27,5
1 2
3
4
ON
a b T T L
Technicaladditionsandprintingerrorsdonotconstitutegroundsforanyclaimstodamages.
Art.Nr.:0221103
ELCOMintercomgrille
installationwithmountingbracket
ELCOMintercomgrille
PleasenoteourillustratedInstallationinstructions
forproperinstallationofthe
DoorspeakerinvariousBellplates
orletterboxese.g.RENZ,orJU.
Youcanfindtheseatourdownloadarea:
http://www.elcom-portal.de/webexplorer/
ELA_Anleitungen_Briefkasten_Einbau
InstallationontheELCOMintercomgrille
usingtheELCOMattachedscrews(M3x8).
Microphone
Foamrubber
Makesureofafreesoundin/output
forthemicrophoneandspeaker. To
improvetheacousticperformance,
themicrophonecanbepushedout
withascrewdriver,andcanbe
attachedwithfoamrubberdirectlyto
theintercomgrilleopening.
doorelectronicsslot
mountingbracket
Installation
ESTA /MODESTA Stationen
 Loading...