5-11
ARRIVING ON SITE
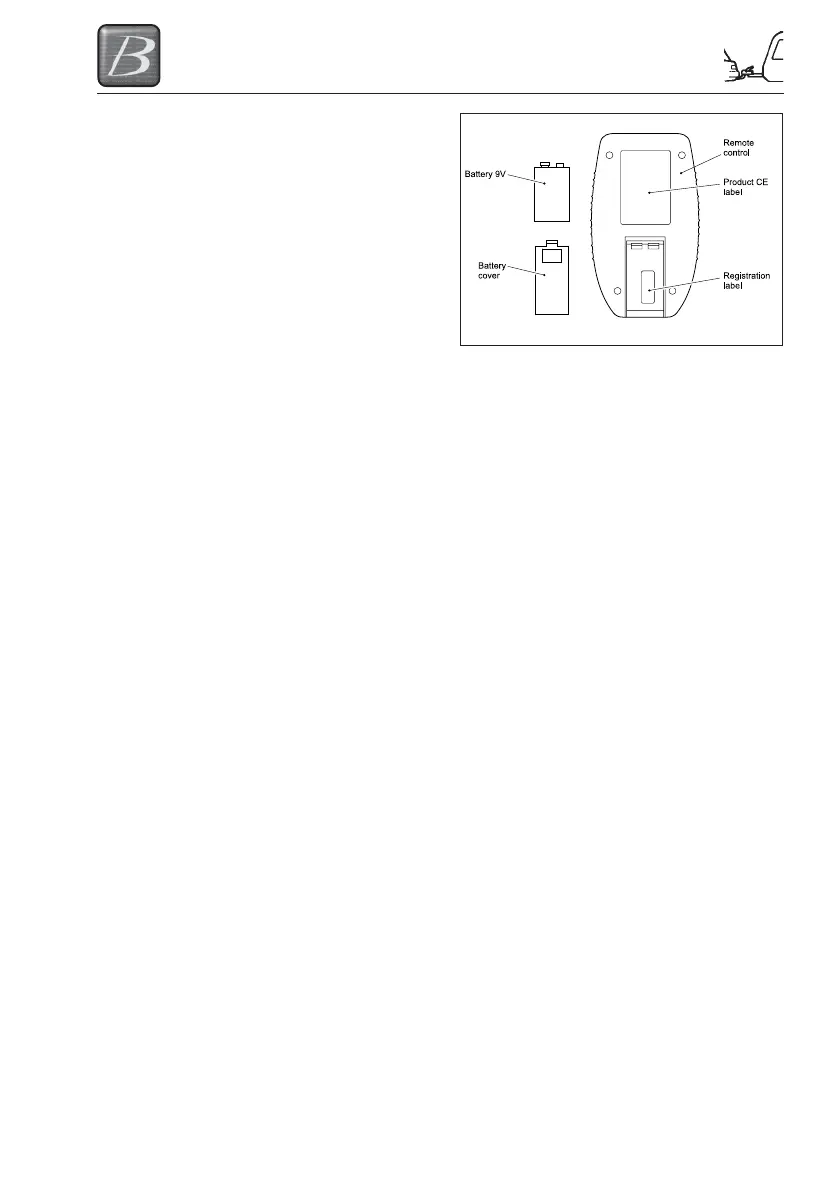
Battery
Remove the battery cover on the rear side of
the remote control by firmly pressing the
cover and then sliding out. Insert the 9V
battery carefully reassemble the battery
cover (in most common cases the battery is
already fitted).
Programming the remote control
Step 1 In order to pair the remote control to the system, remove the fuse (30 Amp) out of the
cable assembly from the hydraulic levelsystem.
Step 2 Press the buttons “AUTOMATIC MODE” (no.7) and “RETRACT ALL JACKS” (no.8)
simultaneously.
When done, the Indicator LED (no.14) with the surrounding 4 arrows starts blinking
GREEN/ORANGE rapidly. This means the remote control is looking for its receiver,
mounted within the operating system.
Step 3 Reconnect the fuse to the system.
- The pairing process should be made within a certain time (approx. 20 sec)
- The remote control turns off automatically.
- When the Indicator LED (no.14) goes off, the pairing process is complete.
Putting the remote control into use
After programming the remote control you now have the possibility to operate the levelsystem
with the remote control.
Step 1 Switch the remote control ON by pressing button “ON/OFF” (no.5) for at least 1
second.
Now the GREEN LED will light up by flashing. As long as you see this LED flashing,
the remote control is searching for contact with the operating system. When contact
is made the flashing stops.
The illumination of one or two ORANGE arrows on the indicator LED (no.14) central
on the control panel shows the position of the caravan.
In the unlikely event that the caravan is already level, then the indicator LED (no.14)
lights up GREEN.