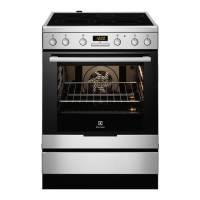
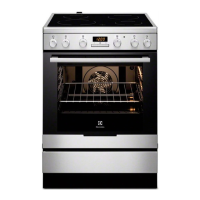
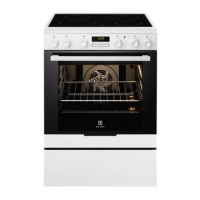
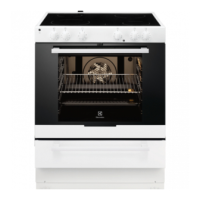
The ceramic hob
11
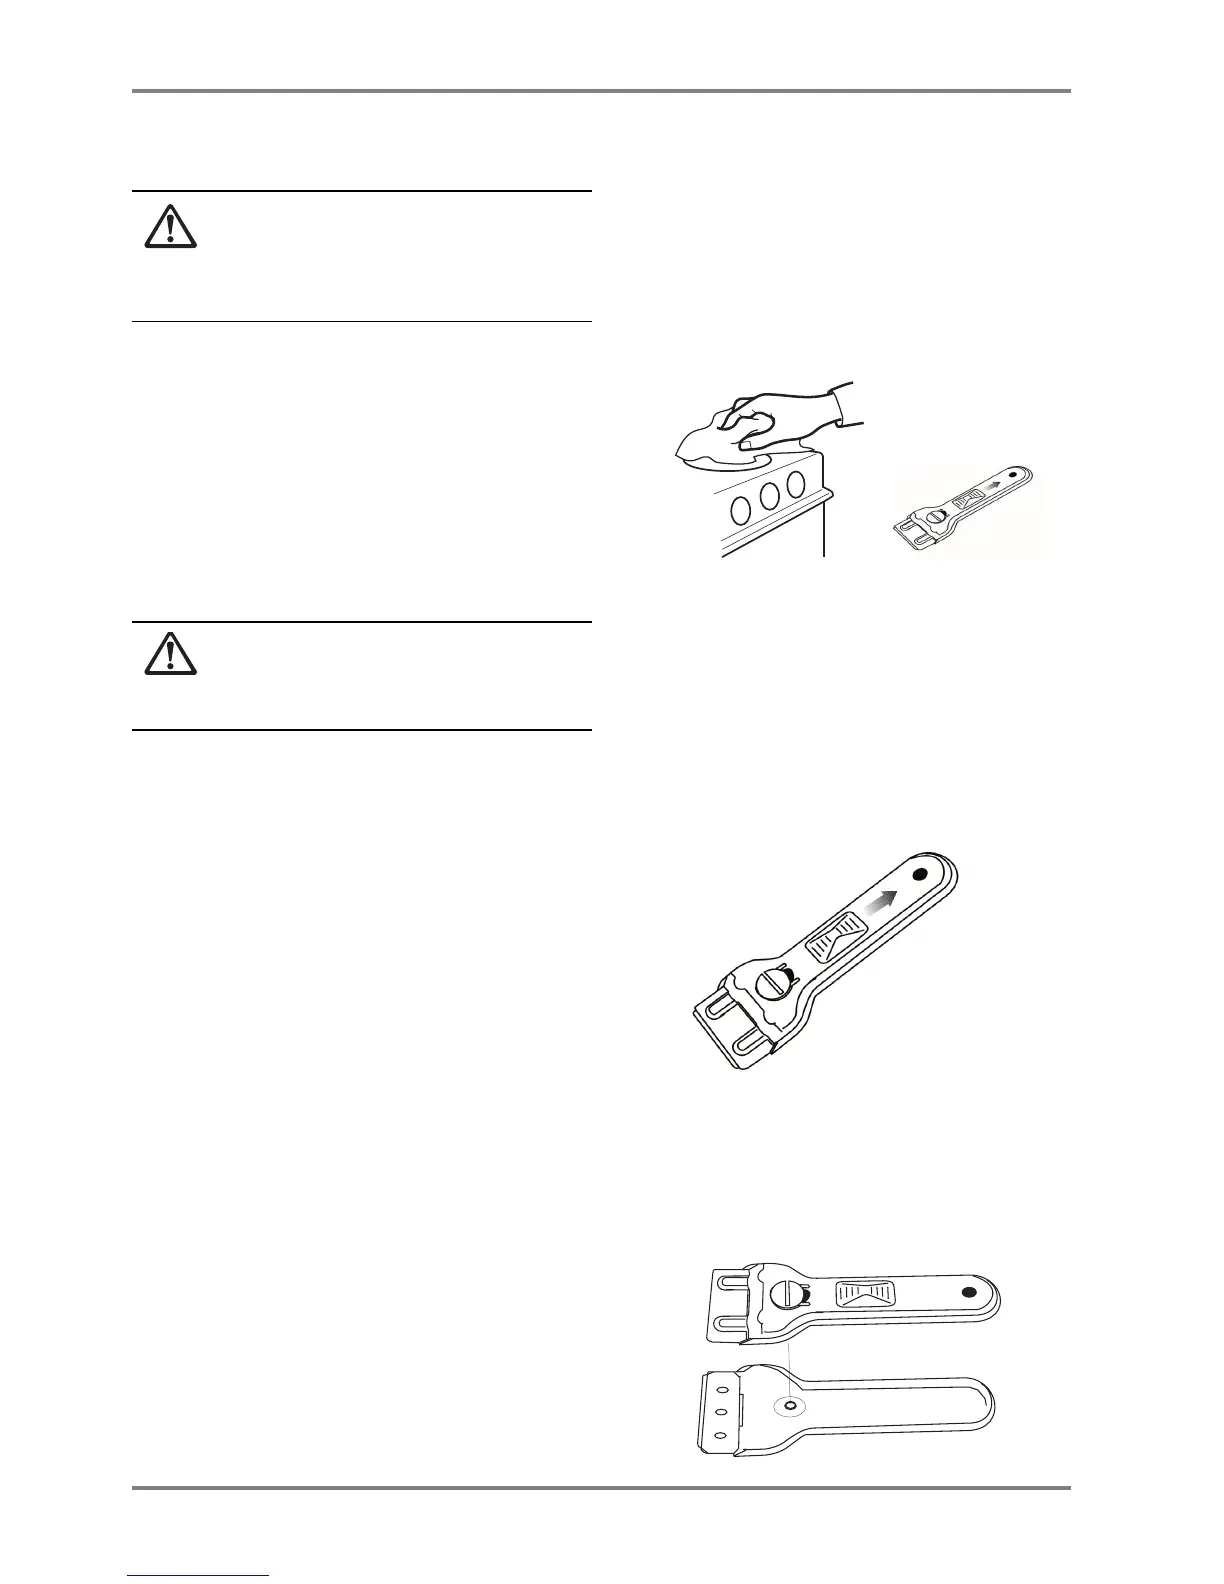
Cleaning the ceramic hob
Use the scraper supplied to remove spillages
immediately, while the hob is still hot, especially
sugar and foods with a high sugar content (e.g.
jam), melted plastics and foil, all of which can
damage the hob if left.
IF
THE
HOB
IS
VERY
SOILED
:
1 Remove soilage using the razor blade scraper (see below).
2 Use a hob cleaner product when the hot-hob warning
lights have all gone out. Shake the bottle and apply a
small quantity of cleaner directly onto the hob. Rub clean
using a damp cloth or paper towels.
3 Use a damp cloth to remove all remaining traces of the
cleaner, which could otherwise burn on when the hob is
next used. Wipe the hob dry.
Razor blade scraper
T
HE
RAZOR
BLADE
SCRAPER
SHOULD
BE
KEPT
WELL
OUT
OF
THE
REACH
OF
CHILDREN
. Use the razor
blade scraper carefully, as the razor blade is
extremely sharp.
Use the scraper to remove spillages from the ceramic
hob.
HOW
TO
USE
THE
RAZOR
BLADE
SCRAPER
:
1 Pull back the protective cover until the blade is visi-
ble (
SEE
ILLUSTRATION
).
2 Make sure that the razor blade is clean and not
worn. There is a risk, otherwise, that it might
damage the hob. New razor blades can be bought
from drugstores.
3 Angle the scraper at approx. 45° and scrap away
the spillage. The razor blade can be pressed
down hard onto the hob without causing any
damage.
4 Carefully clean the blade by wiping it with
kitchen roll paper.
5 When you have finished, press the protective
cover forwards as far as it will go. Keep the
scraper out of the reach of children.
CHANGING
THE
RAZOR
BLADE
:
1
Open the scraper by completely unscrewing the
screw (no screwdriver needed) and then place the
new razor blade at the front edge.
2
Put the scraper together again and screw the
screw back into place.
3
Press the protective cover forwards as far as it
will go to cover the razor -blade.