IInnssttaallllaattiioonn IInnffoorrmmaattiioonn
2-9
FFiigguurree 22--88.. CCaabbiinneett GGlliiddee TTaabb
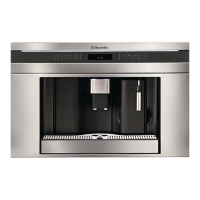
IInnssttaalllliinngg tthhee UUnniitt iinn tthhee CCaabbiinneett
While supporting the coffee maker from below, insert it
into the cabinet cutout. As you insert it into the cabi-
net, line up the glides on the appliance with the cabinet
glides. The appliance should glide on the rails when
slight pressure is applied to the front of the coffee
maker. If it does not glide smoothly, check the distance
between the glides again.
As you slide the coffee maker into the cabinet the
locking tab on the glides will engage. (See Figure 2-8)
CCooffffeeee mmaakkeerr RReemmoovvaall
If you need to remove the unit from the cabinet:
1. Disconnect the power plug from the power
receptacle.
2. Press the respective locking tabs on the glides and
remove the appliance, supporting it from below.
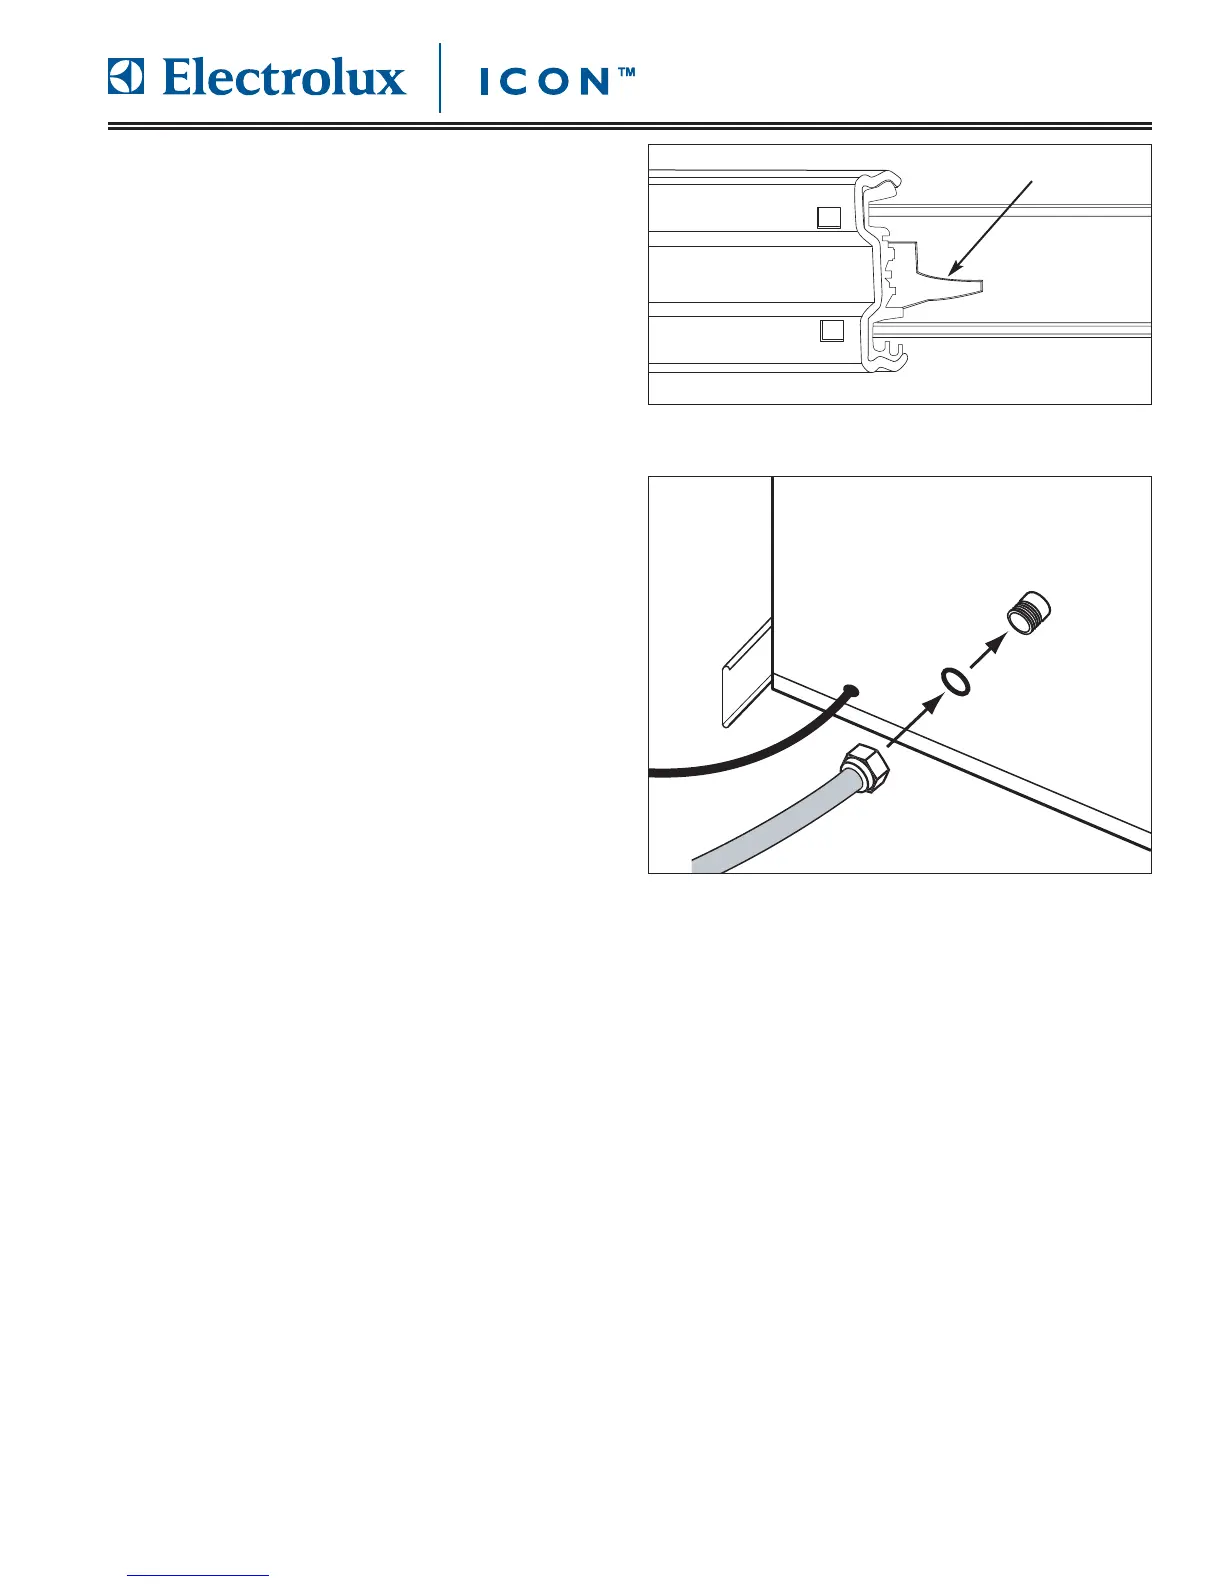
CCoonnnneeccttiinngg tthhee PPlluummbbiinngg ((EE2244CCMM7766GGSSS
S))
1. Insert the 3/4” gasket into the 3/4” fitting on the
water supply hose. Make sure it is properly seated.
2. Connect the 3/4” end of the hose to the water inlet
on the back of the coffee maker.
3. Insert the 1/4” gasket into the 1/4” fitting on the
water supply hose. Make sure it is properly seated.
4. Connect the other end (1/4”) of the hose to the
water supply.
Locking Tab
FFiigguurree 22--99.. WWaatteerr CCoonnnneeccttiioonn