4
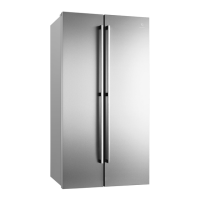
REMOVING THE DOORS / INSTALLING DOOR HANDLES
Getting through narrow spaces
Ifyourrefrigeratorwillnottthroughanentrancearea,youcanreduceits
sizebyremovingthedoors.Checkrstbymeasuringtheentrance.
To prepare for removing the doors:
1 Makesuretheelectricalpowercordisunpluggedfromthewalloutlet.
2 Openbothdoorsandremovethetoegrille(asexplainedinthe
Installation Instructions that came with your appliance).
3 Remove any food from the door shelves.
4 Close the doors.
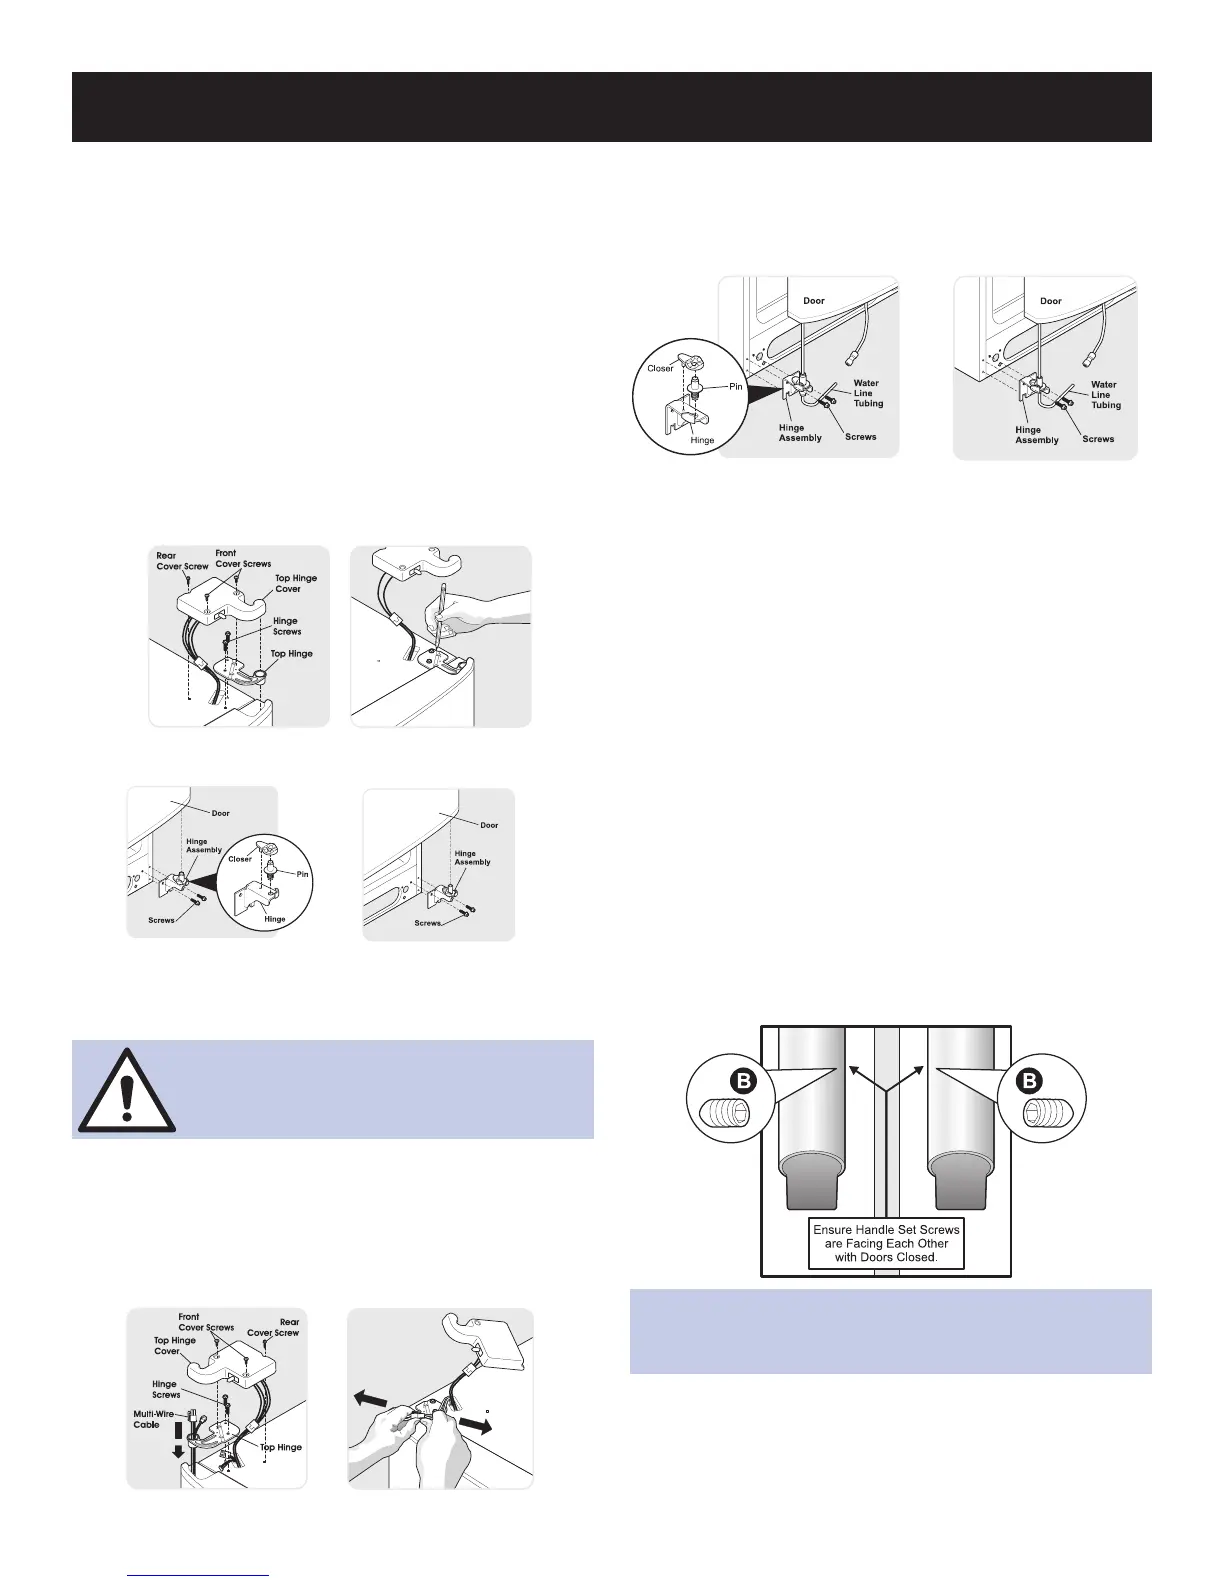
To remove the refrigerator top hinge cover:
1 Removethethreescrewsfromeachcoveroverthetopdoorhinges.
2 Lifthingecoverstraightupandoff.
To remove the refrigerator door:
1 Tracelightlyaroundthedoor’stophingewithapencil.Thismakes
reinstallation easier.
2 Removethetwoscrewsfromthetophinge.Liftthedooroffofthe
bottomhingeandsetitaside.
Adjustable Hinge
(some models)
To remove the freezer top hinge cover:
1 Removethetwoscrewsfromeachcoveroverthetopdoorhinges.
2 Lifthingecoverstraightupandoff.
To remove the freezer door:
1 Detachthemulti-wirecableconnectorlocatedabovethetop
hinge.Graspbothsidesoftheconnectorrmlyandpullapart.
2 Tracelightlyaroundthehingewithapencil.Thismakes
reinstallation easier.
3 Detachthewatertubefromtheconnector locatedbelowthe
freezerdoor.Theconnectorreleaseswhenyoupressitsouter
sleeve inward.
4 Removethescrewsfromthetophingeandpullthemulti-wire
cablethroughit.Liftthedooroffofthebottomhinge.
5 Removethetwobottomhingescrewsandhingeifnecessary.
6 Laythedooronitssidetoavoiddamagetothewatertube
extendingfromthebottomhinge.
Toreinstallthefreezerdoor,reversetheabovesteps.
Oncebothdoorsareinplace,ensuretheyarealignedwitheachother
andlevel(Pleasesee“Tolevelthedoorsusingthelowerhinge”for
modelswithadjustablelowerhingesor“Tolevelthecabinetusingthe
frontrollers”formodelswiththenon-adjustablelowerhingesinthe
“Installation”section.),thenreplacethetophingecover.
3 Removethetwobottomhingescrewsandhingeifnecessary.
Toreinstalltherefrigeratordoor,reversetheabovesteps.
Non-Adjusting Hinge
(some models)
Non-Adjusting Hinge
(some models)
Adjustable Hinge (some models)
Door Handle Mounting Instructions
1 Removehandlesfromcartonandanyotherprotectivepackaging.
2 Positionfreezerhandleendcapsoverupperandlowerpre-
installedshoulderbolts(A)thatarefastenedintodoor,ensuring
theholesforthesetscrewsarefacingtowardstherefrigerator
door.
3 Whileholdinghandlermlyagainstdoor,fastenupperandlower
Allensetscrews(B)withsuppliedAllenwrench.
4 Repeatsteps2and3toinstallrefrigeratorhandle.Ensurethe
holesforthesetscrewsarefacingtowardsthefreezerdoor.
CAUTION - Be sure doors are set aside in a
secure position where they cannot fall and
cause personal injury.
NOTE-Allsetscrewsshouldbetightenedandsub-ush(Allenset
screwshouldbeseatedjustbelowthesurfaceoftheendcap)ofhandle
endcap.Theendcapsshouldbedrawntighttofreezerandrefrigerator
doorswithnogaps.