8
Installation
Prepare the hood
NOTE
On stainless steel hoods, carefully remove the
plastic protective film from all exterior surfaces
of the hood and decorative flues, prior to final
installation.
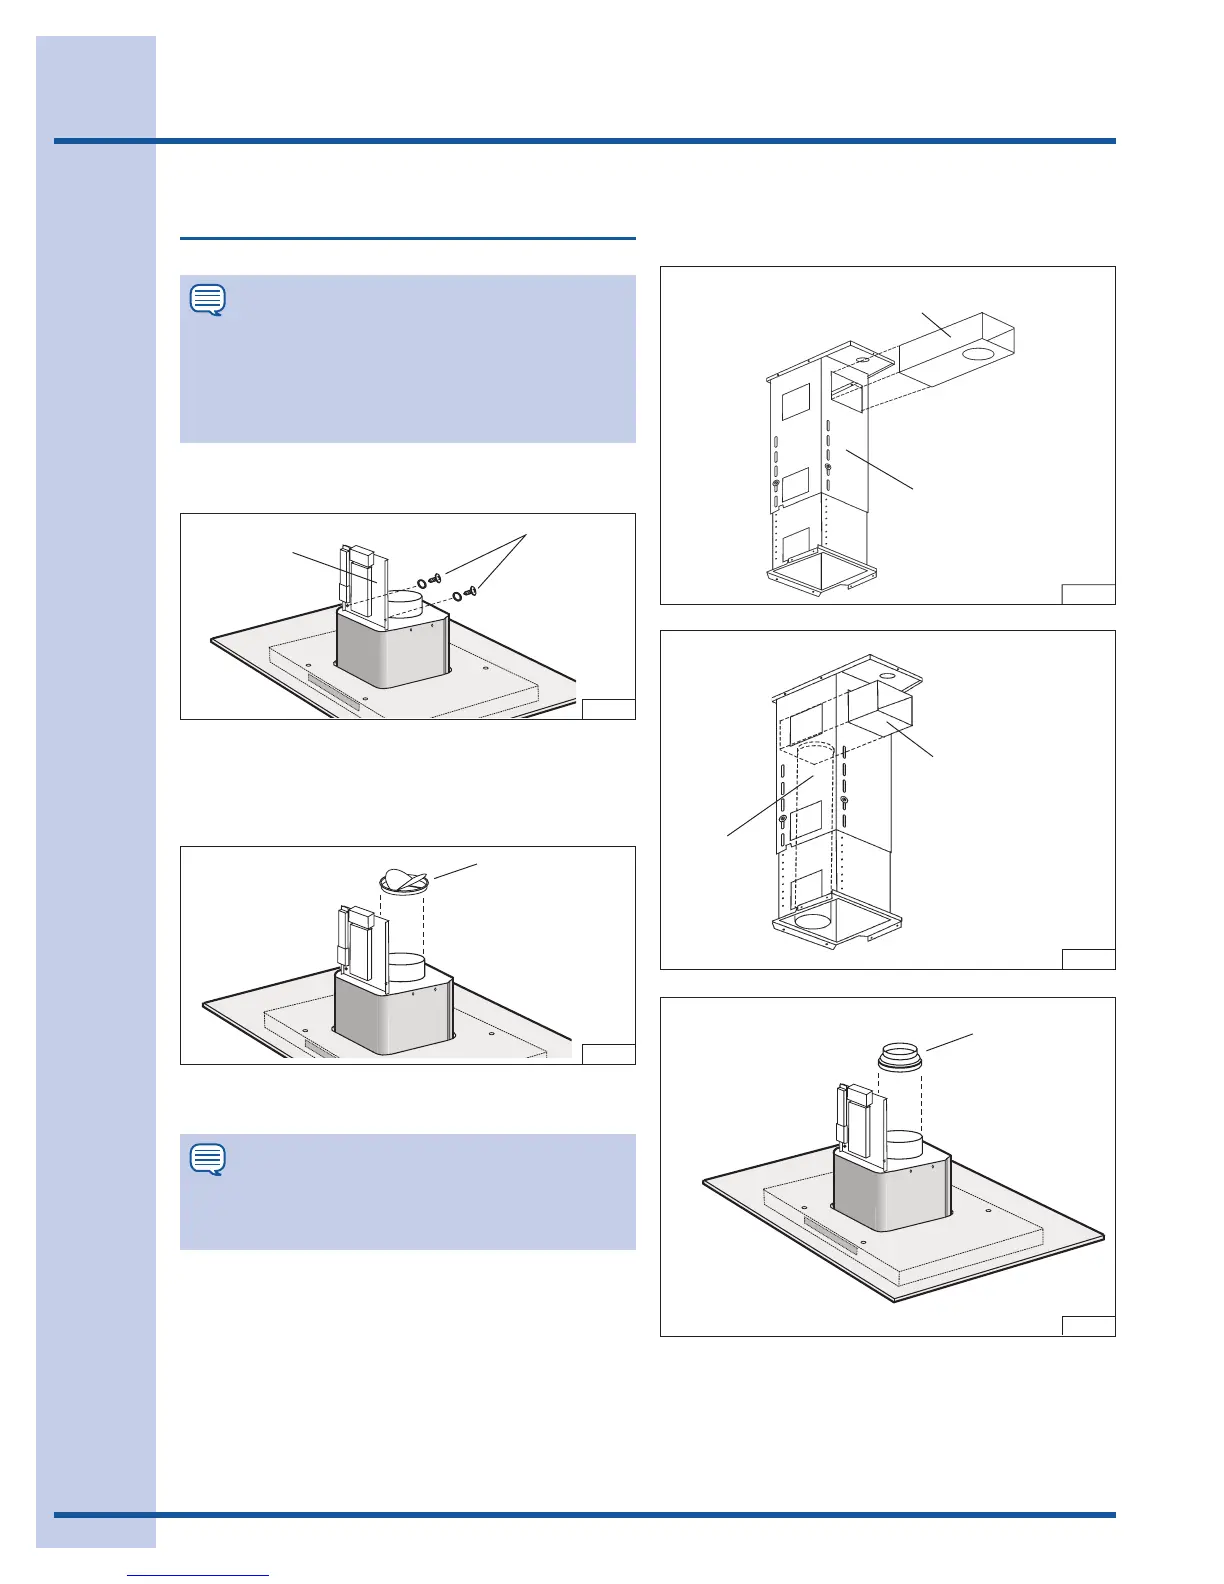
Fix the electrical mounting plate with (2) 3.9x9.5mm
screws and (2) serrated washers. Fig. 3.
FIG. 3
DUCTED CONFIGURATION
Mount the discharge collar above the hood. Fig. 4.
FIG. 4
NON- DUCTED CONFIGURATION
NOTE
Purchase a Non-ducted recirculation KIT from
your dealer (Model DFKTPC40EC).
1. Insert the non-ducted recirculation plenum through
the support frame openings. Fig. 5.
2. Through the support frame openings fit the duct
connector to the plenum locking it with a turning
movement. Fig. 6.
3. Fix a 5” duct to the duct connector of the non-ducted
recirculation plenum. Fig.6.
4. Mount the 6”/5” adapter above hood. Fig. 7.
FIG. 5
ELECTRICAL MOUNTING
PLATE
MOUNTING
SCREWS
(3.9x9.5mm)
DISCHARGE
COLLAR
NON-DUCTED
RECIRCULATION PLENUM
DUCT
CONNECTOR
5” DUCT
FIG. 6
6”/5”
ADAPTER
FIG. 7
FRONT
 Loading...