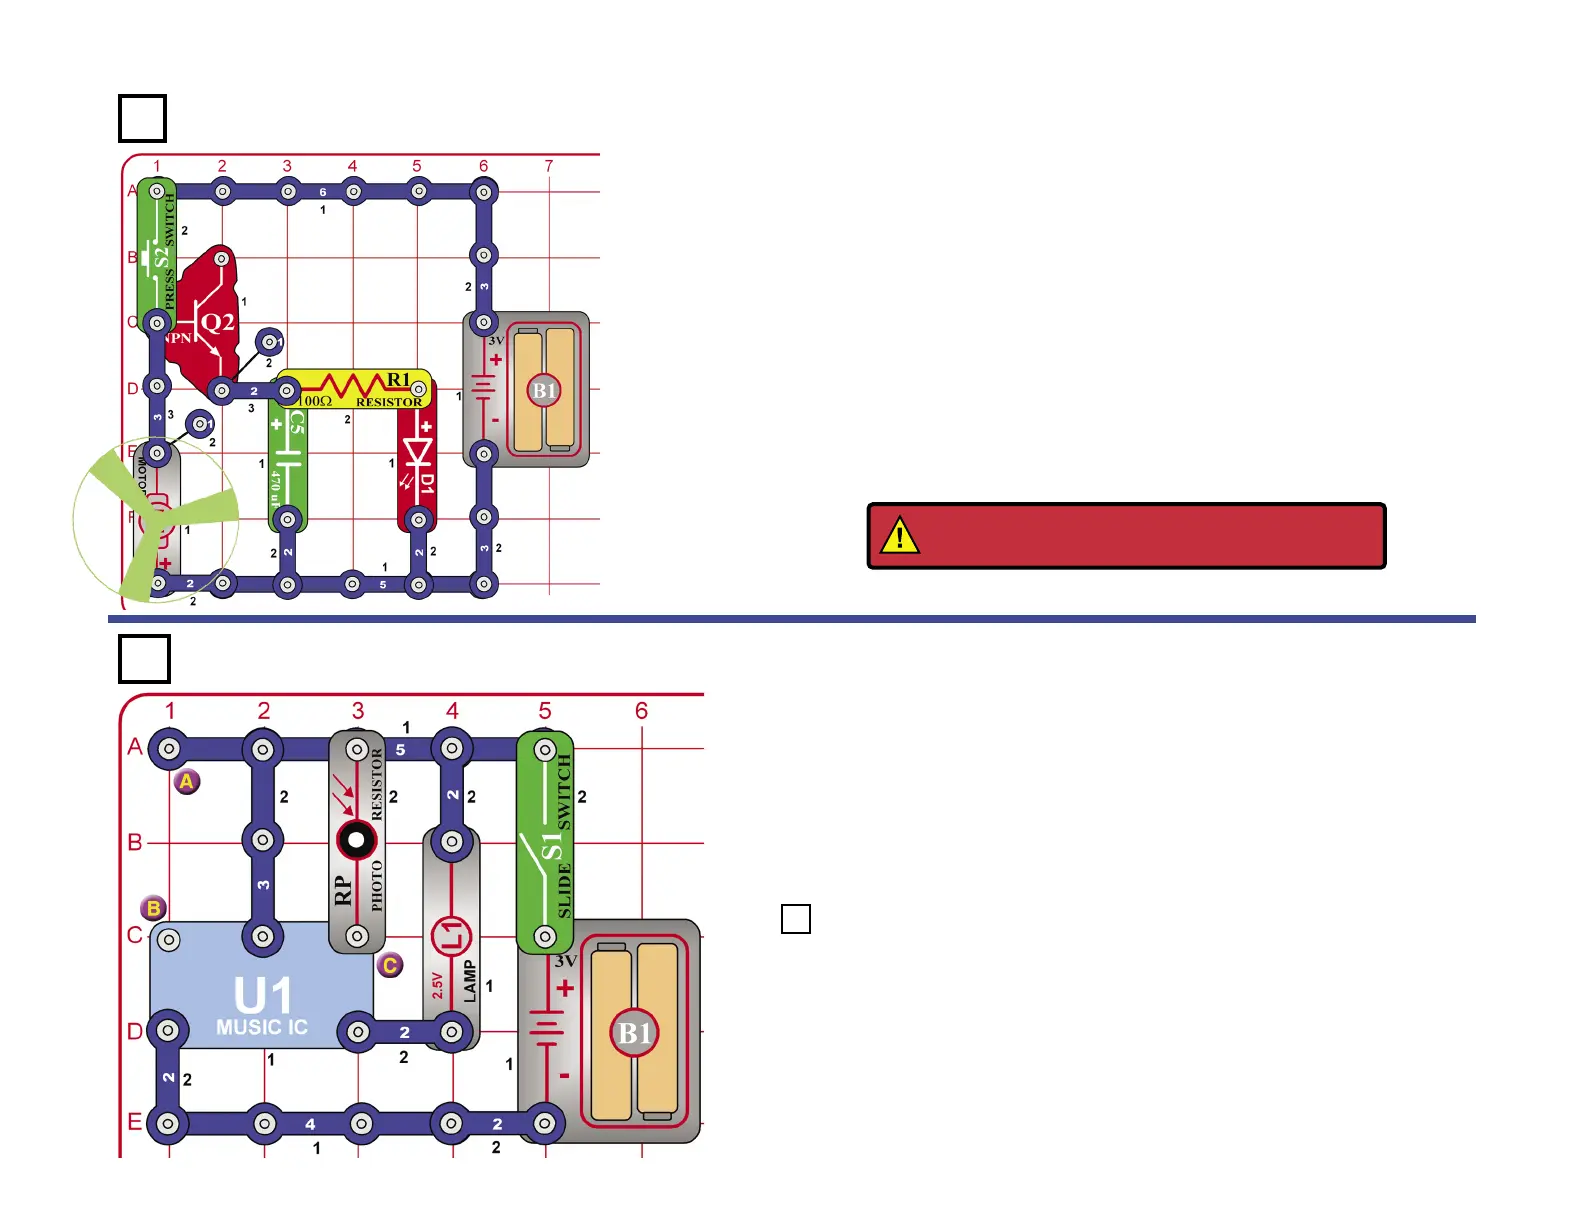
21
Long Gone Light
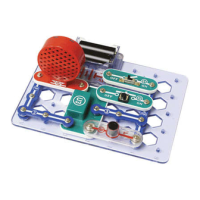
Push the press switch (S2). If the fan is off the motor (M1) (or ies off)
then the LED (D1) will be bright.
It takes a lot of current to spin the motor when the fan is on it, and
the voltage drops because the batteries (B1) cannot supply enough.
When the fan ies off, the current drops and the voltage rises. The
NPN transistor (Q2, used here as a diode) and 470mF capacitor (C5)
are a detector circuit, which measures the voltage at the motor.
Light-controlled Lamp
Build the circuit to the left. Cover the photoresistor (RP), turn the slide switch
(S1) on, and notice that the lamp (L1) is off after several seconds. Place
the unit near a light and the lamp turns on. Cover the photoresistor again.
The lamp turns off. The resistance of the photoresistor decreases as the
light increases. The low resistance acts like a wire connecting point C to the
positive (+) side of the battery activating the music IC (U1).
Use the preceding circuit. Remove the photoresistor (RP) and connect
the motor (M1) across points A & B. The lamp (L1) lights for a few
seconds and then turns off. Turn the slide switch (S1) on and turn the
shaft of the motor and the lamp will light. As the motor turns, it produces
a voltage. This is because there is a magnet and a coil inside the motor.
When the axis turns the magnetic eld will change and generate a
small current in the coil and a voltage across its terminals. The voltage
then activates the music IC (U1).
Project 111 Motor-controlled Lamp
WARNING: Moving parts. Do not touch the fan or
motor during operation. Do not lean over motor.
Project 110
Project 109