Page 3011822 1-888-651-3431
ASSEMBLY
Step 1: Unload all contents from box and check to make sure all parts and components are present.
Step 2: Thread knob into the 4 Bike Arm Bars (G). Set these parts aside. Repeat until all 4 Bike Arm
Bars have in them. Set these parts to the side.
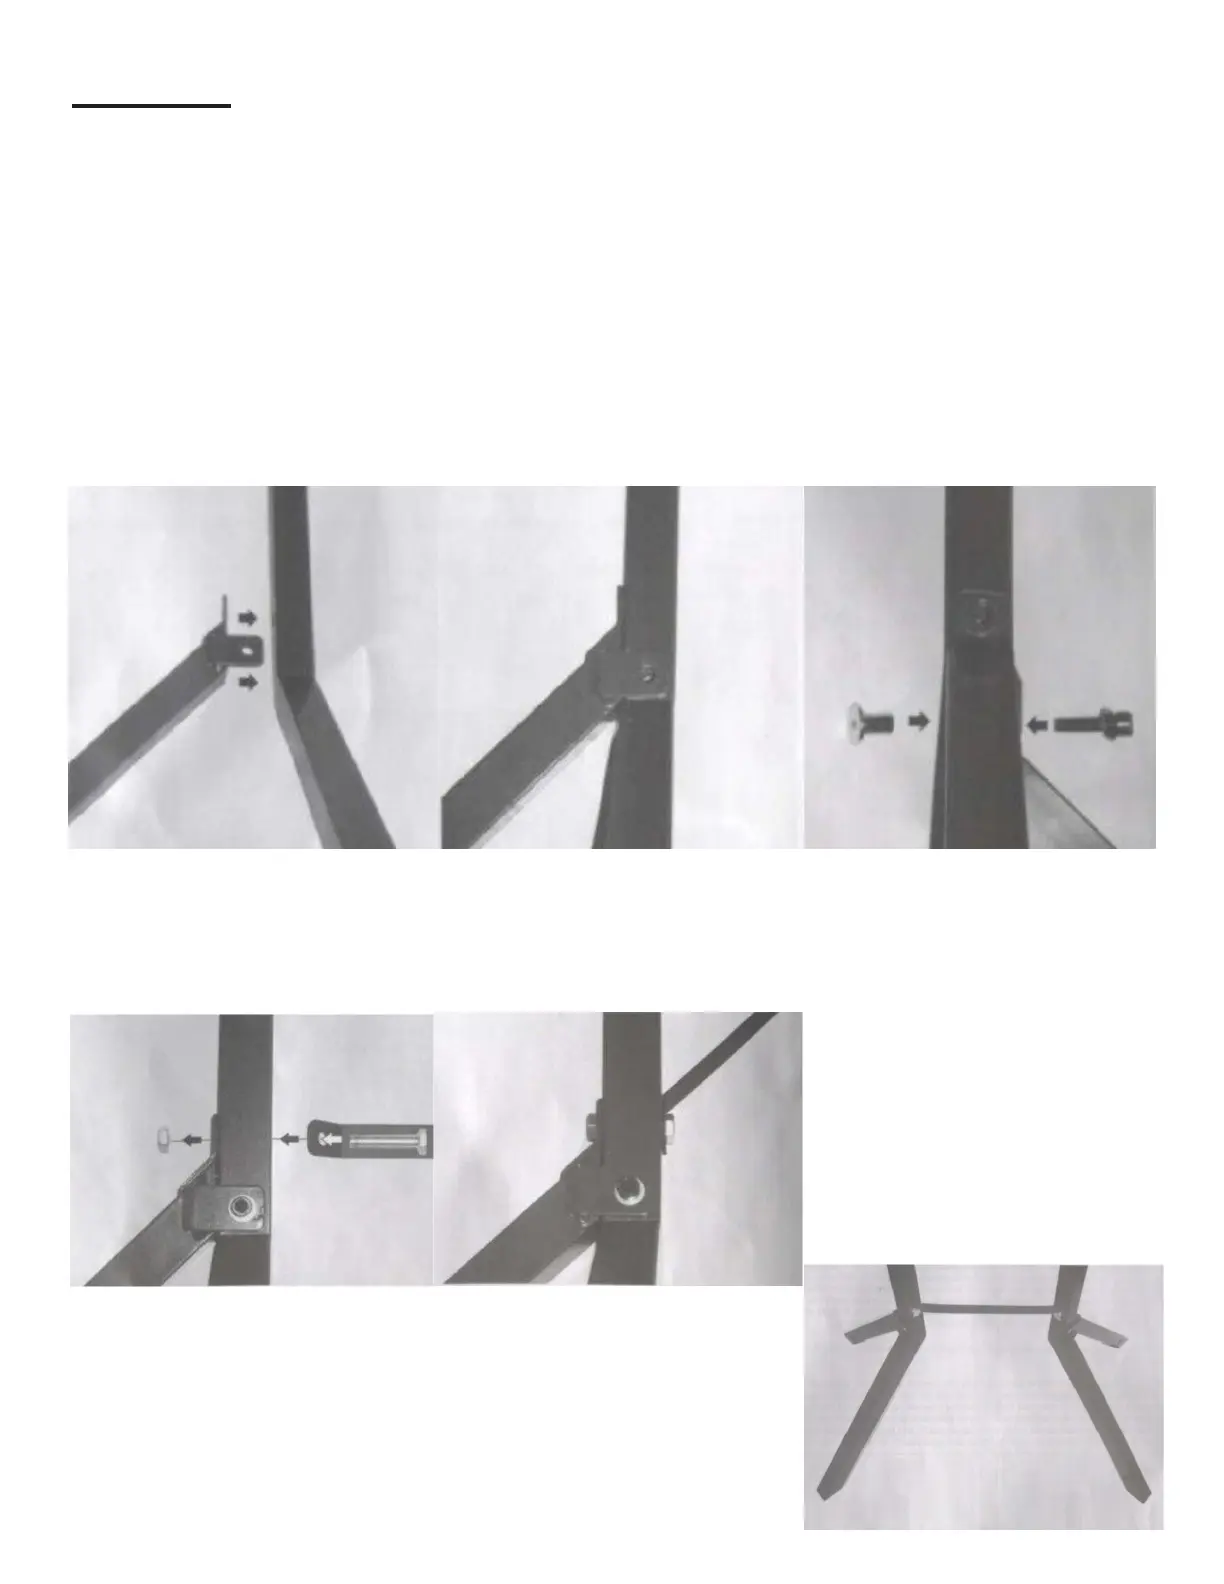
Step 3: For this step you will need 1 Part B, 1 Part C, 1 Long SHC Screw, 1 Washer, 1 Cap Nut, the
Small Hex Key, and the Large Hex Key,
Attach Part B to Part C using 1 Long SHC Screw, 1 Washer and 1 Cap Nut. Line up Part B to Part C
as shown in the image below. Insert the Cap Nut into the back side of Part B and hold in place. Insert
the Long SHC Screw into Part C and the Cap Nut inside of Part B. Tighten by hand or Hex Key but do
not tighten completely. Repeat with other Part B and Part C
Step 4: For this step you‘ll need the Parts B/C assembly you just created, other Parts B/C assembly, 1
Bolt, 1 Nut. Attach Part F to Part B and Part C with a 13mm bolt and nut as shown in the image below.
Hand tighten.
Repeat the Steps from Step 3
to attach Part F to the other
Parts B/C assembly as shown in
the image below.
B BC C
B B
C C
F
F
 Loading...