Page 40118 22 1-888-651-3431
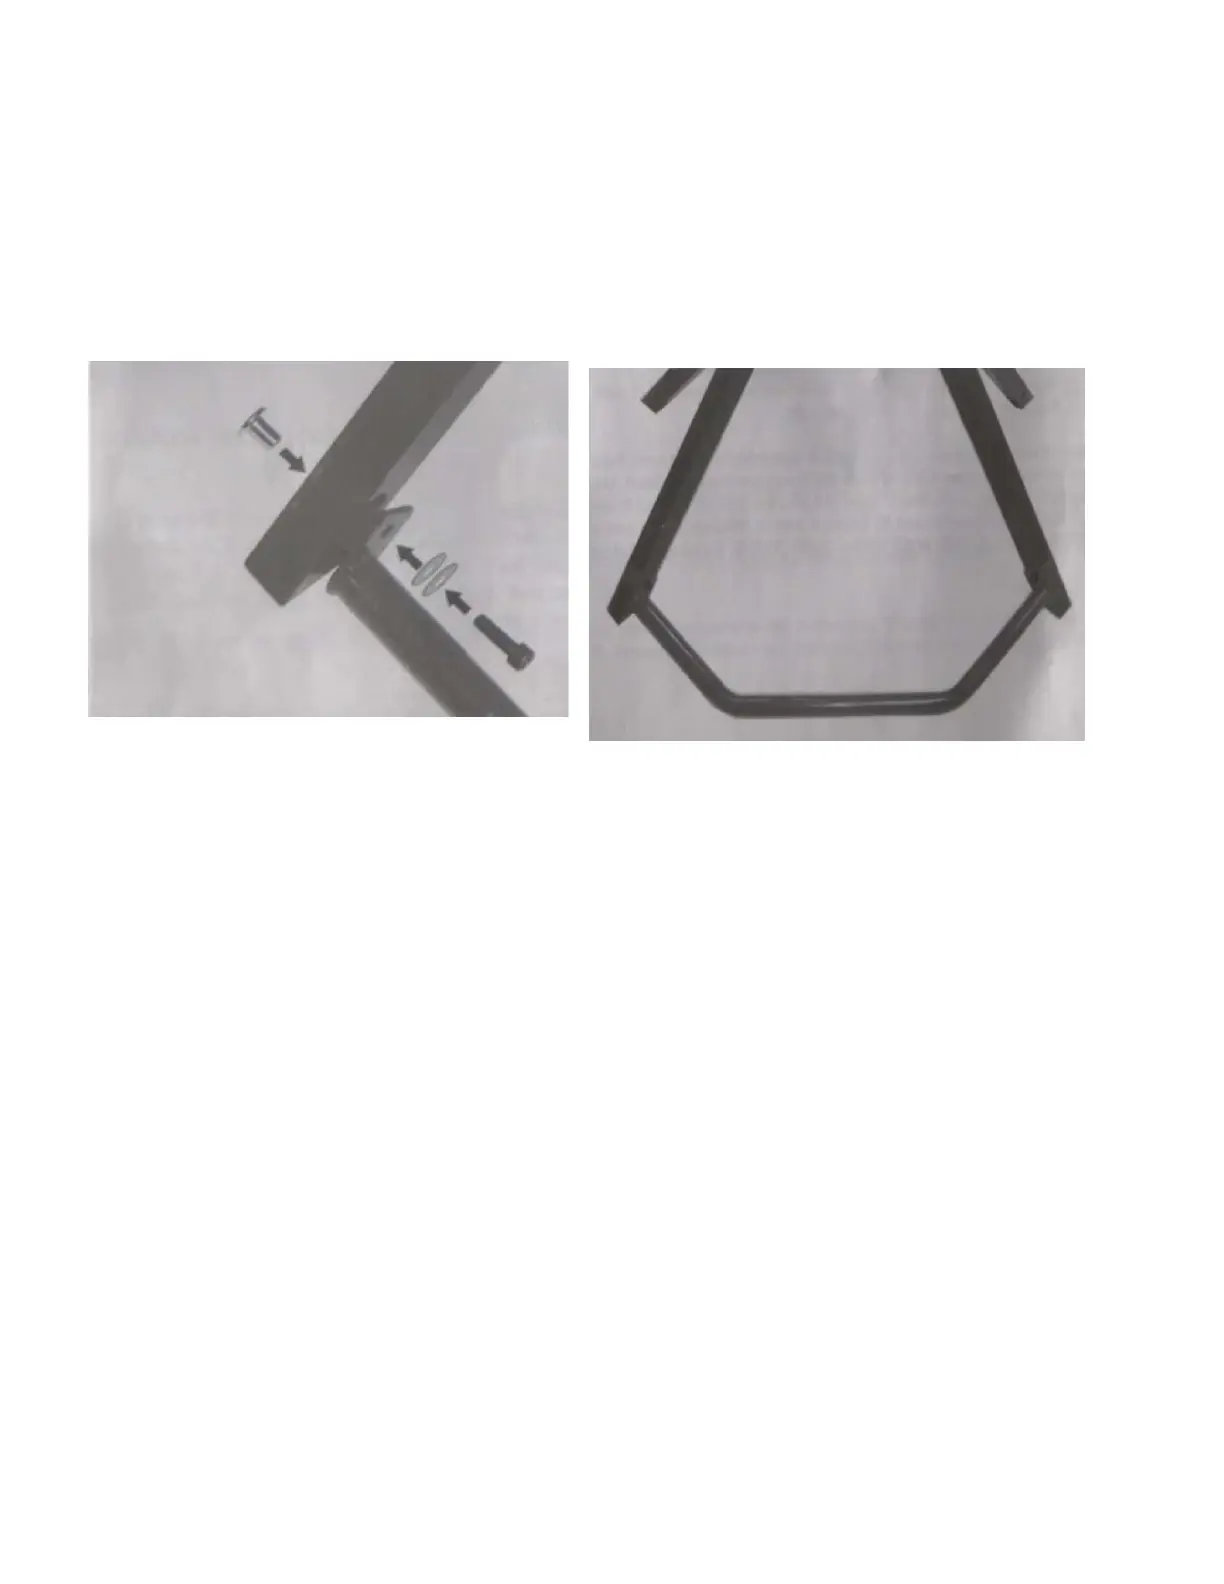
Step 5: In this Step you will need the assembly imaged above and Part D, 2 Long SCH Screws, 4
Washers, and 2 Cap Nuts.
Line up Part D so the holes line up with the holes on the forward legs of the above assembly. Insert 1
Cap Nut into the back of the above assembly mounting hole and hold it in place. Insert 1 Long SHC
Screw through 2 Washers, Part D, above assembly, and into the Cap Nut. Tighten by hand or with
Hex Key but do not tighten completely.
Step 6: For this step you’ll need both the Large and Small Hex Keys and the assembly we’ve been
creating.
Finish tightening all the SHC Screws and Bolts that you’ve hand-tightened up to this point. Place
the assembly on the oor in the area you intend to use it and make sure Part D is at and level on
the oor. All four legs must touch the oor. Make slight adjustments as needed to ensure that the
assembly is as level as possible, and check/adjust periodically as needed.
Tip: Have a second person assist with adjusting legs and stabilizer base while the rst person tighten
the SHC Screws and Bolts.
D
D
C
 Loading...