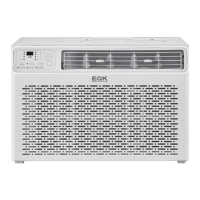
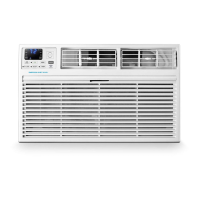
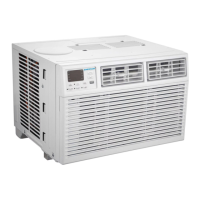
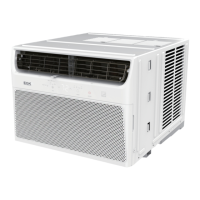
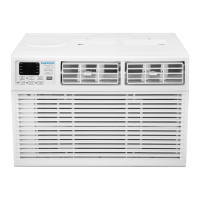
This document is the owner's manual for an Emerson Quiet Kool window air conditioner. It provides comprehensive instructions for installation, operation, and maintenance of the unit, ensuring users can achieve optimal performance and longevity from their appliance. The manual covers models EARC6RE1, EARC8RE1, EARC8RSE1, EARC10RE1, and EARC12RE1.
The primary function of this device is to provide cooling and dehumidification for indoor spaces by being installed in a window. It is designed for high-efficiency operation, aiming to create a comfortable indoor environment. The air conditioner also offers various modes to suit different user preferences and environmental conditions, including cooling, drying, fan-only operation, and an automatic mode.
Usage Features:
The air conditioner is controlled via an electronic control panel located on the unit and a remote control, both offering a range of functions for user convenience.
- Digital Display: The control panel features a digital display that shows the set temperature. In Fan Mode, it displays the room temperature. When setting the timer, it shows the time.
- Temperature Adjustment: Users can increase or decrease the set temperature using the "∧" and "∨" buttons on both the control panel and the remote. The temperature range is adjustable from 61°F to 88°F (16°C to 31°C).
- Power Control: A dedicated power button allows users to turn the air conditioner on or off.
- Mode Selection: The "Mode" button cycles through different operational modes:
- Cool Mode: This is the primary cooling function, which also reduces humidity. Users can adjust the temperature and fan speed to optimize cooling.
- Dry Mode: Designed to reduce indoor humidity, making the room more comfortable. This mode activates an automatic function that alternates between cooling cycles and fan operation.
- Fan Mode: In this mode, the unit only circulates air without cooling. Users can select different fan speeds (HI, MED, LO). When using the remote, it stores the previously selected fan speed.
- Auto Mode: The unit automatically selects the appropriate fan speed and mode (Cool, Dry, or Fan) based on the room temperature, which is detected by a sensor in the indoor unit.
- Timer Function: The timer button on both the control panel and remote allows for scheduled operation:
- Timer Off: Users can program the unit to turn off after a set period. This is done by pressing the timer button, then using the "∧" or "∨" buttons to select the desired stop time, and pressing the timer button again to confirm.
- Timer On: When the unit is off, users can program it to turn on at a specific time. This involves pressing the timer button, setting the temperature, pressing the timer button again to set the start time, and a third press to confirm.
- The timer can be set for 0.5 to 24 hours, with 0.5-hour increments below 10 hours and 1-hour increments for 10 hours or above. A "SET" light illuminates during timer setting. The timer function can be canceled by pressing the timer button again.
- Eco Mode: When activated, the unit's light turns on. In Eco mode, the air conditioner turns off once the room reaches the user-set temperature, and the fan also stops. It will turn back on when the room temperature rises above the set point. Before the compressor starts, the fan motor runs briefly, then stops, and repeats this cycle to provide comfort and save energy.
- Sleep Mode: Pressing the "Sleep" button activates this mode, illuminating the Sleep Light after 10 seconds and turning off other display lights. In Sleep mode, the air conditioner automatically adjusts the temperature and fan speed for nighttime comfort. The set temperature gradually increases by 1°F every 30-60 minutes, up to a maximum of 28°F. The total run time in this mode depends on the set temperature.
- Fan Speed Control: The "Fan Speed" button allows users to select fan speeds (HI, MED, LO, or AUTO) in Cool mode, and HI, MED, or LO in Fan mode.
- Display Control: A "Display" button on the remote allows users to switch all lights or the LED display on or off.
- Directional Louvers: The unit features horizontal wheels and air deflectors to control both horizontal and vertical airflow, allowing users to direct the air as desired.
- Remote Control Batteries: The remote control uses AAA batteries. Users are advised not to mix old and new batteries or different types of AAA batteries.
Maintenance Features:
Regular maintenance is crucial for the air conditioner's efficiency and lifespan. The manual outlines simple steps for cleaning and storage.
- Air Filter Cleaning: The air filter should be checked monthly for cleanliness. A "Filter Check" light automatically illuminates after 500 hours of fan motor operation as a reminder. A dirty filter can restrict airflow and cause frost buildup on cooling coils. To clean:
- Remove the filter by pulling down on the indents of the filter door.
- Wash the filter with liquid dish soap and warm water, rinsing thoroughly.
- Gently shake off excess water and let it dry completely before reinserting.
- Alternatively, the filter can be vacuumed to remove dust and particles.
- Cabinet Cleaning: To clean the exterior cabinet:
- Always unplug the air conditioner first to prevent electrical shock or fire hazards.
- Dust the cabinet and front panel with an oil-free cloth or wash with a cloth dampened in a solution of warm water and mild liquid soap.
- Rinse thoroughly with a damp cloth and wipe dry.
- Avoid using harsh cleaners, wax, or polish on the cabinet front.
- Be careful to wring excess water from the cloth when wiping around controls to prevent damage.
- Winter Storage: For extended periods of non-use, especially during winter:
- Carefully remove the air conditioner from the window, following the installation instructions in reverse.
- Cover the unit with plastic or place it back in its original box for storage.
- Wear and Tear Prevention: To minimize wear and tear on the compressor and prevent circuit breaker trips, it is recommended to wait at least 3 minutes before changing modes after turning the unit off.
The manual also includes important safety instructions, electrical requirements, a packing list, and troubleshooting tips to address common issues such as the unit not starting, not cooling effectively, freezing up, or remote control malfunction. It emphasizes the importance of proper grounding and the functionality of the LCDI power cord for safety.