2
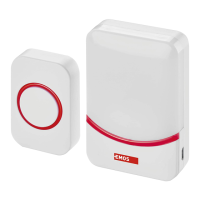
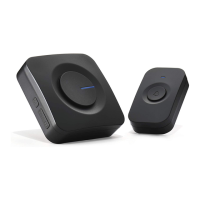
Wireless doorbell P5710G
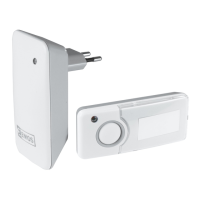
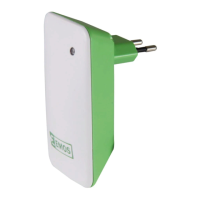
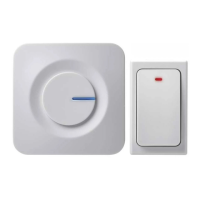
The digital doorbell set consists of the bell pushbutton (TX) and the bell unit (RX). The bell unit has to be permanently connected
to electric network (230V AC/50 Hz). The transmission between the pushbutton and the bell unit is based on radio waves on
frequency 433,92MHz. Transmission range is up to 100m in open area, depending on the conditions. The wireless digital door
chime has self-learning function for pairing with pushbuttons. Therefore it is possible to combine with additional pushbuttons.
The advantage of this type of pairing is prevention from interference from other chimes in the neighborhood.
Please read the following user manual carefully.
Technical specication
Transmission range: up to 100 m in open area
Waterproof pushbutton: with IP44 coverage
Pairing method: self-learning function
Possibility to pair more pushbuttons: yes (max 3)
Number of melodies: 3 – possibility to set dierent melody for more pushbuttons (max 3) used
Power of bell unit: 230V AC/50Hz
Power of pushbutton: 1×12V battery (type A23)
Packaging includes: Double side sticker
Pairing of bell unit with pushbutton
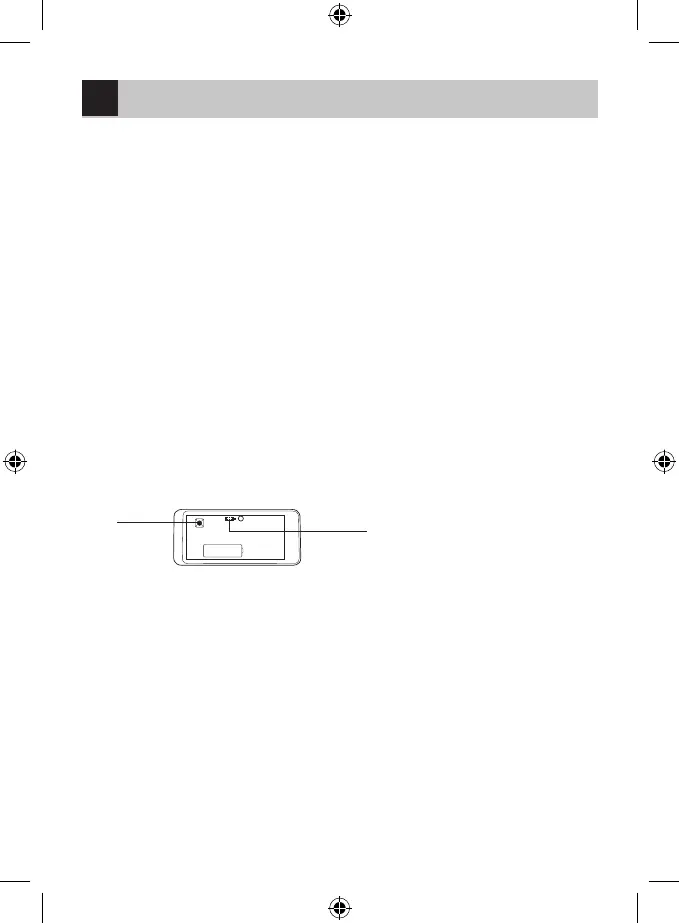
1. Remove the back casing of the pushbutton through the hole in the side of the casing with a screwdriver. Insert 1pc of 12V
battery (type 23A) according to the polarity indicated.
2. Press the button “SW2” on the printed circuit board once – signaling LED of transmitter turns on for 5 seconds. Within these
5 seconds, press the button “SW2” once again - signaling LED blinks three times meaning, that new code was generated.
3. Reassemble the pushbutton casing.
4. If you need to pair more pushbuttons, repeat points 1. – 3. for each pushbutton.
5. Plug in the bell unit (RX), the learning mode is entered automatically for two minutes and signaling LED on bell unit blinks.
6. Within these two minutes press the desired pushbutton, if bell unit receives TX signal, it will play the melody corresponding
to which selected at pushbutton (TX).
7. If you need to pair more pushbuttons, repeat point 6. also for other pushbuttons.
Note: In case of power down of bell unit, it contains built-in memory, which is used for storing of actually learned codes. When the
power is on again, the learning mode is entered automatically for 2 minutes. If no new pairing is made within these 2 minutes,
bell unit loads previously learned codes afterwards. When the power down happens, there is no need to proceed new pairing.
SW2
choice of melody
Choice of melody
1. Remove the back casing of the pushbutton through the hole in the side of the casing with a screwdriver.
2. There are 3 pins with jumper on the printed circuit board. Choose one of three melodies with:
- connecting pins 1 and 2
- connecting pins 2 and 3
- removing the jumper (no pins are connected)
3. Reassemble the pushbutton casing.
Note: Melody can be changed anytime. It won’t aect communication between paired bell unit and pushbutton.
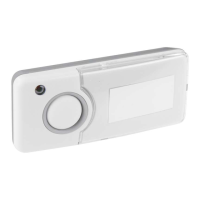
Pushbutton installation
1. Firstly proceed the pairing of bell unit with pushbutton.
2. Before you start mounting, make sure that the chime works properly on the place you have chosen.
3. Remove the back casing of the pushbutton through the hole in the side of the casing with a screwdriver.
4. Place the back cabinet outside your home, using double side sticker (included) or screws to x it on the wall. Although the
pushbutton is waterproof, it is better to place it under the shelter.
5. Reassemble the pushbutton casing.
6. Press the button, signaling LED on the pushbutton indicates that radio signal was transmitted. Bell unit sounds chosen
melody.
7. If the signaling LED does not light, battery is at, please replace it. Battery usually last for one year but it may dier according
to conditions.
GB