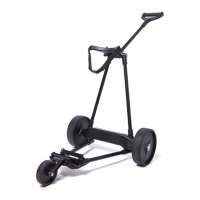
The eMotion Caddy can be used in all conditions including rain and on all parts of
the course.
<CAUTION> : 1. DO NOT USE THE CADDY ON THE GREEN
2. DO NOT USE THE CADDY IN MORE THAN 2 INCHES OF WATER OR
SUBMERGE THE CADDY UNDER WATER
3. THE CADDY IS NOT MADE TO GO UP AND DOWN STAIRS,
BANGING THE CADDY UP AND DOWN STAIRS WITH A HEAVY BAG
COULD CAUSE DAMAGE TO THE [MOTOR/WHEEL] ASSEMBLY.
There are two lights on the handle that can turn on during use. In most cases the
cart will be operating normally and the GREEN light will be on at times during the
round (the e2 caddy will go into standby mode when left standing and the GREEN
light will go out).
If during the round, the RED light comes on and stays on, the caddy needs service.
In this case, the caddy should be turned off by pressing the e logo button. –
PLEASE CALL EMOTIONGOLFCADDY AS SOON AS POSSIBLE
If during the round, the RED lights blinks, the battery is low or discharged and
needs to be re-charged.
The caddy should be turned off immediately by pressing the e logo button. Then
re-charge the battery completely.
<CAUTION> : IN CASE OF A FLASHING RED LIGHT, THE CADDY MUST BE TURNED
OFF TO PREVENT POTENTIAL DAMAGE TO THE BATTERY.
If it becomes necessary to turn off the caddy during the round, it can be used as a
manual caddy during the remainder of the round without any damage to the
caddy. In normal conditions, once you are finished with the round simply push the
e logo button to turn the caddy off.
If you are testing the eMotion Caddy indoors on a carpeted surface, there can be a
static electricity charge buildup that will give a normal shock, this will not hurt
eMotion Caddy.
Once the battery is fully charged, the eMotion Caddy is ready to use. To begin
using the caddy some assembly and setup is necessary.
(The eMotion Caddy is shipped fully assembled with the [wheel/motors]
attached.)
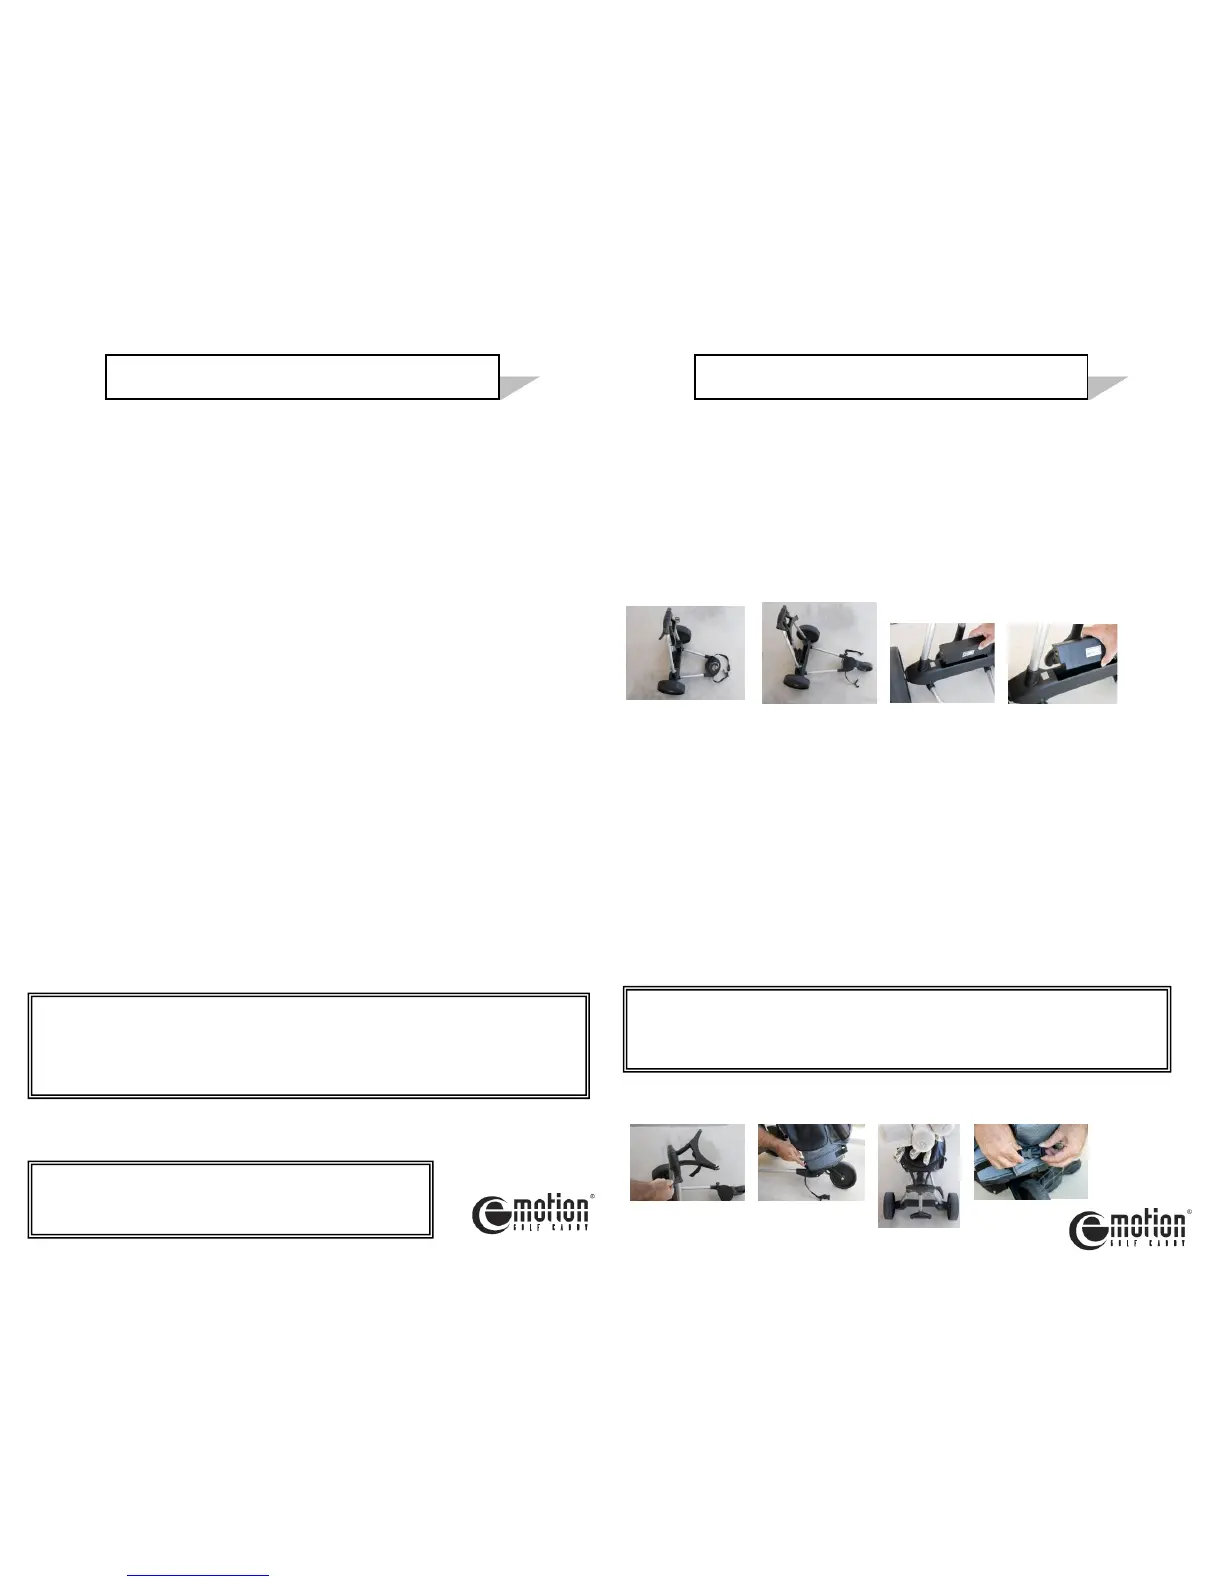
1. Stand the frame upright and unfold the lower [frame/bag holder]. (Fig. 4)
>>> For the e3 model, make sure the 3
rd
wheel is unfolded in the proper position
(Fig. 5)
2. Insert the battery in caddy. The battery inserts into the opening at the base of
the caddy (Fig. 6). Press the battery into the base until it clicks into place.
<CAUTION> : THE BATTERY CAN ONLY FIT PROPERLY ONE WAY INTO THE BASE.
ATTEMPTING TO FORCE IT INTO THE BASE MAY DAMAGE THE
CADDY OR THE BATTERY (Fig. 7)
<CAUTION> : Wrap battery compartment with Velcro strap for secured battery.
3. Loosen the [handle/upper Bag Holder] lever (approx. 4 turns) and raise the
upper bag holder 90 degrees, then lightly tighten the lever (approx. 2 turns).
(Fig. 8)
4. Set your golf bag onto the bottom platform. (Fig. 9)
5. Then center the bag in the upper bag holder. (Fig. 10)
6. Attach and tightly secure the lower and upper bag straps.(Fig. 11)
7. Once the handle is in the proper position, securely tighten the handle lever.
 Loading...