Do you have a question about the ENCLO Charleston and is the answer not in the manual?
Provides crucial advice for safe and effective assembly, including workspace and component handling.
Guides users on how to report and resolve issues with product components, directing to website and customer service.
Offers help for assembly problems and outlines the process for product returns, emphasizing initial issue resolution.
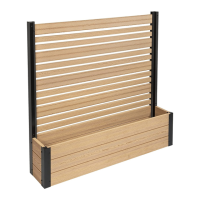
Instructions on correctly positioning the left and right posts before inserting the screen boards.
Details on how to slide the screen boards into the designated grooves of the posts.
Guidance on using spacers to align the bottom board with the pre-drilled post holes for anchor placement.
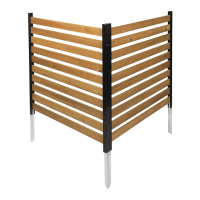
Instructions for inserting post anchors and fastening them to the posts using screws.
Steps for inserting spacers into post channels and placing the first board into post grooves.
Instructions to repeat board insertion and then secure all boards with screws.
Guidance to replicate the assembly process from Steps 2 through 4 for the second screen unit.
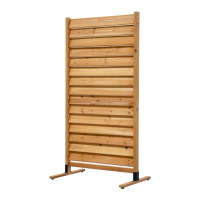
Instructions for moving the screen to its location and methods for driving posts into the ground.
Optional steps for digging holes and leveling the screen for optimal stability in difficult soil conditions.
Details on using joiner clips and screws for both straight-line and corner screen configurations.
Final step to install the post caps onto the top of the assembled screen posts.
| Brand | ENCLO |
|---|---|
| Model | Charleston |
| Category | Lawn and Garden Equipment |
| Language | English |