Do you have a question about the ENCLO Bedford EC18003 and is the answer not in the manual?
Key precautions and recommendations for a scratch-free and efficient assembly process.
Guidance on reporting and obtaining replacement parts for damaged or missing components.
Contact information and advice for obtaining help with product assembly.
Information on how to initiate a product return and resolve issues.
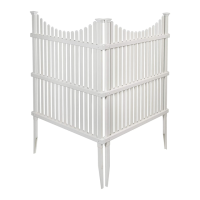
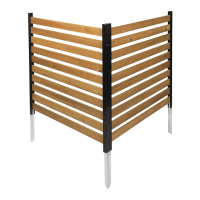
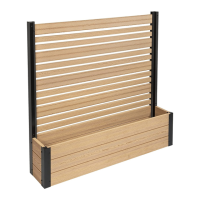
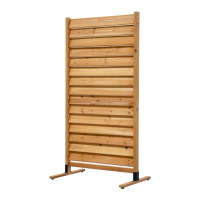
Locate top and bottom rails, and prepare posts by orienting routed holes correctly.
Insert horizontal pickets and boards into the pre-drilled holes of the posts.
Slide the top rail onto the posts and secure it with screws into pre-drilled holes.
Slide bottom rail and post anchors onto posts, aligning holes and securing with screws.
Follow steps 2-4 to assemble the second screen panel.
Position panels at the final location and push posts into the ground.
Loosen soil, add water, and use a wood block to gently hammer posts into the ground.
Procedure for digging holes in very hard ground to accommodate posts.
Using a 1.5-inch auger bit to drill holes for easier installation in tough ground conditions.
Install joiner clips to connect panels in straight lines or at corners for stability.
Insert post caps onto the tops of the posts to finish the assembly.
| Brand | ENCLO |
|---|---|
| Model | Bedford EC18003 |
| Category | Lawn and Garden Equipment |
| Language | English |