Do you have a question about the Enel X JuiceBox and is the answer not in the manual?
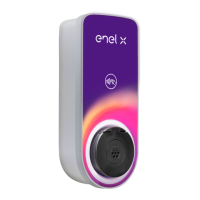
JuiceBox requires a hardwired electrical connection rated 125% of its load, installed by a qualified electrician, with an IP66 enclosure.
Position the charging unit within reach of the vehicle's charge port, 0.5m-1.5m above the floor, and near cellular/WiFi signal.
Isolate the electrical circuit and use a voltage detector to confirm it is dead before proceeding with installation.
Secure the wall bracket using screws into a stud, determined with a stud sensor for appropriate mounting.
Mount bracket on concrete/brick by marking, drilling with a 10mm bit, installing anchors, and using screws.
Insert enclosure screws and tighten until approximately 2 mm of thread is visible, as shown.
Hang the JuiceBox onto the wall bracket. Adjust screws if it does not hang securely.
Connect the harness to wiring terminals for 1-phase or 3-phase, then turn on the circuit breaker.
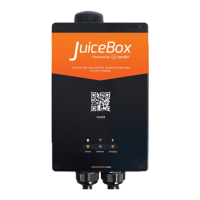
Connect JuiceBox to the internet by downloading the EV JuiceNet app and following instructions.
Use the included keys to lock the JuiceBox to the wall frame after installation is complete.
Read all safety information. Warnings cover child supervision, connector handling, cord condition, vehicle type, extension cords, enclosure access, environment, temperature, ventilation, and earthing.
| Charging Level | Level 2 |
|---|---|
| Connectivity | Wi-Fi |
| Connector Type | J1772 |
| Cable Length | 25 feet |
| Smart Charging | Yes |
| Mounting Type | Wall-mounted |
| Warranty | 3 years |
| Maximum Output | 40A |
| Voltage | 240V |
| Enclosure | NEMA 4X (Indoor/Outdoor) |
| Compatible Vehicles | All electric vehicles (EVs) and plug-in hybrid electric vehicles (PHEVs) sold in North America |