Index:
English . . . . . . . . . . . . . . . . . . . . . . . 1-4
Français . . . . . . . . . . . . . . . . . . . . . . . 5-8
L1743 02/04 Rev. B Refer to Repair Parts Sheet L-1771
Service Instructions
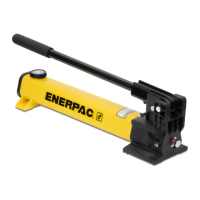
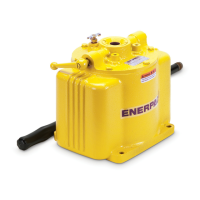
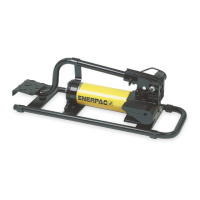
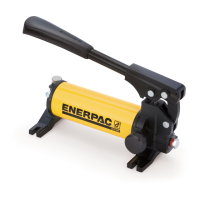
P-391, 1004 & P-392, 1005 Hand Pumps
SERVICE INSTRUCTIONS: These Service Instructions are intended to be used by qualified personnel at
Authorized Enerpac Service Centers. Users of Enerpac equipment should see the pump Instruction Sheet
for installation, operation, and maintenance information.
Before repairing the pump, see trouble-shooting guide on page 3 to isolate possible pump malfunctions.
YOU MAY NEED:
✔ Repair Parts Sheet L-1771
✔ Repair Kit P-391K2
✔ 10 ton single-acting cylinder
rated to 10,000 psi
✔ 0-15,000 psi pressure gauge
✔ high pressure hose (10,000 psi rating)
✔ torque wrench
✔ Allen wrenches
✔ box and wrenches
✔ o-ring pick
✔ roller bearing grease
✔ Enerpac hydraulic oil
1. Remove reservoir:
a. Remove acorn nut, gasket, end cap, and
reservoir gasket from reservoir.
b. Remove the reservoir, round reservoir gasket,
and tie rod from the pump base.
2. Remove handle and plunger assembly:
a. Remove plunger cross pin and plunger clip.
Remove handle assembly from the base.
Note: Older solid plungers have a plunger clip
and cross pin. The new two-piece flex design
has a cylindrical cross pin only.
b. Remove the plunger assembly from the
pump base.
3. Remove release valve assembly:
Unscrew the machine screw underneath the
spindle with a 5/32" Allen wrench. Remove the
spindle and the 7/32" check ball.
4. Remove check assemblies:
Unscrew the large pipe plugs from the pump
base. Remove the spring cap, spring, 5/16"
check ball, and 7/32" check ball from the
respective high and low pressure check
assemblies.
Note: The P-392, 1005 has two check
assemblies and the P-391, 1004 has one check
assembly.
5. Inspect oil filter to determine if it is clogged
with debris or needs replacement.
6. If relief valves need to be reset or removed, do
so at this point.
Pump is now disassembled. Clean all parts
and flush out the base to remove contaminants
from pump.
■ Disassembly
Before disassembly, remove oil from pump. (DISPOSE OF USED OIL PROPERLY)