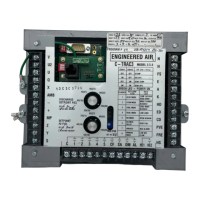
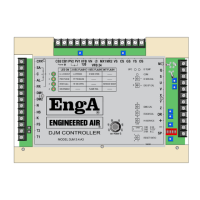
DJM2.4 MANUAL
20 Oct 00 R2
create sooting of burner parts and the heat exchanger. If the locking ring is missing, drop
one drop of Loctite thread locker 222 onto the brass screw threads.
Series 50/M550, M650 AND ES350 (High Turndown)
These valves have only 1 low fire adjustment (spring activated low fire).
NOTE: These valves are not used on 15:1 turndown.
11. The high fire combustion set up is similar to the above except there is no low fire bypass
adjustment on the bottom of these valves. You may simply set up low fire by turning the
manual firing pot 4 SER to the low fire position (1250-RPM ±10 RPM 20.8 Hz). Voltage to
the series 50 valve should be 0 volts DC. Adjust the spring activated low fire adjustment at
the top of the modulating gas valve (small screw) until an O
2
reading of 16.8% to 17.5 % is
achieved.
12. Lock the low fire adjustment screw as described in point 7 above, and then adjust the
curve matching pot 7 as in points 8 and 9 above.
Type ES345D-L (High Turndown)
As this valve has 2 low fire adjustments the following procedure should be applied.
NOTE: This valve can be used on 15:1 turndown.
13. After high fire is set up as in “2” (on Page 18), bring the unit to low fire by adjusting the
DJM2 “Service” pot 4 (SER) fully CCW. Turn the ES345 low fire adjustment screw found
under the valve cover near the wire terminals, fully CCW. Adjust DJM2 pot 8 (MINSP) until
the combustion fan is turning 1250 RPM ±10 RPM (20.8 Hz) for 10:1 turndown, [1195 RPM
±5 RPM for 15:1 turndown (19.91 Hz)]. Voltage to the ES valve should be 0 volts DC. The
low fire bypass adjustment on this valve is under the top cover on the large port and the
adjustment inside it is marked:
Increase Decrease
After removing the cover, loosen the locking screw first before making adjustment. The
low fire adjustment should be done at 0 VDC to the modulating gas valve terminals and
the spring activated low fire brass screw turned fully CCW and the locking ring loosened
off.
14. Bring voltage to gas valve at 2.25 VDC and adjust the spring activated low fire adjustment
located in the head with the electric modulator (smaller screw under cap) to achieve the
same O
2
reading as the one achieved at 0 VDC (16.8% to 17.5% O
2
). After this is complete
then adjust the curve matching pot 7 curve as described in points 8 and 9 above.
Pilot Set Up (High Turndown)
1. On high turndown units, ensure air tube to pilot is free of debris and blockages and then
set pilot pressure to 3.5" WC.
2. Pilot set up on high turndown burners is not as critical as there is not as much heat to
damage the pilot assembly as on the regular round burner.