12
INSTALLATION GUIDE
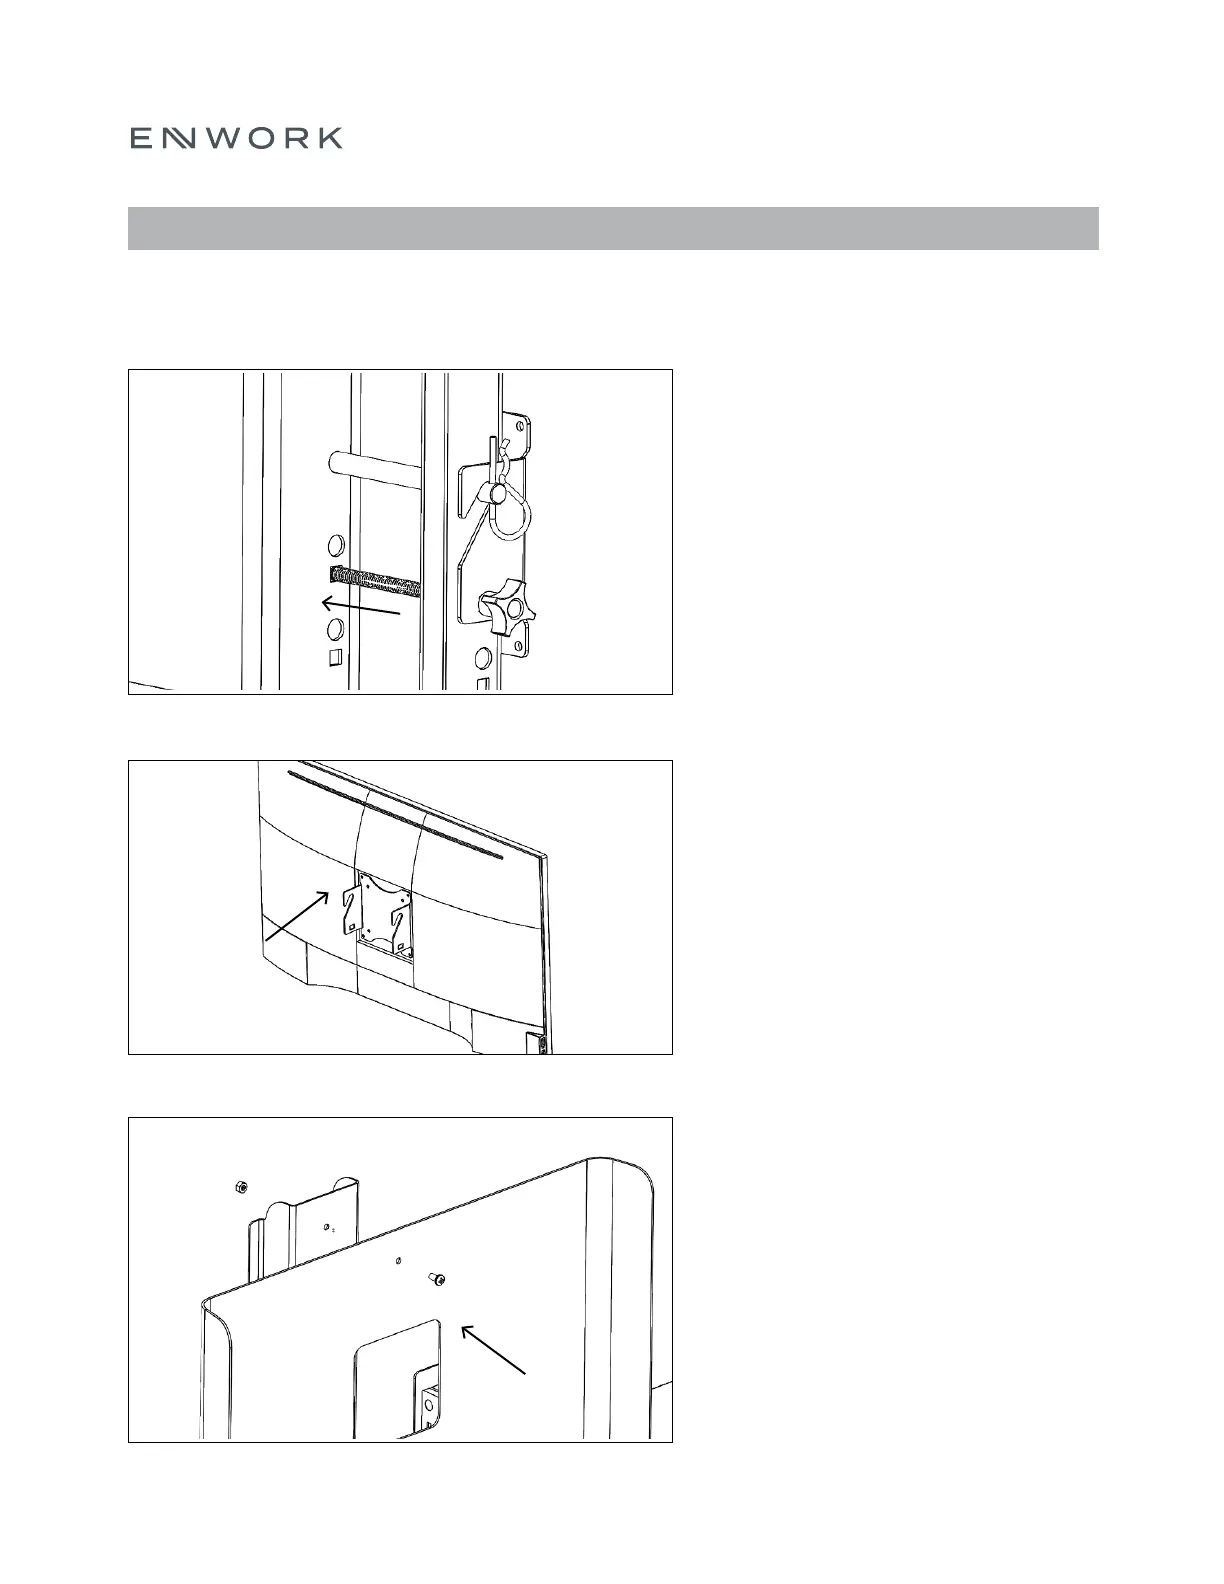
Remove the Vesa Bracket by un-tightening the
plastic knob and removing the carriage bolt on the
lifting column. The clevis pin can remain.
Note: Set aside hardware as it will be used again.
5. Attach the Vesa Bracket to the back of your
monitor.
Note: Hardware is NOT provided by Enwork.
Attach the Monitor Shroud to the Lifting Column
using the provided (2) ¼ 20 x ½” Pan Head Phillips
Bolts and (2) ¼ 20 Hex Nuts.
Note: There are 2 height adjustments to
accommodate different monitor sizes and viewing
heights.
FIGURE 6.4
FIGURE 6.5
FIGURE 6.6
6) ASSEMBLY: ACCESSORIES – MONITOR &
MONITOR SHROUD