21
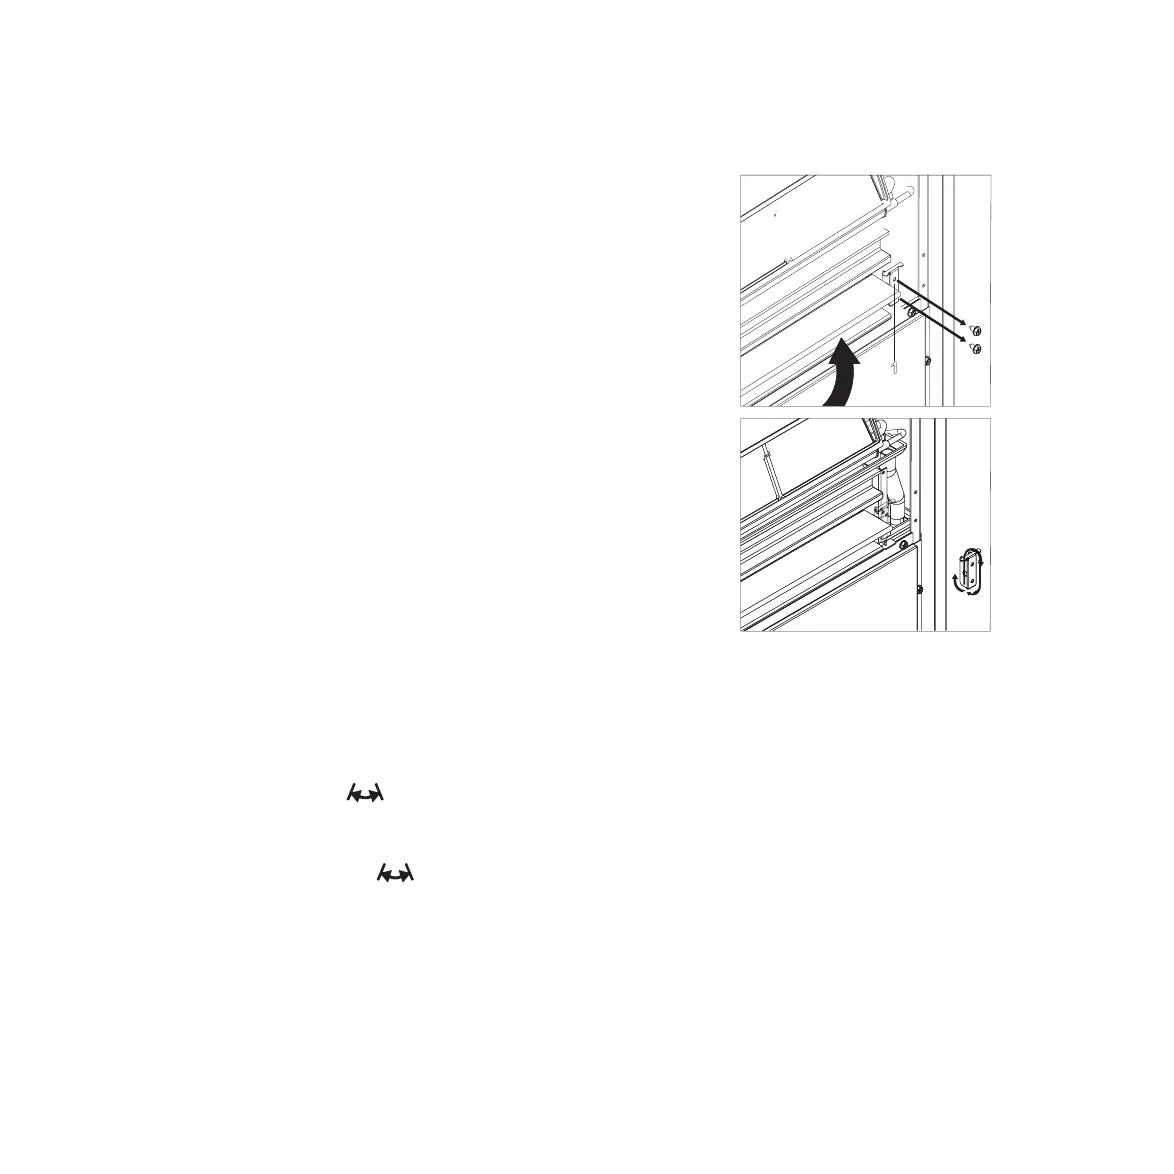
STEP 5 Remove the screws from the right-side
louver support bracket
STEP 6 Rotate the right-side louver support bracket
STEP 7 Reinstall the right-side louver support bracket screws
STEP 8 Reinstall the front cover panel
STEP 9 Replace the grill
STEP 10 Connect the power and turn unit on
STEP 11 Press the
and keep pressed 10 seconds;
STEP 12 The dn (lower wall) symbol flashes on the display;
STEP 13 Press the key
again;
STEP 14 The up (upper wall) symbol lights up on the display. Do not touch the display, wait a few
seconds for the new setting to be memorized.
For the unit to work properly, each time the configuration of the air outlet flap is modified, the electronic
control must be set as well.
 Loading...