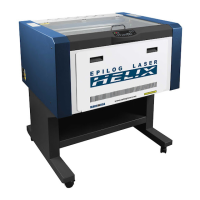
Do you have a question about the Epilog Mini Series and is the answer not in the manual?
Identifies symptoms and conditions necessitating laser alignment.
Lists the essential items needed to perform the laser alignment procedure.
Instructs on safely removing machine panels and general safety during alignment.
Provides a flowchart detailing the steps of the pre-alignment process.
Details how to position the alignment target and tape on the lens carriage.
Guides the user on powering on the engraver and navigating to the alignment mode.
Explains how to fire the laser to create a burn mark on the target.
Guides on using adjustment screws to align the red pointer to the burn mark.
Explains using adjustment screws for clockwise and counterclockwise pointer movement.
Confirms the completion of the pre-alignment phase.
Presents a flowchart of the main laser alignment steps.
Guides on disabling the engraver's axis for manual movement.
Move carriage to Position 1 and use Mirror 1 to center the pointer.
Move carriage to Position 2 and use Mirror 2 to center the pointer.
Move carriage to Position 3 and use Mirror 3 to center the pointer.
Instructions to repeat alignment steps to improve accuracy between positions.
Verifies the red pointer is centered at all table positions.
Describes creating a test file and running an engraving to verify alignment.
Final steps to secure panels and contact support if needed.
| Laser Type | CO2 |
|---|---|
| Laser Wattage | 30, 40, 50 or 60 watts |
| Resolution | Up to 1200 dpi |
| Connectivity | USB |
| Operating System Compatibility | Windows |
| Software Compatibility | CorelDRAW, Adobe Illustrator, AutoCAD, Inkscape |
| Cooling System | Air-cooled |
| Power Requirements | 110V or 220V, 50/60 Hz |