Understanding Control Solution Test Results
Important: Please follow your institution’s control solution testing regulations and procedures.
The label on your test strip bottle shows the acceptable ranges for the
Control Solution. The result you get should be inside this range. Make
sure you compare the result to the correct level of control.
Whenthecontrolsolutionresultisinsidetherange(See1A)onthetest
strip bottle, your test strips and your meter are working properly.
If your control solution result is not inside the acceptable range, here are
some things you can do to solve the problem:
Troubleshooting Checks Action
Wastheteststripexposedtoopenairfora
long period of time?
Repeat the control test with properly stored strips.
Wastheteststripbottlecappedtightly?
This will humidify strips inside. Replace the test
strips.
Is the control solution expired or
contaminated?
Replace with new control solution to check the
performance of the system.
Wereteststripsandcontrolsolutionsstoredin
cool, dry places?
Repeat the control test with properly stored strips
and/orcontrolsolutions.
Did you follow the testing steps properly?
Read Chapter 2 in the manual “Control Solution
Testing” and test again. Stop using the meter if you
continue to obtain the inaccurate results. Call
Customer Service Toll-Free: 1-866-994-3345
(Eastern Time, Mon-Fri 9:00 am - 9:00 pm)
Page 8
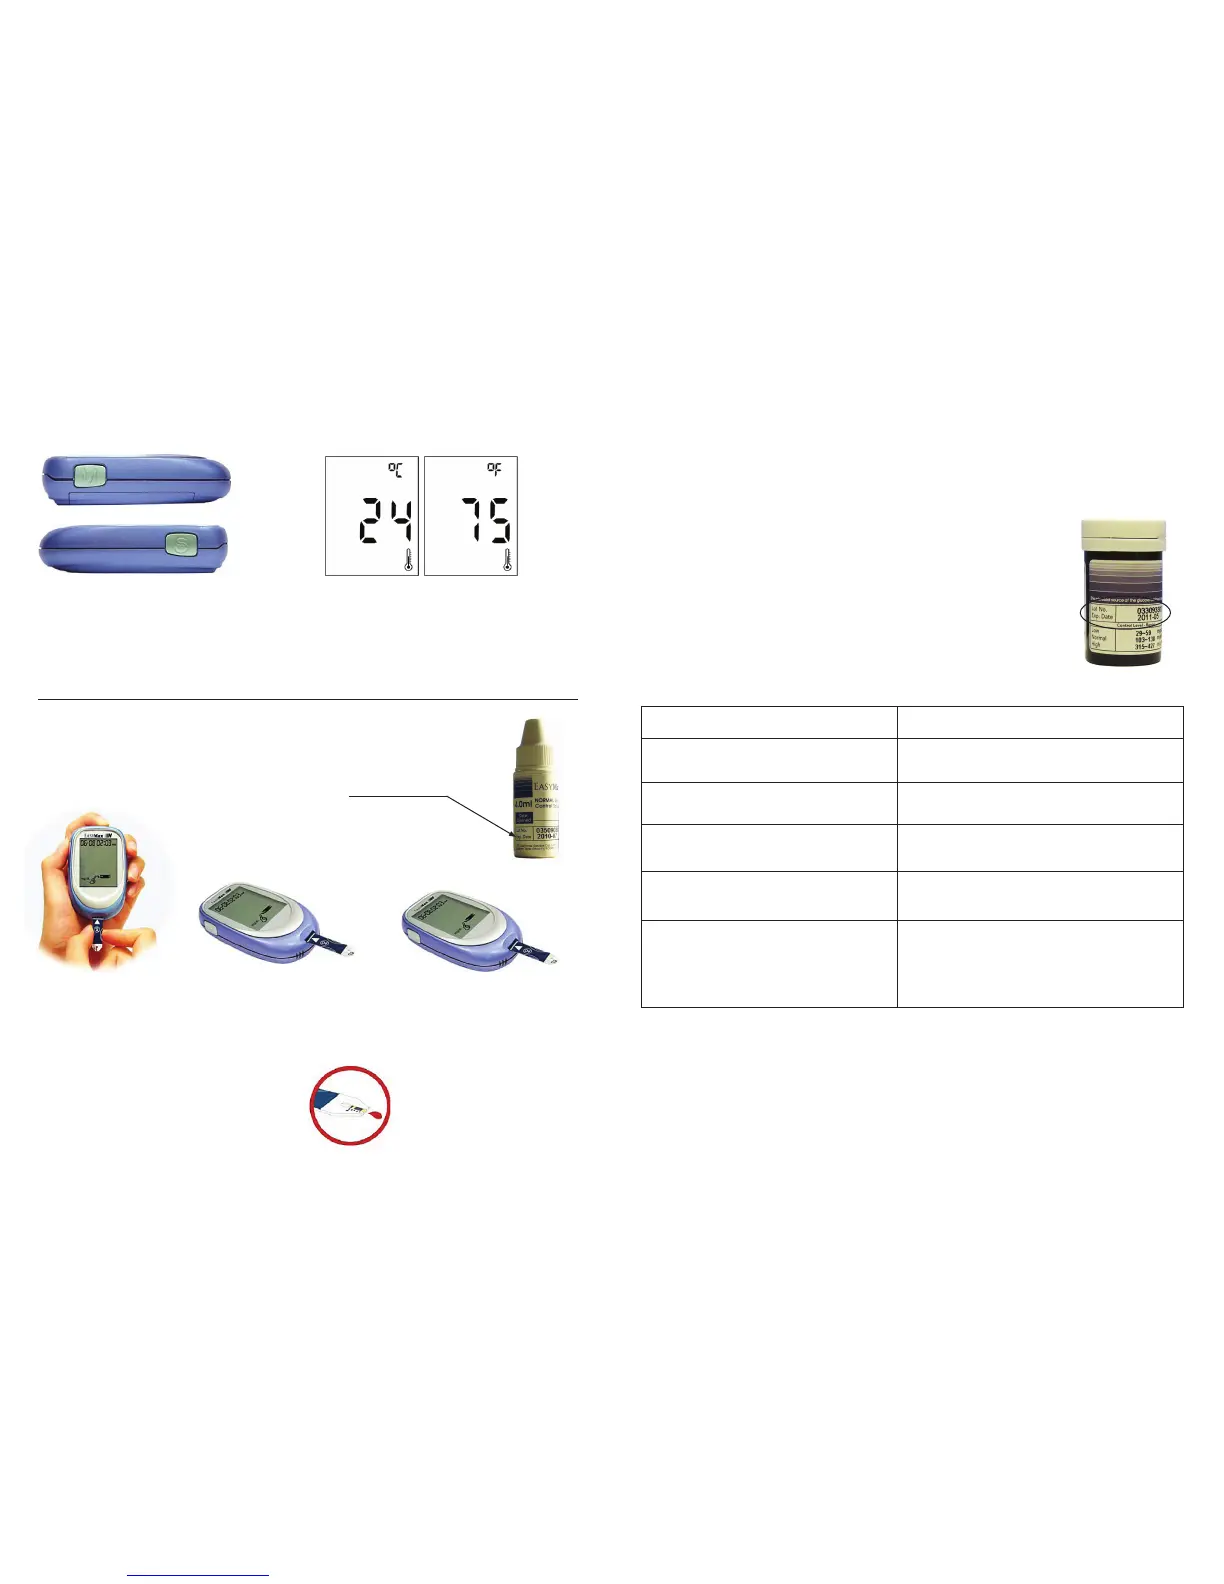
Setting the Thermometer
Running a Control Solution Test
You need the meter, a test strip, and control solution
1. Put a test strip into the
meter in the direction of
the arrow. The meter will
automatically turn on.
2. Placethemeteronaat
surface, like a table.
3. Remove the control solution
bottle cap and wipe the tip
of the bottle with a tissue.
4. Squeezethebottleuntilatinydrop
forms at the tip of the bottle. Touch
the drop to the Blood collection
area at the end of the test strip.
Do not put control solution on top
oftheteststrip.Whenyouhear
the beep, you have enough
control solution on the test strip.
The meter starts to count down
from 5 seconds and will show the
results.
1. Press the “S” to turn the meter on.
2. Press the “M” and “S” button at the
same time and hold for more than
3 seconds. The meter will go into
Centigrade Thermometer Mode.
3. Press the “S” and the meter will change the
temperature reading to Fahrenheit.
4. Press the “S” again and the meter will
change to the Alarm Setting Mode.
Expiration date.
This date applies to
unopened bottles only.
Once opened, the control
solution has a shelf life
of 90 days.
Page 7
1A
 Loading...