2 Placing the Furniture
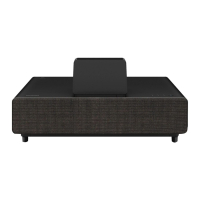
Placing the Furniture
Before proceeding with the installation, move the furniture you will place the projector on to its final location. This will give the
furniture time to settle into the floor as needed, which is especially important for softer surfaces like carpets and rugs.
1. Place the furniture based on the projector to wall distance measurements indicated below.
2. If your furniture has adjustable feet, use them to level the furniture along both axes (allow time for settling as needed).
Assembling the Jig
To help you with projector positioning, Epson has provided a cardboard jig that you can use to determine the required distance
between your projector and the wall.
1. Place the jig with the
DO NOT DISCARD labels facing down, then fold one of the larger flaps and its tab up.
2. Fold the smaller flap and its tabs up.
Wall
Furniture
31.5 inches/80 cm (for 100" screen)
36.5 inches/92.7 cm (for 120" screen)
17 inches/43.2 cm (for 100" screen)
22 inches/55.9 cm (for 120" screen)
Projector
 Loading...