Steps:
1. Install a blank memory card into a memory card reader/writer and copy the
“PSV5FIRM” folder (including all the files in the folder) to the root directory of the
memory card.
2. Verify that the battery is installed in the P-6000 or P-7000 viewer.
3. Connect the AC adapter to the viewer, but do not power it on.
4. After the firmware file has been copied to the memory card, insert the CompactFlash or
SD memory card into the viewer.
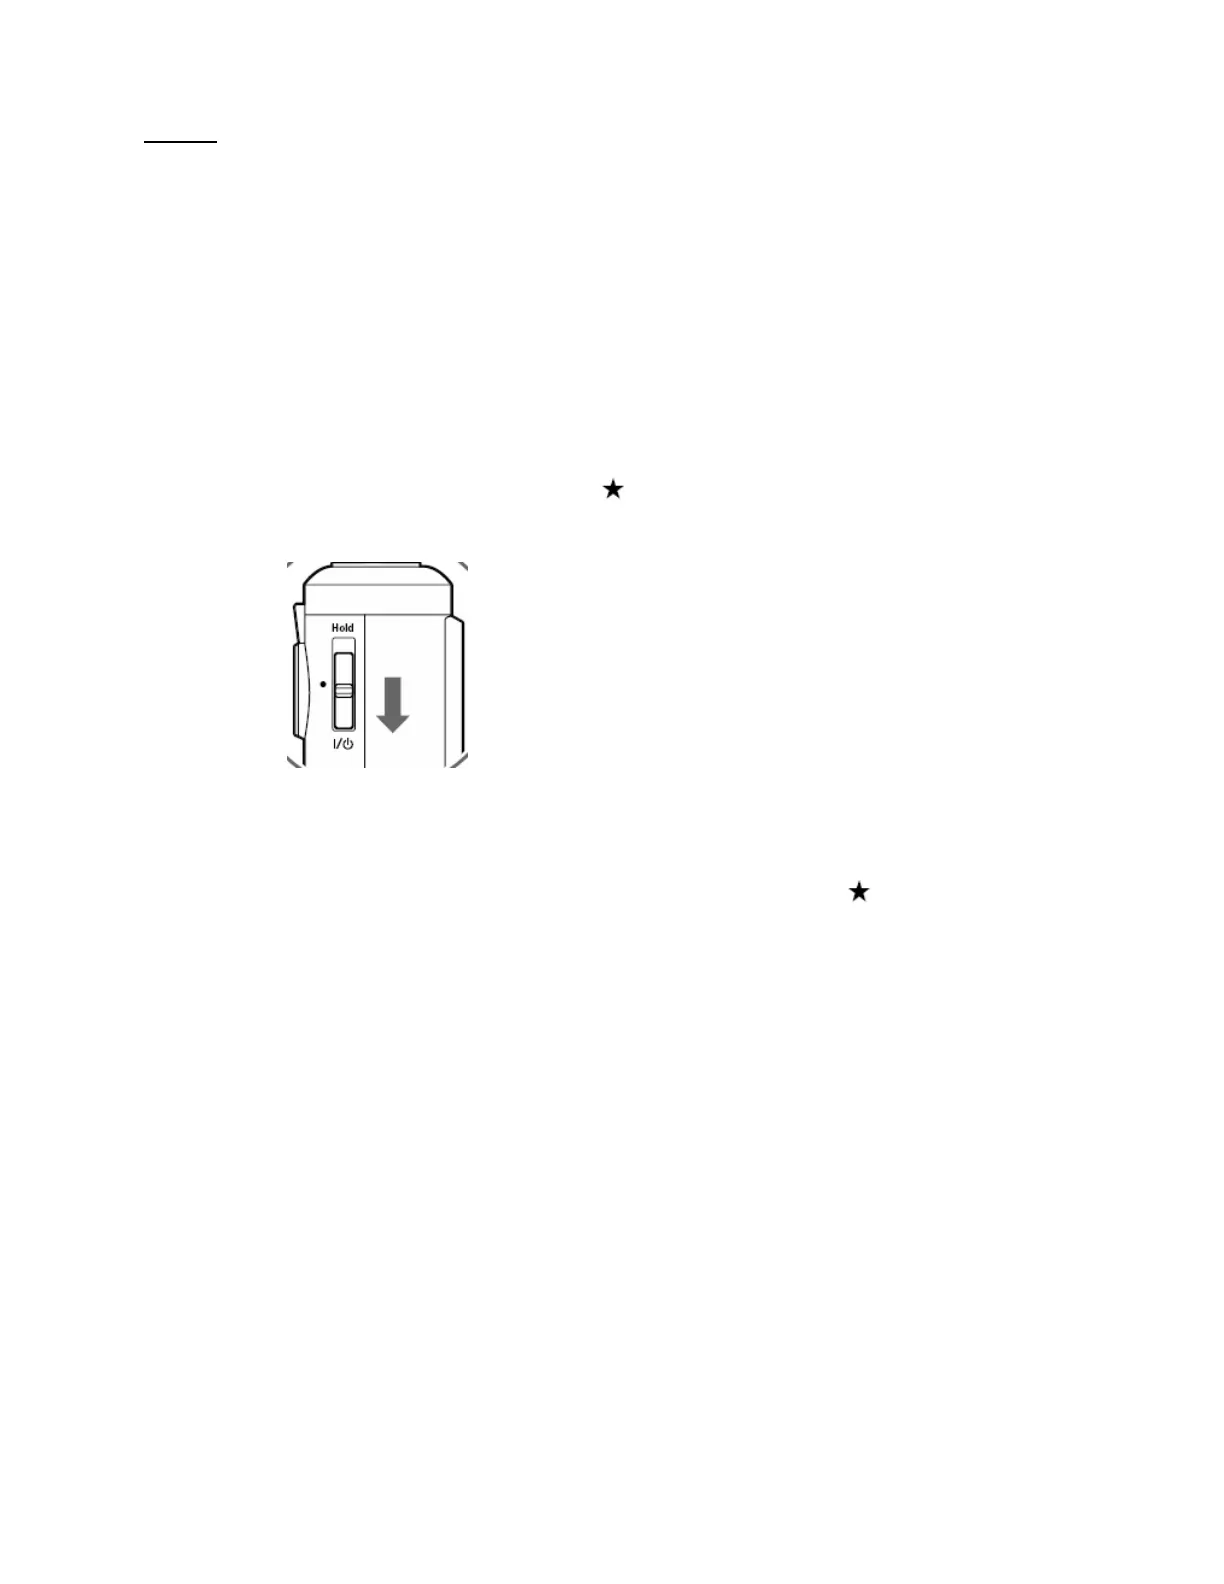
5. Press and hold down the “OK” and keys while sliding the “POWER” switch as
shown below.
Warning: Do not turn off the viewer or attempt to remove the battery or disconnect the
AC adapter at any time during the firmware update.
When you see the EPSON logo name, release the OK and keys; the main firmware
update will begin and take approximately 3.5 minutes to complete. The SubCPU
firmware update starts next and takes about 3.5 minutes to complete. During the
SubCPU firmware update, the blue activity LED will temporarily stop blinking; this is
normal. Once the firmware update is completed you should see this screen.
Page 3 of 4
PSB.2009.09.002
 Loading...