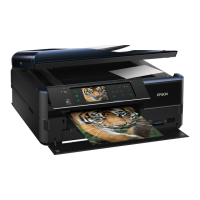
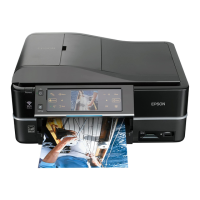
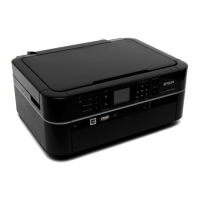
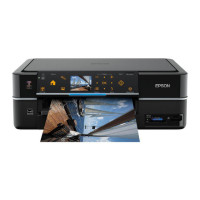
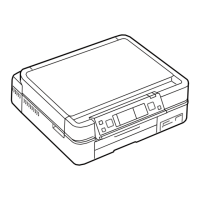
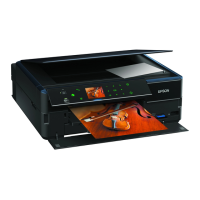
Epson Artisan 810/835/837/710/725/730/Epson Stylus Photo PX810FW/TX810FW/PX820FWD/TX820FWD/PX830FWD/PX710W/TX710W/PX720WD/TX720WD/PX730WD/TX730WD
Revision G
Artisan 837/730/PX830FWD/PX730WD/TX730WD
Adjustment 325
Confidential
The start-up method in the special inspection mode for Artisan 730/PX730WD/
TX730WD
1. Press the Power button to turn on Artisan 730/PX730WD/TX730WD.
2. After the printer turns on normally, turn the power off once.
3. Within 60 seconds after turning the power off and the LCD screen goes off,
press and keep pressing the sections shown below (1), then press the Power
button (2) to start Artisan 730/PX730WD/TX730WD in the special inspection
mode.
Figure 9-72. Starting the Special Inspection Mode
(Artisan 730/PX730WD/TX730WD)
4. When turning the printer on in the special inspection mode, the screen shown
in
Fig. 9-71 (p.324) appears on the LCD. Take the necessary inspection.
9.5.4 Tools Used for the Case Open Sensor Check
Overview
Scanner Open Sensor Check can be performed in the same procedure as for
Artisan 835/725/PX820FWD/TX820FWD/PX720WD/TX720WD; however, the
tools for the check only differ from those for Artisan 835/725/PX820FWD/
TX820FWD/PX720WD/TX720WD. Only the different tools are indicated below.
Required tools
Thickness gauge: 0.9 mm
3.3 mm
Checking procedure
See "5.2.8 Case Open Sensor Check" (p.220).
(1) Keep pressing these
(2) Press this button.
Check 2 (p.223) in the case open sensor check is not necessary for
Artisan 837/730/PX830FWD/PX730WD/TX730WD.

 Loading...
