EPSON and EPSON Stylus are registered trademarks of SEIKO EPSON CORPORATION.
General Notice: Other product names used herein are for identification purposes only and may
be trademarks of their respective owners. EPSON disclaims any and all rights in those marks.
Copyright © 1998 by Epson America, Inc.
Printed on recycled paper with at least 10% post-consumer content. 6/98
If you don’t have a CD-ROM drive, you can download the
drivers or order diskettes from EPSON. See “Ordering
Printer Software Diskettes” in the Printer Basics book.
Keep this card with you as you install your printer
software so you can refer to it when you need to.
Windows 95, 98, NT 4.0, and
Macintosh
Note:
For Windows 98 with a USB connection to your
printer, see the USB Software Installation Guide for
instructions on installing the USB port and printer
software. For network configuration instructions,
see the Printer Basics book.
1. Make sure your printer and computer are connected
and turned off.
2. Turn on your computer and wait until you see the
icons on your Windows or Macintosh desktop.
3. Turn on your printer and wait until the
power light
stops flashing.
IMPORTANT:
If at any time you see a screen telling you that Windows
has detected your printer and asking you to install a driver
diskette, ALWAYS select Cancel. You can’t install your
software that way.
4. Insert your printer software CD-ROM.
5. With Windows, click
Start, select Run, and type
D:\EPSON (where D is your CD-ROM drive letter).
Then click
OK.
On a Macintosh, double-click the
EPSON icon in the
EPSON CD-ROM folder.
6. After a moment, the EPSON Stylus COLOR 740 Installer
starts. Read the license agreement and click
Agree.
7. Follow the on-screen instructions to install your printer
driver. With Windows, you also install Status Monitor 2.
When you restart your system after installing the
printer software, leave your CD-ROM in the drive.
1 Set up the printer
2 Install the software
3 Print an image
Start Here
Start Here
To get going quickly with your
EPSON Stylus
®
COLOR 740, you’ll need to:
1 Set up the printer
2 Install the software
3 Print an image
CPD-7034
You see the EPSON Stylus COLOR 740 Installer
Main Menu shown in step 8 after restarting.
Note:
If you don’t see the Main Menu after restarting:
Windows: Click Start, point to Programs, Epson,
and click EPSON Stylus COLOR 740 Installer.
Macintosh: Double-click the EPSON icon in the
CD-ROM folder.
8. To install a program or your electronic EPSON Stylus
COLOR 740 Manual, just click the button for your
selection on the Main Menu. Then follow the
on-screen instructions. Click
EXIT when you’re done.
Note:
To view your electronic manual, you must install
Adobe Acrobat
®
Reader and QuickTime
®
MoviePlayer
™
on your system, if you don’t already
have them. With Windows, the installer
automatically installs the programs for you. On a
Macintosh, select the options to install the
programs and follow the on-screen instructions.
Once you’ve viewed the manual, you can copy it
to your hard disk using the Copy Printer Manual
to Hard Drive option.
9. Some of the software you install may restart
your system. If you restart but want to install more
software, do the following:
Windows: Click
Start, point to Programs, Epson,
and select
EPSON Stylus COLOR 740 Installer.
Macintosh: Double-click the
EPSON icon in the
CD-ROM folder.
10. After you finish installing Windows software, you’re
ready to print a color image! See step 3, Print an
image to get started.
On a Macintosh, you need to select your printer in
the Chooser. Go to step 11.
11. Open the Chooser. If you’re connected to the
Macintosh printer port or to a PowerBook with one
port, turn off AppleTalk
®
.
12. Click the
SC 740 icon, then click the icon for the
port you’re using. Turn on background printing, if
you want to use it. Then close the Chooser.
13. Now you’re ready to print a color image! See step 3,
Print an image, to get started.
Windows 3.1
1. Make sure your printer and computer are connected
and turned off.
2. Turn on your printer and wait until the
power light
stops flashing.
3. Turn on your computer and make sure Program
Manager is running.
4. Insert your printer software CD-ROM.
5. Open the File menu and select
Run. Type D:\Epson
(where D is your CD-ROM drive letter). Then click OK.
6. Read the license agreement and click
Agree. Then
follow the on-screen instructions to install your
printer driver.
7. After you finish installing software, you’re ready to print
a color image! For details, see your Printer Basics book.
For instructions on viewing your electronic EPSON Stylus
COLOR 740 Manual and copying it to your hard disk,
see “Viewing Your Electronic Printer Manual” in the Printer
Basics book.
3 Print an image
3 Print an image
Now that you’ve set up your printer and installed the
software, you’re ready to print in any application.
If you installed Adobe PhotoDeluxe from the
CD-ROM, you can use the Guided Printing Exercise
for a quick lesson in printing (not available with
Windows 3.1 or Macintosh). Click
Start, point to
Programs, Adobe, PhotoDeluxe 2.0, and then click
Run Guided Printing Exercise. For details, see your
Printer Basics book.
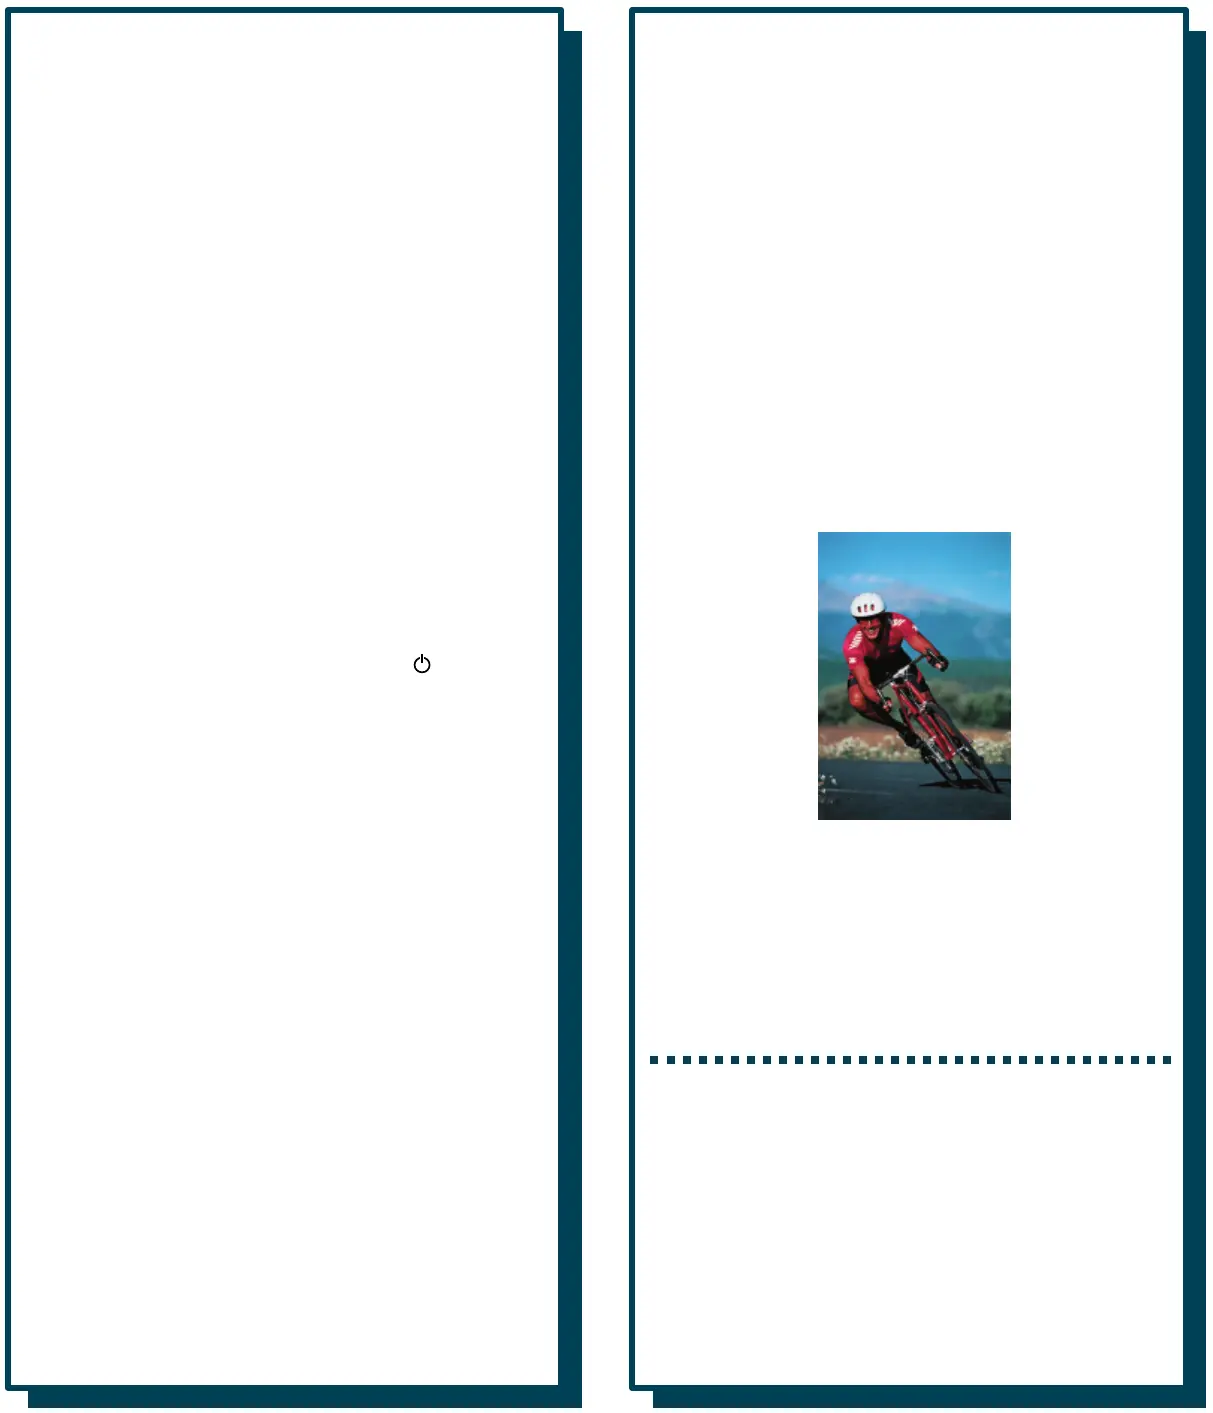
When you finish the exercise, this color image is printed
on the Photo Quality Ink Jet Paper in your EPSON
media pack:
Printer Basics also gives step-by-step printing
instructions for both Windows and Macintosh
applications, basic printer maintenance and
troubleshooting information, and instructions on
viewing electronic manuals with Adobe Acrobat Reader.
Not available with
Windows NT
or Macintosh
 Loading...


