Copyright © 2007 Seiko Epson Corporation. All rights reserved.
Printed in XXXXXX XX.XX-XX XXX
5. Ink Charging
Start Here
1. Unpacking
4. Installing Ink Cartridges
2. Turning On
6. Installing the Software
Note:
The ink cartridges first installed in your printer will be partly used to charge the print head.
These cartridges print fewer pages compared to subsequent ink cartridges.
Do not connect the USB cable until
you are instructed to do so.
o For Windows. No installation screen? & Double-click the CD-ROM icon.
Turn over
Ink Cartridges Power Cord CD-ROM Start Here Basic Operation Guide
Connect
Plug in
Turn on
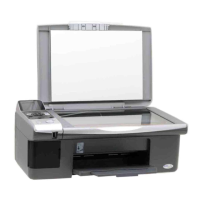
Open Unpack
Install Press (Click) Close (Click) Close
If this screen appears,
click cancel.
Insert
Double-click
For Windows
For Mac OS X
Click
When this screen appears, connect to your PC.
Installation complete.
Follow the
instructions.
Follow the
instructions.
Shake
Note:
Do not open the ink cartridge package until you are ready to install it in the printer. The cartridge is vacuum packed to maintain its reliability.
Only remove
the yellow tape.
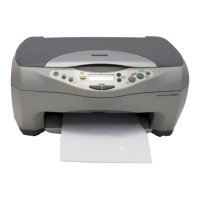
Stylus CX7300 Stylus CX8300
3. Selecting a Language
(For Stylus CX8300 only)
Select Press
Stylus CX7300
Stylus CX8300
Ready to copy
Wait about 2.5 min
Press
Press
Wait about 2.5 min
Flashing On