Epson Stylus Photo PX650/TX650/TX659/PX660/PX660 Premium/Artisan 635 Revision C
DISASSEMBLY AND ASSEMBLY Removal of Exterior Parts 68
Confidential
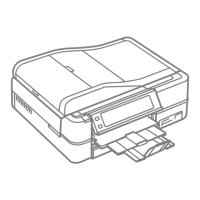
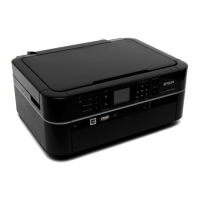
9. Lift and hold the Scanner Unit, and remove the Upper Housing.
Figure 4-15. Removing the Upper Housing (5)
If a Mall comes off when installing the Upper Housing, align
the grooves of the Mall with the ribs of the Upper Housing and
the Middle Housing.
Figure 4-16. Installing the Upper Housing
When installing the Upper Housing, do not use the screw holes
(x3) on the rear side as shown in Fig. 4-13.
When installing the Upper Housing, tighten the screws in the
order given in Fig. 4-13.
When installing the Scanner Unit to the printer, tighten the
screws in the order given in Fig. 4-11.
When attaching the Scanner Cable Cover, insert the rib of the
Scanner Cable Cover to the hole of the Middle Housing, and
secure it with the hook. (See Figure 4-10.)
 Loading...