Loading Paper 5
English
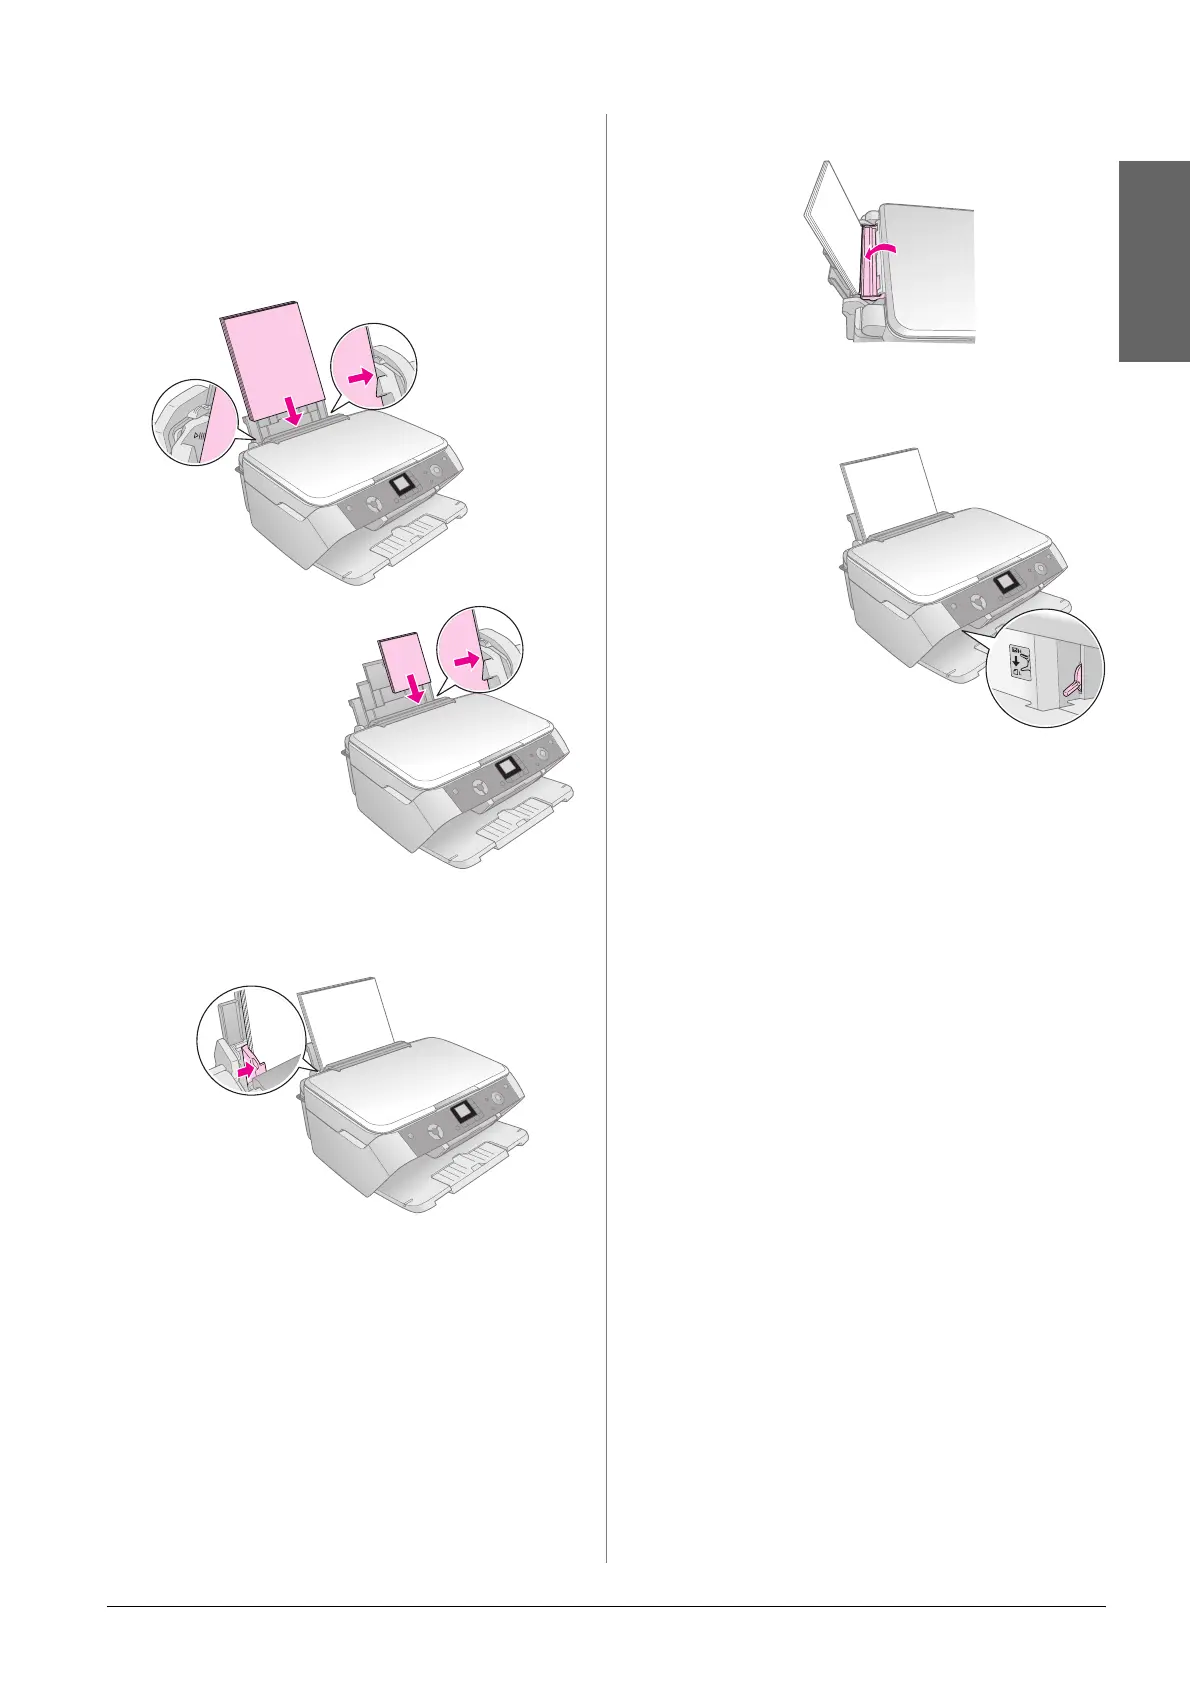
4. Load the paper against the right side of the sheet
feeder, with the printable side up.
Place the stack of paper behind the tabs and make
sure it fits under the c arrow mark inside the left
edge guide. Always load paper short edge first,
even for landscape printing.
5. Slide the edge guide against the left side of the
paper, but not too tightly.
Note:
If you are using special Epson paper, follow any instructions
that came with it. Make sure you do not load more than the
recommended number of sheets. Check the Paper Type
setting before printing to make sure it matches the type of paper
you have loaded (& page 4).
6. Flip the feeder guard back.
Also make sure the paper thickness lever is set
down to the m position.
The printable side
is often whiter or
brighter than the
other side.
10 × 15 cm (4 × 6 in.) and
13 × 18 cm (5 × 7 in.)
An icon showing you
which setting is
selected appears
briefly on the LCD
screen when you move
the lever to the m or ^
position.

 Loading...


