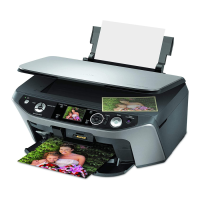
1 Insert the paper support into the two slots on the back of the RX600.
2 Open the output tray.
3 Flip the feeder guard forward.
4 Place a stack of paper in the top
of the RX600, between the edge
guides and beneath their tabs.
Then slide the left edge guide
against the paper, but not
too tightly.
5 Flip the feeder guard back over the
stack of paper.
Note: If you don’t flip the feeder
guard back, your paper may jam.
Load Paper
7
1 Slide the document mat handle to the left and remove the document mat.
2 To store the film holder behind the mat, hold it so the labeling faces
out and insert the tabs in the notches inside the scanner lid.
3 Place the tabs on the right side of the document mat in the notches
inside the scanner lid. Then place the handle on the left inside its
notch and slide the mat to the right to lock it in place.
4 Close the scanner lid.
1 Make sure you have all the parts shown here. If any parts are missing,
contact Epson
®
as described on the back of this sheet.
2 Remove all the tape, foam, and protective plastic from the top
of the RX600.
Unpack
Store the Film Holder
1
3
Paper support
Software
CD-ROM
How to Copy
and Print
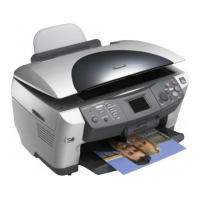
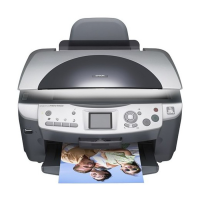
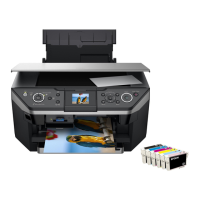
Epson Stylus Photo RX600
Ink cartridges
(6 total)
4043426-00 Printed in XXX
Turn over
Unlock the Scanner
!
Epson Stylus Photo RX600
CPD-17415
4048047-00
XXX
Epson Stylus
®
Photo RX600
Start
Here
Start
Here
2
1 Open the scanner lid.
2 Remove the white instruction sheet covering the scanner glass.
3 Slide the transportation lock to the unlocked position.
Caution: You must unlock the scanner, or it won’t work.
1 Lift up the entire scanner unit
using the handles on the side.
2 Remove the clear plastic
sheet inside.
3 Remove the orange plastic print head lock and store it in the
storage area.
Caution: You must remove the orange print head lock or the
RX600 won’t work.
4 Close the scanner unit.
5 Connect the short cable leading from
the scanner lid to the round TPU
connector on the back of the RX600.
Position the connector as shown here
before pushing it in. Don’t force it in.
Unlock the Printer
4
Film holder
User’s Guide
1 Plug the RX600 into a grounded
electrical outlet. Do not connect
the USB cable yet.
2 Press and hold the On button until
the Mode and Setup lights flash.
Plug In and Turn On
5
1 Press the Color button on the front
of the RX600. The print head moves
into loading position.
2 Lift up the entire scanner unit.
Install Ink Cartridges
6
3 Open the cartridge cover by pulling it toward you.
4 Remove the ink cartridges from their packages.
Caution: You must install all the cartridges
and leave them installed for all types of printing.
To avoid damaging the RX600, never move the
print head by hand.
5 Lower each cartridge into the holder marked
with the corresponding color.
6 Press down on each cartridge until it clicks
into place. Then close the ink cartridge cover
until it clicks into place.
Caution: Don’t force the cartridge cover
closed. If it doesn’t close easily, open it and
make sure all the cartridges are firmly seated.
7 Lower the scanner unit.
The RX600 begins charging the ink
delivery system.
Charging takes about 2 minutes. Initial
charge appears on the RX600 screen.
Caution: Don’t turn the RX600 off while
you see the Initial charge message or
you’ll waste ink.
continue
Notches




 Loading...