Teknisk dokument / Udskiftning af batteri UK gælder for Luna / Dato 2004.10.01 / Version 1
Replacement
guide
Batteries
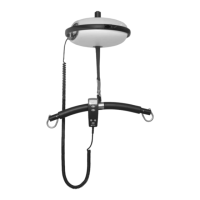
Check the following functions before Luna is used again.
ü Side foil: Test all functions by presssing all buttons.
ü Hand control: Test all functions by pressing all buttons.
ü Charge function: Test by connceting Luna to the charger and
that the charge light (a) flashes (this can only be tested if
Luna with spreader bar is mounted on the track).
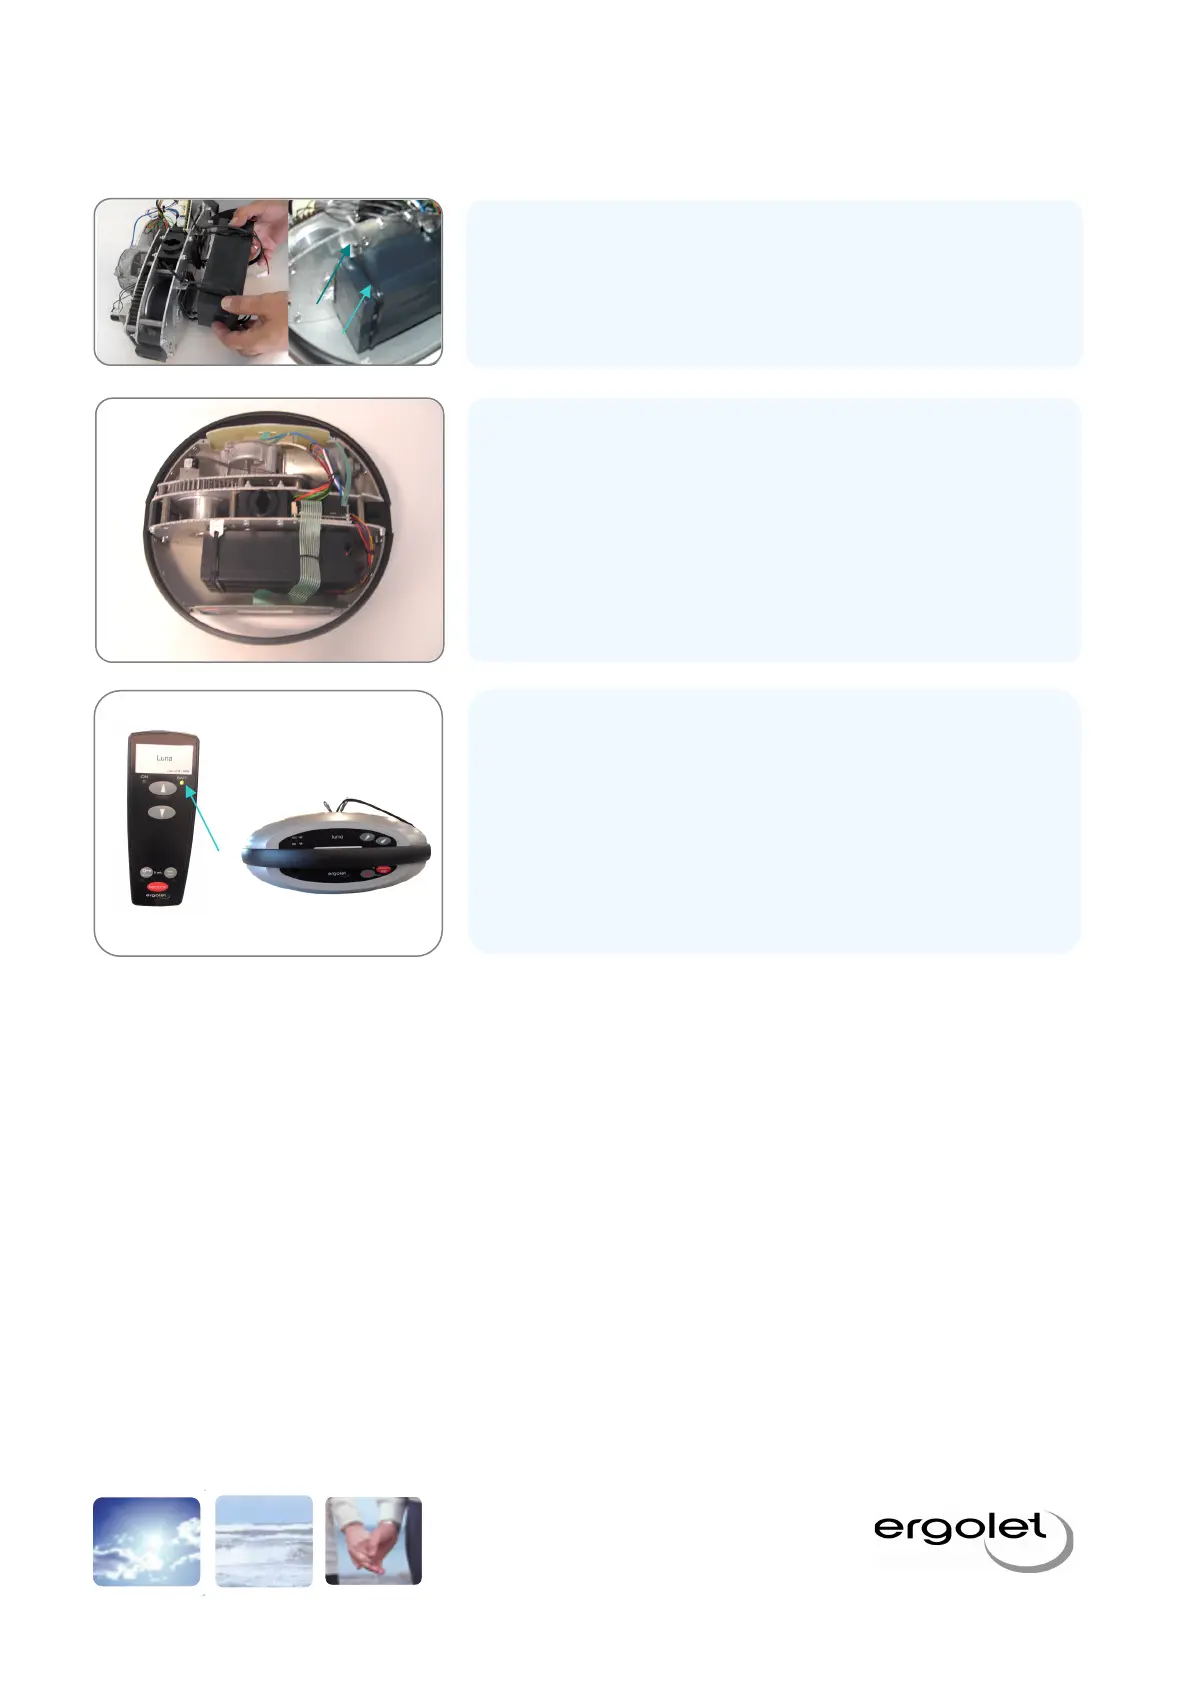
All wires must be nicely bundled and held with ties. Do not tighten
the ties too much!
The wires must be placed such that none are caught between the
shell and aluminium housing.
The shells must now be replaced in reverse order to the dismantling
procedure.
Mount Luna with spreader bar onto the track
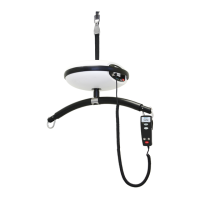
The battery is pushed in place so that it lines up (ie. the battery notches
(a) must line up with the tie brackets (b). Tighten the ties.
Mount the power plug on the print card with the same connections.
Carefully replace the print card, ensure that no wires are squeezed.
Mount the small screw holding the print card.