Do you have a question about the ESYLUX PD-C360i/24 DUODIMplus-FM and is the answer not in the manual?
Important safety precautions for installing and operating the presence detector, including electrical safety.
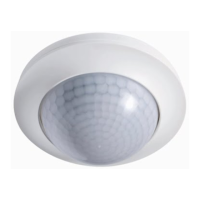
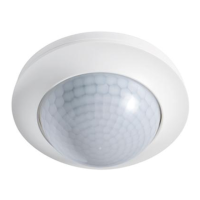
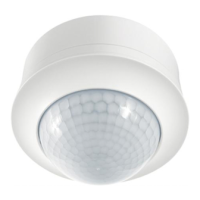
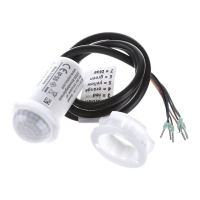
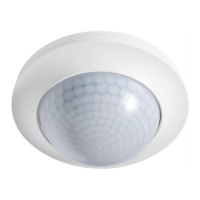
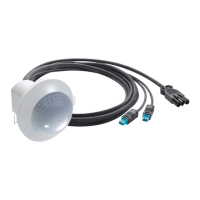
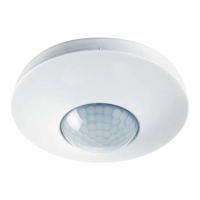
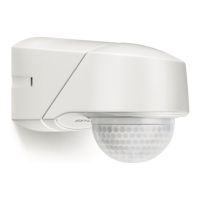
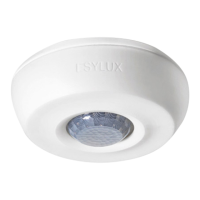
Details the ESYLUX PD-C360i/24 DUODIMplus presence detector, its features, and mounting options.
Steps for connecting the power supply and the device's warm-up phase.
Explains the time delay feature to prevent sudden brightness changes during occupancy.
Details the functions of DIP switches 1, 2, 3, and 4 for device configuration.
Describes automatic light control based on presence and ambient light.
Manual light activation for channels C1 and C2, controlled by target light value.
Manual activation of HVAC channel C3 based on presence, independent of ambient light.
Energy-saving mode for C1+C2, switching off after time elapsed or when ambient light exceeds target.
Mode for corridor lighting, maintaining light if movement is detected, regardless of ambient light.
Adjustable basic light feature, setting luminous efficiency from 10% to 40%.
Orientation light switches on for an adjustable period after time setting expires.
Orientation light switches on when light value falls below preset, remains until movement detected or light value exceeded.
Functions executed immediately but not permanently saved, triggered by button presses.
Details on entering and exiting programming mode for permanent setting changes.
Procedure for saving settings and returning to automatic operation after programming.
How to select channels (C1, C2, C3) for programming using the remote control.
Adjusting light intensity levels for channels, saving the new set value.
Configuring the time delay for channels C1 and C2 after movement detection stops.
Configuring the time delay for HVAC channel C3 after movement detection stops.
Setting the orientation light level from 10% to 40%, with night-light feature activation.
Setting the duration for the orientation light afterglow feature.
Disabling the orientation light feature.
Adjusting light value for channel C2 to be a percentage less than channel C1.
Switching between fully automatic and semi-automatic modes for light channels C1 and C2.
Switching between fully automatic and semi-automatic modes for HVAC channel C3.
Activating the ECO semi-automatic mode for channels C1+C2, indicated by a green LED.
Activating the corridor semi-automatic mode for channels C1+C2, indicated by a red LED.
Turning the red/green LED indicators on or off.
Procedure to reset the device to its original factory default settings.
| Type | Ceiling-mounted presence detector |
|---|---|
| Detection Range | 360° |
| Power Supply | 230 V AC, 50 Hz |
| Protection Class | IP54 |
| Material | UV-stabilised polycarbonate |
| Frequency | 50 Hz |
| Color | White |
| Detection Distance | Up to 24 m |
| Mounting Height | 2 - 4 m |
| Output | Relay |
| Switching Capacity | 16 A resistive, 10 A inductive |